


113
Anti Junk Mail/Domain Name Setting
This setting is used to allow or refuse reception from
specified addresses/domains.
To refuse reception from specified addresses/domains,
select the [Reject Reception] key and touch the [OK]
key.
When permitting only reception from the address or the
domain that you program, touch the [Allow Reception]
key and then the [OK] key.
To allow reception from all addresses/domains even
when there are addresses/domains specified, select [All
Invalid].
Up to 50 addresses/domains can be stored.
1
Touch the [Enter] key and enter the
address or domain.
A maximum of 64 characters can be entered. After you
have entered the address/domain, touch the [OK] key.
2
Touch the [OK] key.
To store another address/domain, repeat the procedure
from step 1. Addresses/domains will be stored in
succession.
1
Touch the [Delete] key.
Touch the address or domain that you wish to delete in the
list of stored addresses/domains. A confirmation message
will appear. Touch the [Yes] key.
2
Touch the [OK] key.
I-Fax Output Setting
(When a right tray is installed.)
Set the output tray when Internet fax is received.
Select the desired key (the keys will vary depending on
the machine configuration) and touch the [OK] key.
Storing addresses/domains
• For the procedure for entering text, see
"6. ENTERING TEXT" in the User's Guide.
• When there are no stored anti junk mail addresses,
only the [Enter] key can be selected.
• If the first character of the entry is not "@", the entry
is identified as an address. If the first character is
"@", the entry is identified as a domain.
([email protected] is treated as an address, and
@xx.xxx.com is treated as a domain.)
• Storing an address specifies only that address.
Storing a domain specifies all addresses that
include that domain.
System Settings
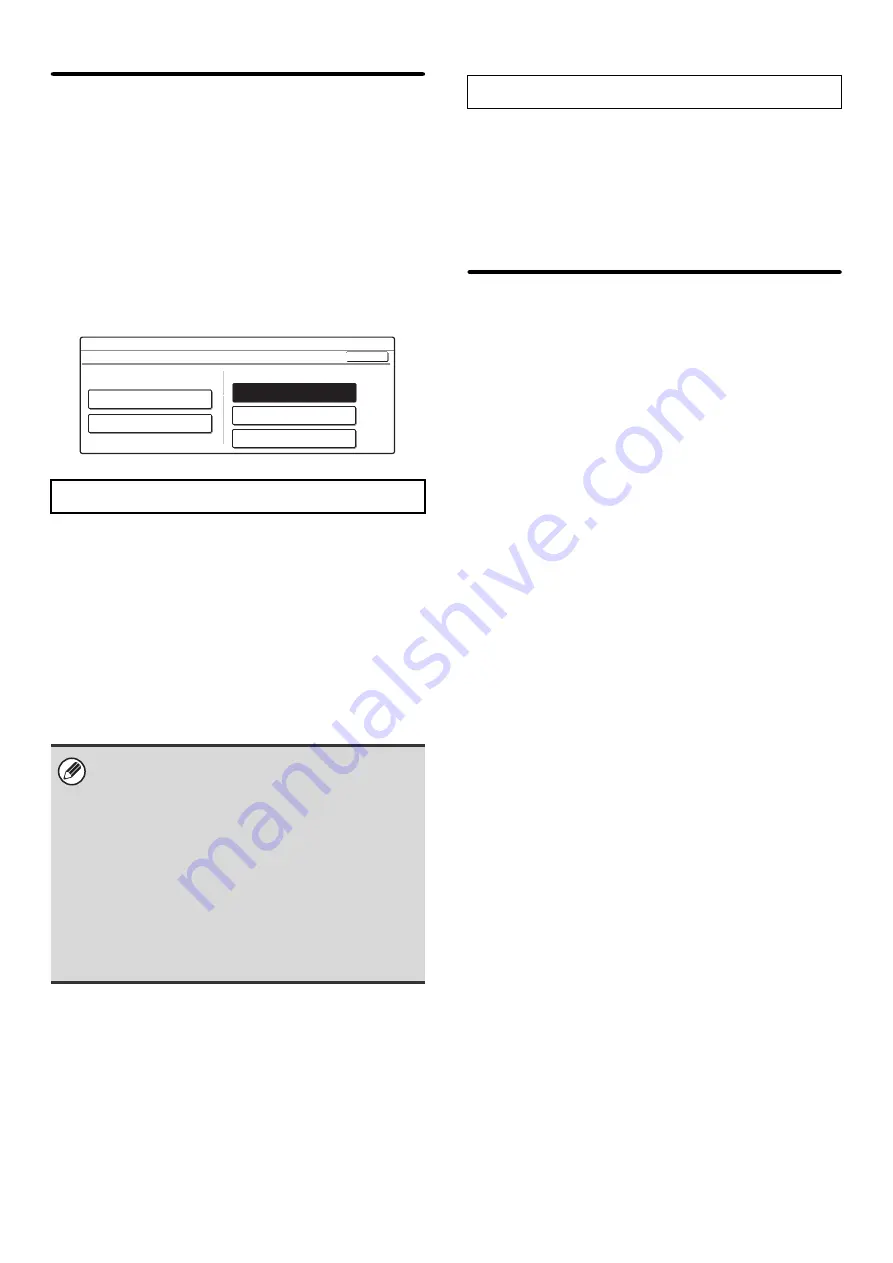
Anti Junk Mail/Domain Name Setting
Anti Junk Mail Setting
Enter
Allow Reception
Reject Reception
All Invalid
Delete
OK
Deleting
Содержание MX-2300N Guide
Страница 1: ...User s Guide MX 2300N MX 2700N MODEL ...
Страница 67: ...System Settings Guide MX 2300N MX 2700N MODEL ...
Страница 192: ...Copier Guide MX 2300N MX 2700N MODEL ...
Страница 361: ...Printer Guide MX 2300N MX 2700N MODEL ...
Страница 376: ...15 2 Select 2 sided printing 1 Select 2 Sided Book or 2 Sided Tablet 2 Click the OK button 3 Start printing 2 1 ...
Страница 421: ...Scanner Guide MX 2300N MX 2700N MODEL ...
Страница 552: ...Facsimile Guide MX FXX1 MODEL ...
Страница 741: ...Document Filing Guide MX 2300N MX 2700N MODEL ...