


2-10
This section explains the basic procedures for making copies, including selection of the copy ratio and other copy settings.
MAKING COPIES
USING THE AUTOMATIC DOCUMENT FEEDER TO
MAKE COPIES (1-sided copies of 1-sided originals)
This section explains how to make copies (1-sided copies of 1-sided originals) using the automatic document feeder.
Keys in the display can be selected with the arrow keys and the [OK] key.
BASIC PROCEDURE FOR MAKING
COPIES
1
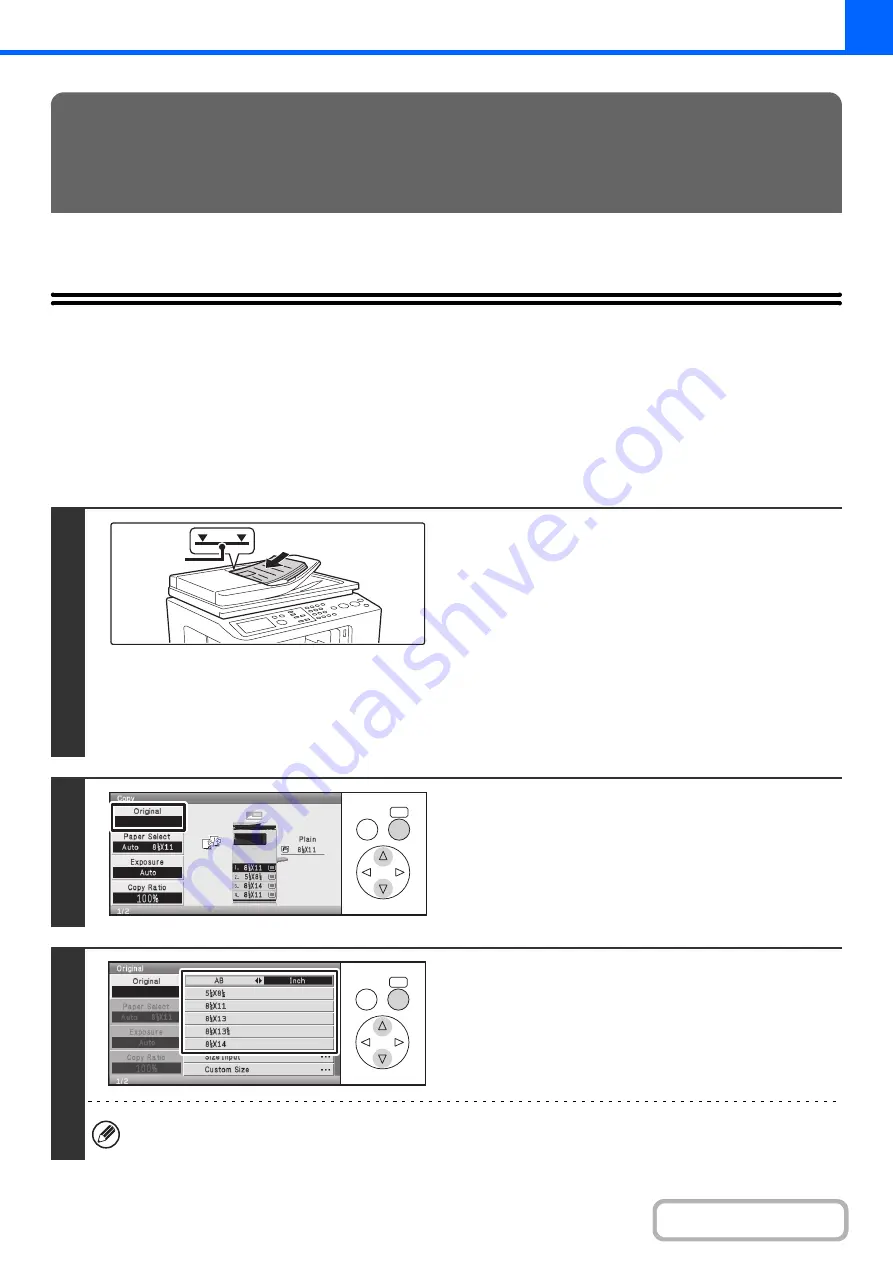
Place the originals face up in the document
feeder tray with the edges aligned evenly.
Insert the originals all the way into the document feeder tray.
Multiple originals can be placed in the document feeder tray.
Place portrait originals so that the top edge enters the feeder
first. Place landscape originals so that the left edge enters first.
The stack of originals must not be higher than the indicator line
on the tray.
Up to 50 sheets can be inserted.
The stack of originals must not exceed the indicator line. Do not
press down on the originals or otherwise load more originals than
can fit under the indicator line. This will cause original misfeeds.
2
Select the [Original] key.
3
Specify the original size.
When placing an AB size or non-standard size original, specify the original size as explained in "
(page 2-28).
Indicator
line
OK
BACK
OK
BACK
Содержание DX-C310 Operation
Страница 5: ...Make a copy on this type of paper Envelopes and other special media Transparency film ...
Страница 7: ...Assemble output into a pamphlet Create a pamphlet Staple output Create a blank margin for punching ...
Страница 10: ...Conserve Print on both sides of the paper Print multiple pages on one side of the paper ...
Страница 33: ...Search for a file abc Search for a file using a keyword ...
Страница 34: ...Organize my files Delete a file Periodically delete files ...
Страница 226: ...3 18 PRINTER Contents 4 Click the Print button Printing begins ...