LC-42/46/52D85X
5 – 20
12. Confirmation item
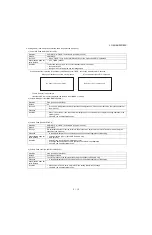
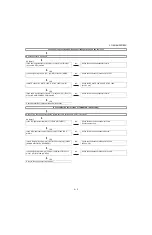
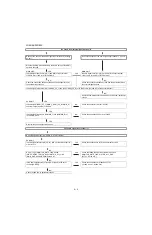
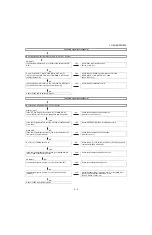
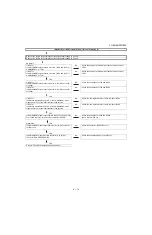
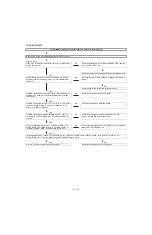
1. Magi-Link Inspection
The thing that the Magi-Link circuit operates is confirmed.
2. HDMI-CEC Inspection
The thing that the HDMI-CEC circuit operates is confirmed.
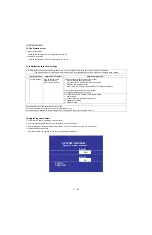
13. Initialization to factory settings
14. Upgrading the software
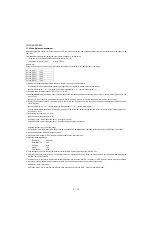
1. Turn off the AC power (Unplug the AC power cord).
2. Insert the upgrading USB flash memory for upgrade into the service slot.
3. While holding down the power button, plug in the AC power cord of the main unit to turn on the power.
4. Upgrade begins automatically.
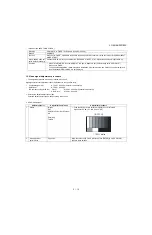
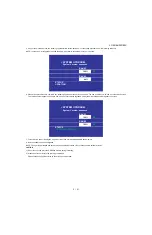
After the set starts, the upgrade screen like the figure below is displayed.
CAUTION: When the factory settings have been made, all user setting data, including the channel settings, are initialized.
(The adjustments done in the adjustment process mode are not initialized.) Keep this in mind when initializing these settings.
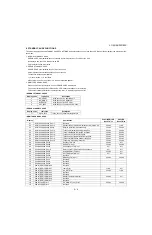
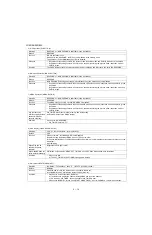
Adjustment item
Adjustment conditions
Adjustment procedure
1
Factory settings
ends by turning off the
MAIN POWER key.
(See to below caution)
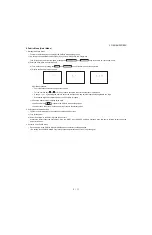
[Factory setting with adjustment process mode]
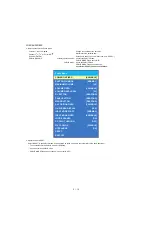
• Enter the adjustment process mode.
• Move the cursor to [INDUSTRY INIT] on page 2/32.
• “EXECUTING” display appears.
• After a while, “SUCCESS” display appears, the setting is completed.
When succeeding: Background colour (green)
When failing: Background colour (red)
The following items are initialized in the factory setting.
1) User settings
2) Channel data (e.g. broadcast frequencies)
3) Maker option setting
4) Password data
After adjustments, exit the adjustment process mode.
To exit the adjustment process mode, turn off the MAIN power key.
When the power is turned off with the remote control, unplug the AC power cord and plug it back in.
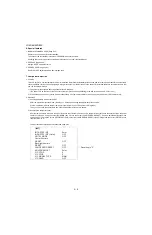
<SYSTEM UPGRADE>
System Version: xxxxxxxx
BANK 1
BANK 2
STATUS
UPDATING. . .
30%
0%
Содержание AQUOS LC-42D85X
Страница 82: ...LC 42 46 52D85X 9 2 2 MINI AV Unit A C B D E F G I H 1 2 3 4 5 6 7 8 9 10 11 12 13 14 15 16 17 18 19 20 21 22 ...
Страница 83: ...LC 42 46 52D85X 9 3 3 R C LED Unit A C B D E F G I H 1 2 3 4 5 6 7 8 9 10 11 12 13 14 15 16 17 18 19 20 21 22 ...
Страница 84: ...LC 42 46 52D85X 9 4 4 KEY Unit A C B D E F G I H 1 2 3 4 5 6 7 8 9 10 11 12 13 14 15 16 17 18 19 20 21 22 ...
Страница 86: ...LC 42 46 52D85X 9 6 MAIN Unit 2 17 A C B D E F G I H 1 2 3 4 5 6 7 8 9 10 11 12 13 14 15 16 17 18 19 20 21 22 ...
Страница 87: ...LC 42 46 52D85X 9 7 MAIN Unit 4 17 A C B D E F G I H 1 2 3 4 5 6 7 8 9 10 11 12 13 14 15 16 17 18 19 20 21 22 ...
Страница 88: ...LC 42 46 52D85X 9 8 MAIN Unit 5 17 A C B D E F G I H 1 2 3 4 5 6 7 8 9 10 11 12 13 14 15 16 17 18 19 20 21 22 ...
Страница 89: ...LC 42 46 52D85X 9 9 MAIN Unit 6 17 A C B D E F G I H 1 2 3 4 5 6 7 8 9 10 11 12 13 14 15 16 17 18 19 20 21 22 ...
Страница 90: ...LC 42 46 52D85X 9 10 MAIN Unit 7 17 A C B D E F G I H 1 2 3 4 5 6 7 8 9 10 11 12 13 14 15 16 17 18 19 20 21 22 ...
Страница 91: ...LC 42 46 52D85X 9 11 MAIN Unit 8 17 A C B D E F G I H 1 2 3 4 5 6 7 8 9 10 11 12 13 14 15 16 17 18 19 20 21 22 ...
Страница 92: ...LC 42 46 52D85X 9 12 MAIN Unit 9 17 A C B D E F G I H 1 2 3 4 5 6 7 8 9 10 11 12 13 14 15 16 17 18 19 20 21 22 ...
Страница 100: ...LC 42 46 52D85X 9 20 6 SUB Unit SUB Unit 1 5 A C B D E F G I H 1 2 3 4 5 6 7 8 9 10 11 12 13 14 15 16 17 18 19 20 21 22 ...
Страница 101: ...LC 42 46 52D85X 9 21 SUB Unit 2 5 A C B D E F G I H 1 2 3 4 5 6 7 8 9 10 11 12 13 14 15 16 17 18 19 20 21 22 ...
Страница 102: ...LC 42 46 52D85X 9 22 SUB Unit 3 5 A C B D E F G I H 1 2 3 4 5 6 7 8 9 10 11 12 13 14 15 16 17 18 19 20 21 22 ...
Страница 103: ...LC 42 46 52D85X 9 23 SUB Unit 4 5 A C B D E F G I H 1 2 3 4 5 6 7 8 9 10 11 12 13 14 15 16 17 18 19 20 21 22 ...
Страница 104: ...LC 42 46 52D85X 9 24 SUB Unit 5 5 A C B D E F G I H 1 2 3 4 5 6 7 8 9 10 11 12 13 14 15 16 17 18 19 20 21 22 ...
Страница 146: ...LC 42 46 52D85X 42 15 PACKING PARTS NOT REPLACEMENT ITEM LC 42D85X S13 S10 S11 S1 S2 S4 S3 S5 S7 S12 S6 S8 S8 S9 S9 ...

