Issues with supplies
Replace cartridge, printer region mismatch
Install the correct toner cartridge.
Non
‑
Printer Manufacturer supply
The printer has detected an unrecognized supply or part installed in the printer.
Your printer is designed to function best with genuine supplies and parts made by the printer manufacturer.
Use of third-party supplies or parts may affect the performance, reliability, or life of the printer and its imaging
components.
All life indicators are designed to function with supplies and parts from the printer manufacturer and may
deliver unpredictable results if third-party supplies or parts are used. Imaging component usage beyond
the intended life may damage your printer or associated components.
Warning—Potential Damage:
Use of third-party supplies or parts can affect warranty coverage.
Damage caused by the use of third-party supplies or parts may not be covered by the warranty.
To accept any and all of these risks and to proceed with the use of non-genuine supplies or parts in your
printer, from the control panel, press and hold
X
and
#
simultaneously for 15 seconds.
If you do not want to accept these risks, then remove the third-party supply or part from your printer and
install a genuine supply or part from the printer manufacturer.
Scanner maintenance required, use ADF Kit
The printer is scheduled for maintenance. Contact customer support or your service representative, and
then report the message.
Paper feed problems
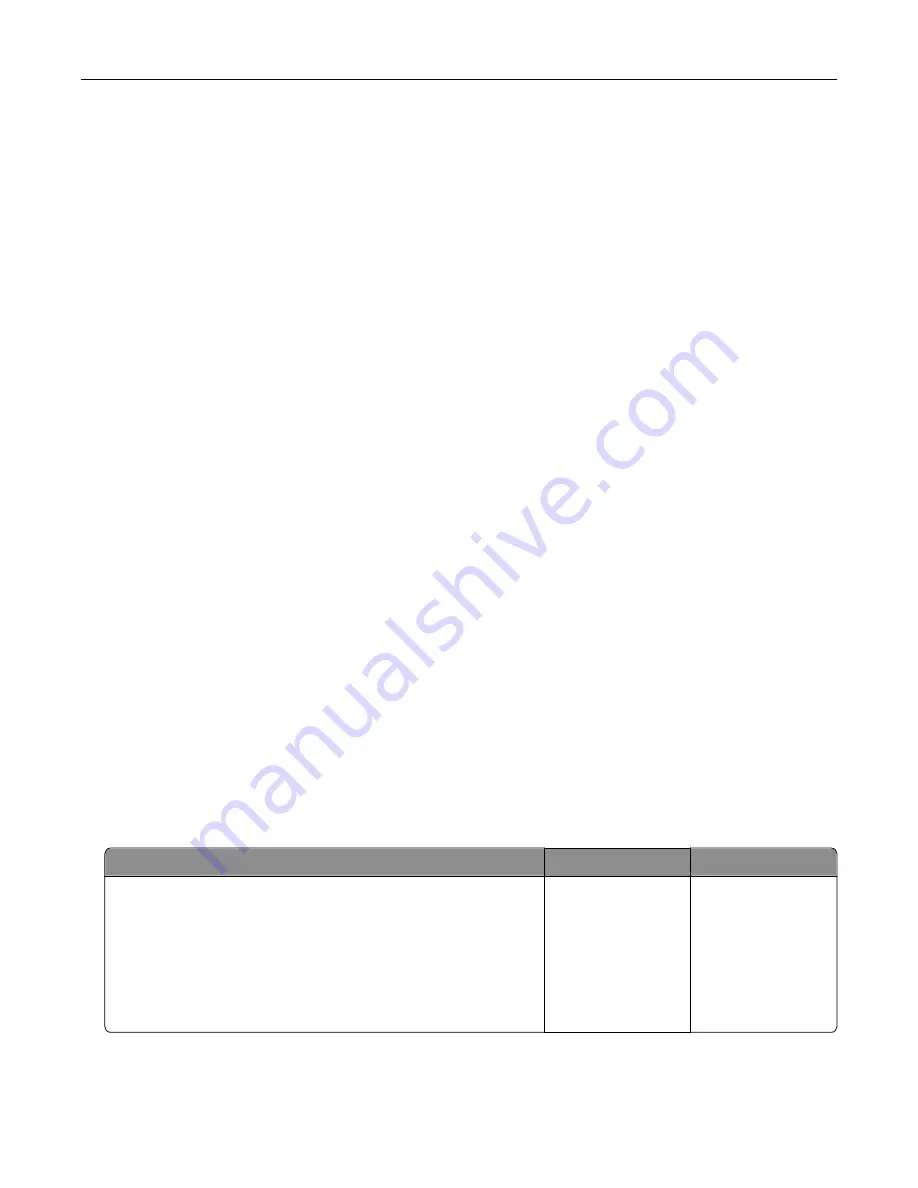
Envelope seals when printing
Action
Yes
No
Step 1
a
Use an envelope that has been stored in a dry environment.
Note:
Printing on envelopes with high moisture content can
seal the flaps.
b
Send the print job.
Does the envelope seal when printing?
Go to step 2.
The problem is
solved.
Troubleshooting
156
Содержание 679
Страница 48: ...Scanning 48 ...
Страница 126: ... ADF glass pad Scanner glass Scanner glass pad 3 Close the scanner cover Maintaining the printer 126 ...
Страница 134: ...4 Remove the used pick tires one after the other 5 Unpack the new pick tires Maintaining the printer 134 ...
Страница 136: ...Maintaining the printer 136 ...
Страница 138: ...7 Insert the new pick roller assembly 8 Flip the tray base and then insert the tray insert Maintaining the printer 138 ...
Страница 144: ...Paper jam in door A 1 Remove the tray 2 Open door A Clearing jams 144 ...
Страница 147: ...6 Insert the imaging unit Note Use the arrows inside the printer as guides Clearing jams 147 ...
Страница 153: ...4 Close the ADF cover Clearing jams 153 ...
Страница 197: ...b Connect the ISP extended cable to the ISP connector Upgrading and migrating 197 ...
Страница 198: ...c Install the hard disk Upgrading and migrating 198 ...


