


Отзывы:
Нет отзывов
Похожие инструкции для X-Tatic SR
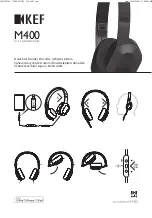
M400
Бренд: KEF Страницы: 13
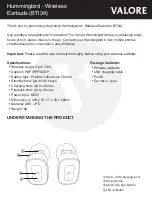
Hummingbird
Бренд: Valore Страницы: 4

DA01
Бренд: Daewoo Страницы: 35
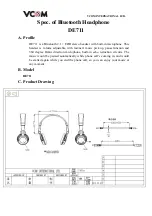
DE711
Бренд: Vcom Страницы: 5

TEEARTWSRAYBTW
Бренд: SBS Страницы: 24

99003
Бренд: Jasco Страницы: 5
U2
Бренд: CAD Audio Страницы: 2
SD6
Бренд: Samtech Страницы: 8
K 181 DJ - MOUNTING DRAWING
Бренд: AKG Страницы: 2

S705 - Soundpilot
Бренд: Motorola Страницы: 6
Transit
Бренд: Jam Страницы: 8
RP-BTS30
Бренд: Panasonic Страницы: 2
RP-BTS50
Бренд: Panasonic Страницы: 2
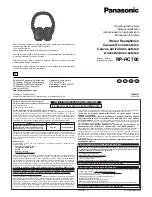
RP-HC700
Бренд: Panasonic Страницы: 4
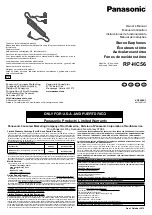
RP-HC56
Бренд: Panasonic Страницы: 4
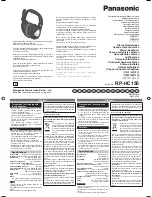
RP-HC150
Бренд: Panasonic Страницы: 8
RP-NJ300B
Бренд: Panasonic Страницы: 12
RP-BTD10
Бренд: Panasonic Страницы: 12


