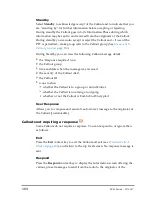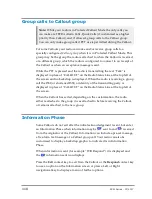
From the Home screen, press the
Shortcut
context key, then select the
Man Down icon.
A message (‘Man Down Starting’) is displayed and an alert sounds (a
succession of beeps).
2. Attach your radio in a comfortable wearing position on your body. When a
two second continuous tone finishes the radio’s ‘normal’ wearing position
has been recorded. An icon indicates that Man Down is switched on and
which sensors are active.
To deactivate Man Down, either select a user profile which does not use Man
Down, or press the customised soft key to toggle Man Down off.
Cancelling false alarms
If the active sensors detect a possible ‘Man Down’ situation the Man Down
Alert is sounded and a Man Down Alert message is displayed on the screen.
If you are safe (that is, this is a false alarm) you need to switch off the
alert
, otherwise a genuine Man Down Emergency situation is considered to
have occurred and—depending on the customisation of your radio—various
automatic actions are initiated. For example, an Emergency Status message
may be sent to a pre-defined destination.
To switch off the Man Down Alert (false alarm situation):
press a designated key (which is different from the soft key used to switch
Man Down on and off) or
move the radio vigorously for a short period of time (if customised).
For example shake the radio up and down or sideways, or tap it, or (if the
radio is clipped to your belt) move your hips rapidly from side to side.
Note:
After the Man Down Alert is switched off your radio may be
customised to start recording and storing the current position and/or
angle to use as the new ‘steady’ position.
Man Down options
1. Press
Menu
then select
Applications > Man Down
.
2. Select the Man Down sensors to use:
Motion & Tilt
sensors,
Motion
Sensor
only, or
Tilt Only
sensor.
If you enable Man Down from a User Profile, the Man Down Settings screen
updates to reflect the sensors defined as active in the Profile.
User Guide
117
Содержание SC21 Series
Страница 1: ...SC21 Series hand portable radio ...
Страница 8: ...viii SC21 Series 07 2017 ...
Страница 160: ...Remove the stud 1 Using a PH1 screwdriver remove the stud from the two attachment points 152 SC21 Series 07 2017 ...
Страница 162: ...1 Secure the accessory in position by rotating the screw clockwise Do not over tighten 154 SC21 Series 07 2017 ...
Страница 166: ......


