


Cambridge Sensotec Rapidox 1100L Oxygen Analyser Instruction Manual
8.7
Remote Calibrating
With the on-screen LCD display active it is possible to remotely calibrate the
analyser. Click on the down arrow icon in the bottom right-hand corner of the
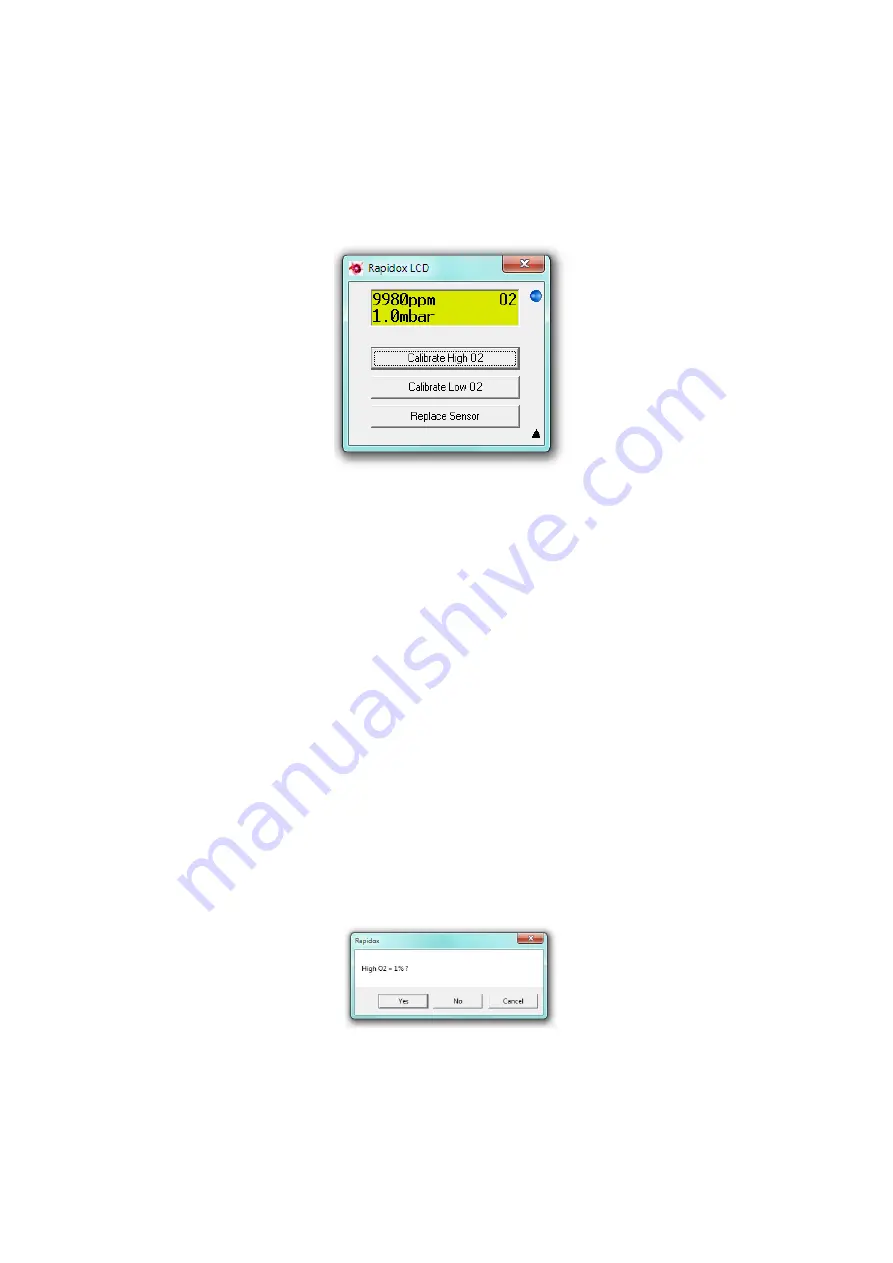
LCD display to expand the window:
Figure 10: Remote calibration and replace sensor function
Use the two buttons to calibrate the sensor directly from the PC. Before
calibrating make sure that you know the exact O
2
concentration in your gas bottle
AND you have a calibration certificate from the gas supplier confirming the
concentration. You can calibrate the analyser in any order but remember that the
gas value for O
2
High must be greater than the gas value for O
2
Low. Allow
sufficient time for the calibration gas to pass over the sensor and let the reading on
the LCD stabilise. This is extremely important to perform a successful and
accurate calibration; especially at low ppm values where it can take several hours
for a stable reading.
The software uses the two calibration gas values already stored in the Rapidox as a
starting point. These are typically High = 1%, and Low = 0.001% as set in the
factory but may be different if the user has recalibrated with other gas values in
the past. Either way you are given an option to change the cal gas value before
proceeding to the actual calibration.
Assuming you are using 1% to calibrate O
2
High then simply click on the button
labelled “Calibrate High O
2
” to see the following:
Figure 11: Calibration Gas Confirmation Screen.
If the current stored value is correct and matches your cal gas value then simply
click “Yes” to proceed. If you are using a different value to the one you see on the
screen then click “No” to change it as shown below:
Version 1.6
25
Last printed 16/11/2011 16:59:00