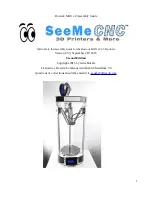
Rostock MAX v2 Assembly Guide
0 – Introduction and Acknowledgments
I’d like to welcome you to the second edition of the Rostock MAX v2 assembly guide!
Even if you've built an original Rostock MAX v1 3D printer, you'll want to read this manual
carefully. There are no common Melamine parts from the v1 design. The construction has been greatly
streamlined and should prove to be a shorter build. The design changes made will ensure that you've
got a long lasting, easy to calibrate, delta configuration 3D printer.
Please read this entire guide before you begin assembly of your new Rostock MAX v2! It will
help you avoid any unpleasant surprises and will ensure that you’ve got everything you need BEFORE
you need it! Understand that the photographs in this assembly guide do NOT tell the whole story of
each step! Make sure you read and understand the accompanying text for each step!
A quick note on the RAMBo, the controller for your Rostock MAX. The RAMBo is static
sensitive, so please don't take it out of the static bag it ships in until you're ready to use it.
The box containing the RAMBo and its wiring should also contain a printed, black & white
sheet that looks like this:
http://www.reprap.org/wiki/File:Rambo-conn-all.jpg
Please refer to this sheet when you reach Chapter 18. This is a valuable guide to wiring the
RAMBo up to your Rostock MAX. Note that the connector polarity is clearly marked on the board for
the “MOSFET Outputs”.
Making Crimped Connections
Towards the end of the build, you'll be required to apply four crimp on sockets to the extruder
wire extension. Teaching you how to properly crimp a connector is beyond the scope of this manual.
However, that being said, I've done a lot of research on this in order to make this task as easy and
accessible as I can. Chris Hansen over at Hansen Hobbies has written the most excellent treatise on the
use of inexpensive crimp tools that I've yet seen. You can download the PDF of the tutorial here:
http://www.hansenhobbies.com/products/connectors/Connectors.pdf
The focus on the tutorial is on connectors commonly found on R/C servos, but the crimp
sockets featured are essentially identical to those that you'll be required to use during your Rostock
MAX v2 Build.
6
Содержание Rostock MAX v2
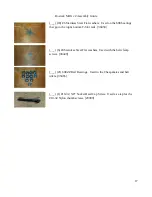
Страница 25: ...Rostock MAX v2 Assembly Guide Melamine Parts Sheet 1 25 ...
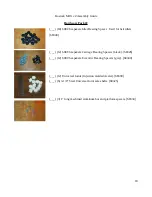
Страница 26: ...Rostock MAX v2 Assembly Guide Melamine Parts Sheet 2 Melamine Parts Sheet 3 26 ...
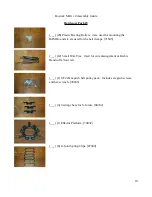
Страница 27: ...Rostock MAX v2 Assembly Guide Melamine Parts Sheet 4 27 ...
Страница 171: ...Rostock MAX v2 Assembly Guide 171 Fig 14 8 Spool holder support installed ...

