Rostock MAX v2 Assembly Guide
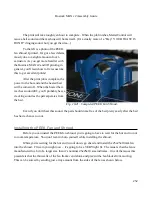
Rotate the knob counter-clockwise again and choose the “Home Towers” menu option and
click. This will send the Rostock MAX to the home position. This is the same as sending
G28
to the
printer or clicking the “Home All” icon in MatterControl. After the homing process finishes, select the
“Z-Position” option and click.
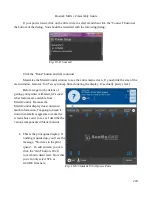
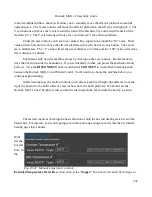
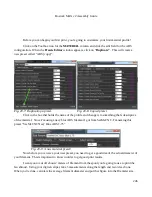
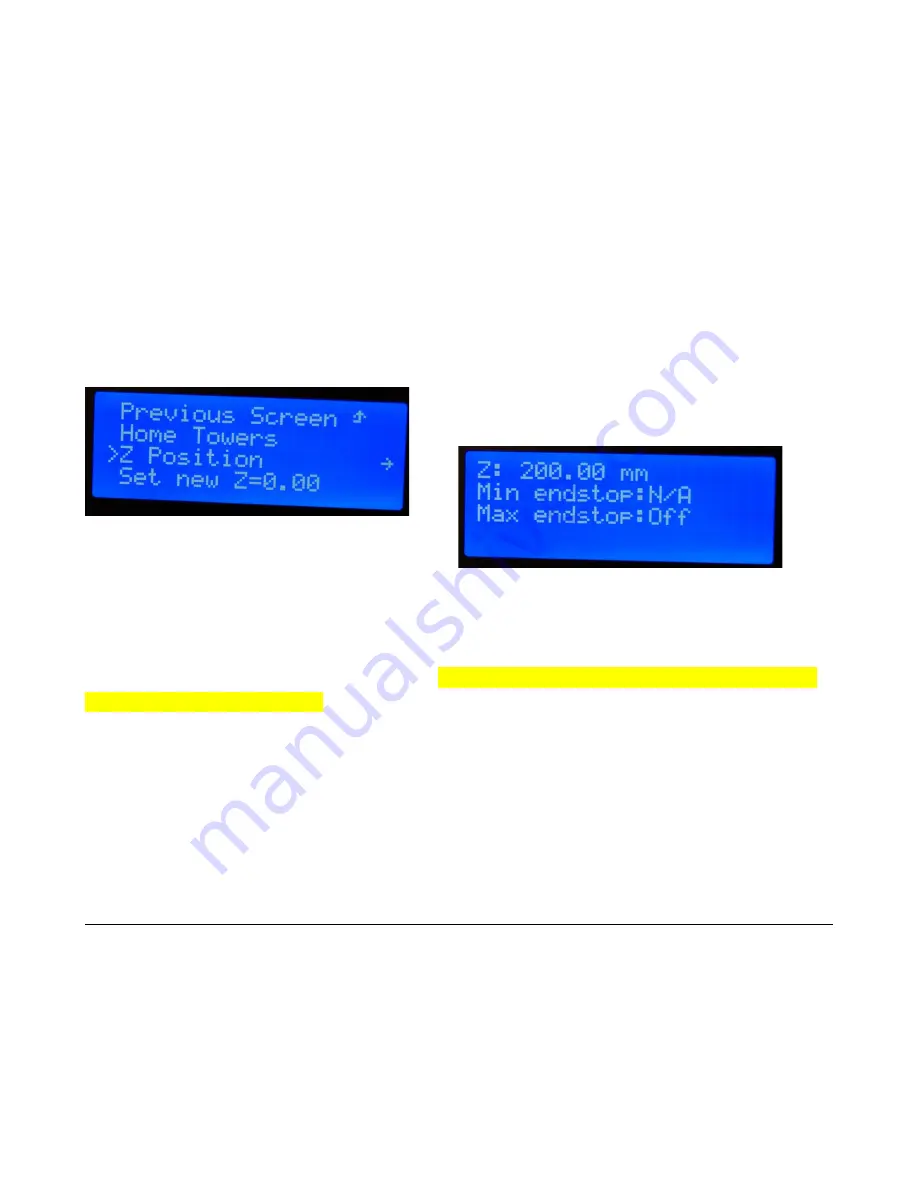
When you click on the Z-Position option, you'll see
a display similar to that shown below.
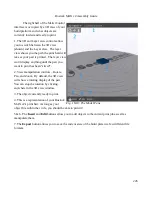
You control the height of the effector platform by turning the shaft on the LCD panel. Turning
it counter-clockwise will lower the nozzle, and turning it clockwise will raise it.
If you turn the shaft quickly, you'll get large changes and if you turn it slowly, one step at a
time, the change will only be 0.01mm per click.
Please be careful not to accidentally burn yourself
on the heated bed or the nozzle!
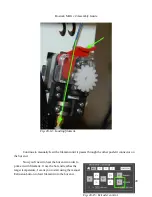
Turn the shaft counter-clockwise until you're about 1/2” from the bed surface. Place a sheet of
paper on the bed, under the nozzle. Lower the nozzle slowly until moving the paper around causes it to
drag a little bit on the nozzle tip. You want it close enough that you can push the paper under the
nozzle, such that it
almost
prevents you from pushing the paper under the nozzle.
When you've reached that point, press the knob to return to the LCD menu and then and select
the “Set new Z=0.00” option. This will set the correct Z-Height for your Rostock MAX v2.
Adjusting The End-Stops
Now we need to calibrate the end stops. This ensures that the effector platform your Rostock
MAX v2 achieves an accurate nozzle height and parallel travel across the entire bed surface.
To make this process easier, we're going to create a macro within MatterControl.
In order to create a new macro you'll need to open the macro editor. Click on the little pencil
237
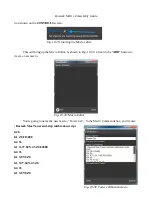
Fig. 19-27:Z Position.
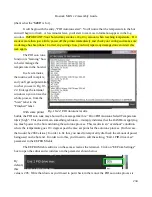
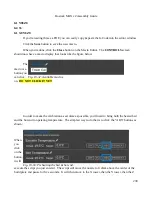
Fig. 19-28: Adjusting the Z height.
Содержание Rostock MAX v2
Страница 25: ...Rostock MAX v2 Assembly Guide Melamine Parts Sheet 1 25 ...
Страница 26: ...Rostock MAX v2 Assembly Guide Melamine Parts Sheet 2 Melamine Parts Sheet 3 26 ...
Страница 27: ...Rostock MAX v2 Assembly Guide Melamine Parts Sheet 4 27 ...
Страница 171: ...Rostock MAX v2 Assembly Guide 171 Fig 14 8 Spool holder support installed ...


