Rostock MAX v2 Assembly Guide
Test Upload
Ok, now that you've got the Arduino IDE configured, we're going to do a quick task that'll do
two things. First, it will validate that you've got the Arduino IDE configured properly and that you're
able to connect and upload a program to the RAMBo controller. Remember – the RAMBo controller is
just an Arduino Mega 2560 with a bunch of goodies piled on top!
Second, the program I'm going to have you run will clear the EEPROM on the RAMBo
controller to make sure you start with a clean slate. The EEPROM is an Electrically Erasable
Programmable Read Only Memory and it's where Repetier-Firmware will store settings. When you can
store configuration information in the EEPROM, it means that you don't have to re-upload the
firmware every time you make a change.
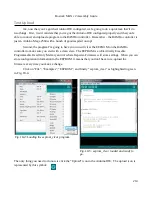
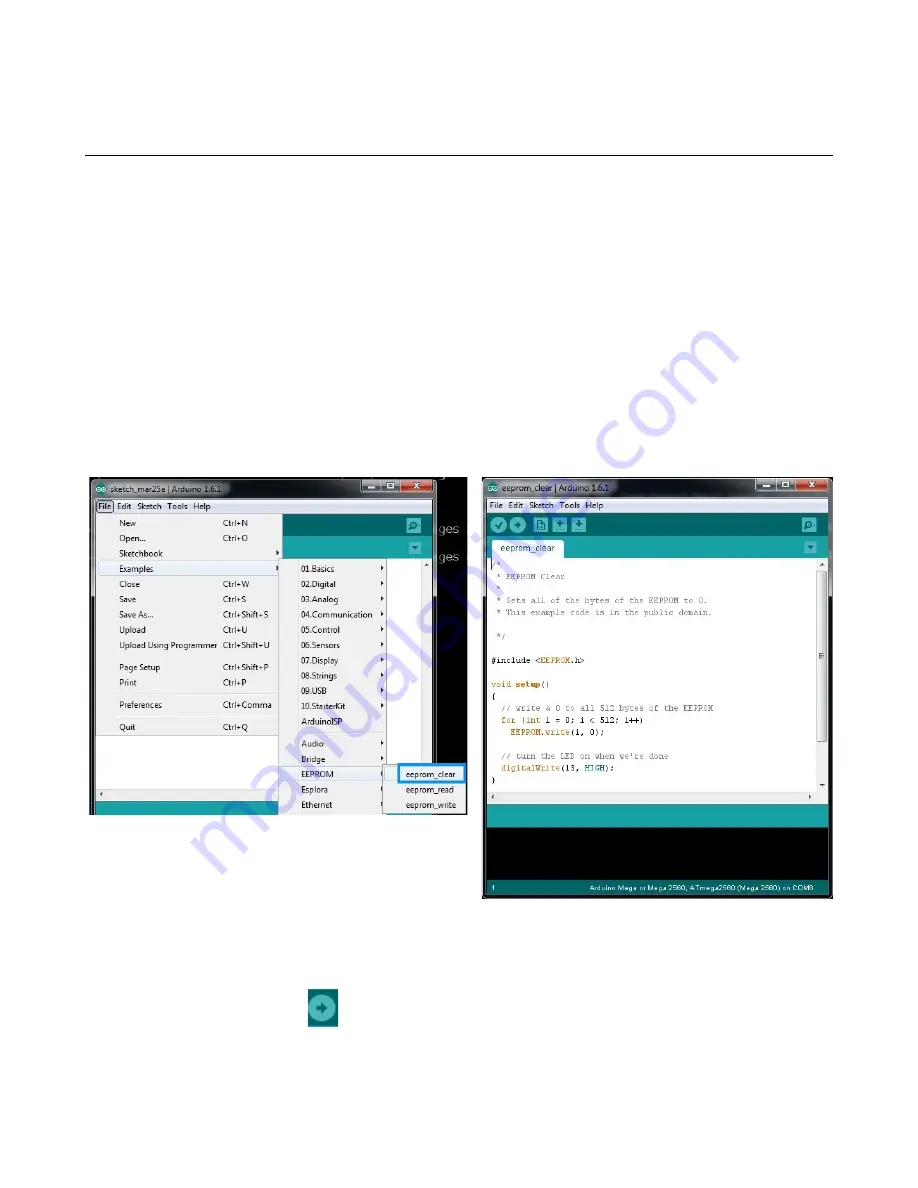
Click on “File”, “Examples”, “EEPROM”, and finally “eeprom_clear” as highlighted in green
in Fig. 18-4.
The only thing you need to do now is click the “Upload” icon in the Arduino IDE. The upload icon is
represented by this symbol:
214
Fig. 18-4:Loading the eeprom_clear program.
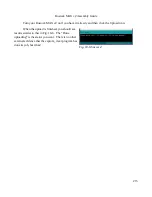
Fig. 18-5: eeprom_clear loaded and ready to
go.
Содержание Rostock MAX v2
Страница 25: ...Rostock MAX v2 Assembly Guide Melamine Parts Sheet 1 25 ...
Страница 26: ...Rostock MAX v2 Assembly Guide Melamine Parts Sheet 2 Melamine Parts Sheet 3 26 ...
Страница 27: ...Rostock MAX v2 Assembly Guide Melamine Parts Sheet 4 27 ...
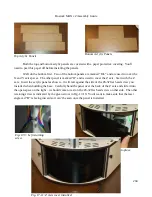
Страница 171: ...Rostock MAX v2 Assembly Guide 171 Fig 14 8 Spool holder support installed ...

