Rostock MAX v2 Assembly Guide
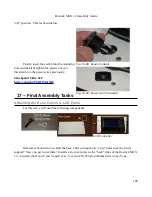
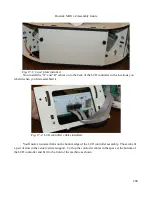
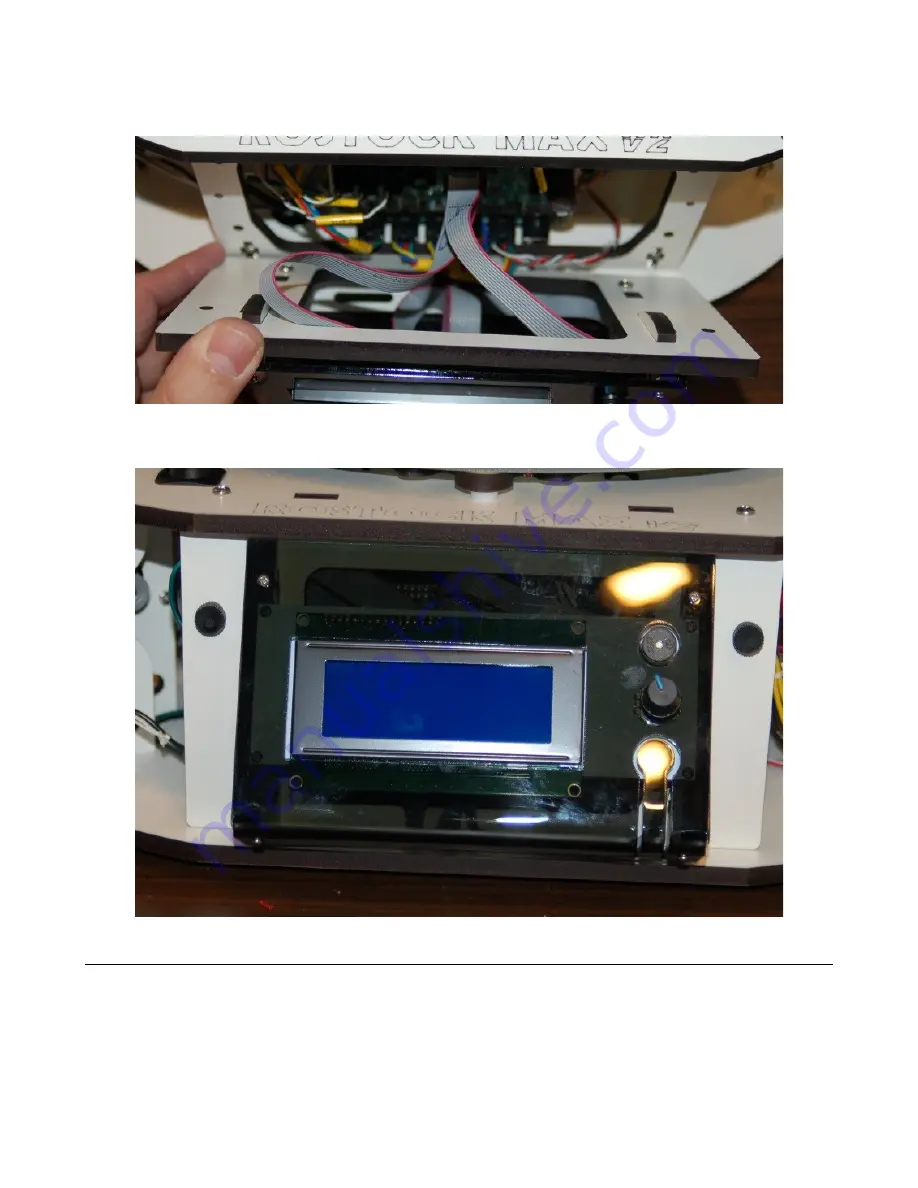
Now tilt up the panel and fix it in place using two #10-32 nylon thumbscrews.
Attaching the Power and USB Cables
As shipped, the power supply is set for 115V. If you're in Europe or another country that uses
240V, you'll need to flip the source voltage switch on the power supply so that it reads “240” instead of
“115”. Fig. 17.5 below shows the switch configured for US power.
201
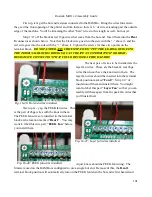
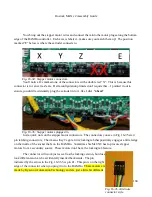
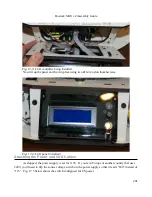
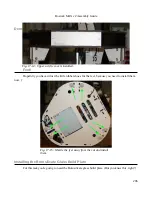
Fig. 17-3: LCD controller being installed.
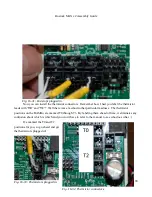
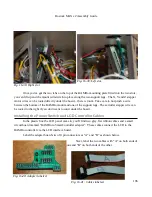
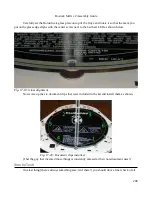
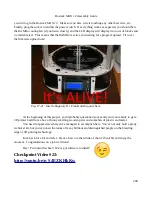
Fig: 17-4: LCD panel installed!
Содержание Rostock MAX v2
Страница 25: ...Rostock MAX v2 Assembly Guide Melamine Parts Sheet 1 25 ...
Страница 26: ...Rostock MAX v2 Assembly Guide Melamine Parts Sheet 2 Melamine Parts Sheet 3 26 ...
Страница 27: ...Rostock MAX v2 Assembly Guide Melamine Parts Sheet 4 27 ...
Страница 171: ...Rostock MAX v2 Assembly Guide 171 Fig 14 8 Spool holder support installed ...


