


Rostock MAX v2 Assembly Guide
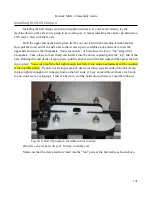
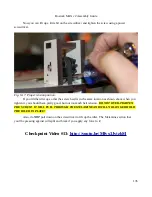
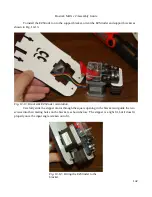
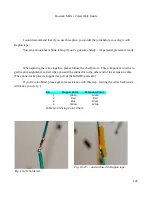
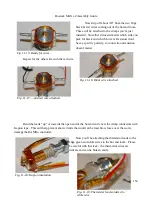
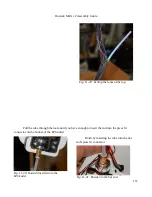
Insert two #6-32, 1” pan head screws into the locations shown. They should fit into the nuts in
the EZStruder bracket perfectly. Tighten them down and we'll move on to wiring up the stepper motor!
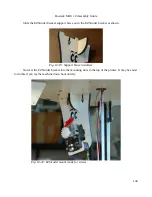
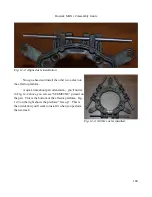
Wiring the EZStruder Stepper Motor
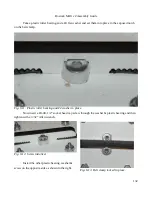
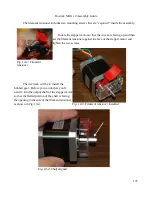
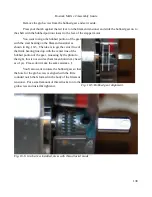
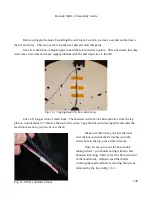
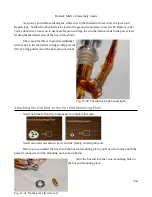
Route the stepper motor wires through the center hole in the top plate. I've laid the machine
horizontally to make working on the top end easier.
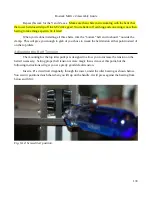
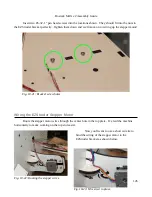
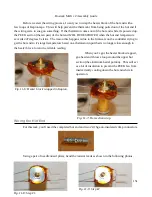
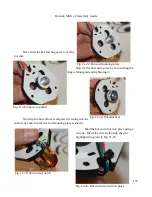
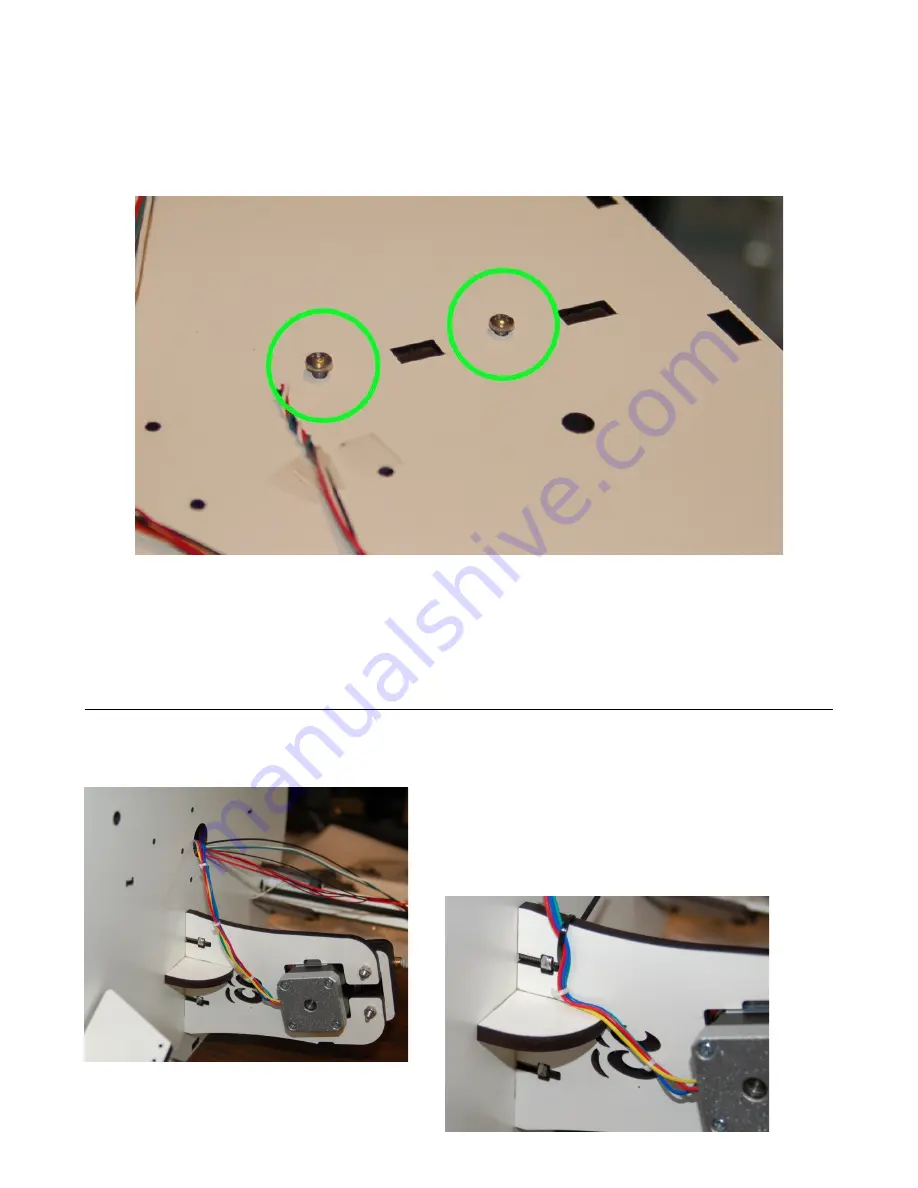
Now you'll want to use a short wire tie to
bind the wiring of the stepper motor to the
EZStruder bracket as shown below.
145
Fig. 10-21: Bracket screw holes.
Fig. 10-22: Routing the stepper wires.
Fig. 10-23: Wires tied in place.
Содержание Rostock MAX v2
Страница 25: ...Rostock MAX v2 Assembly Guide Melamine Parts Sheet 1 25 ...
Страница 26: ...Rostock MAX v2 Assembly Guide Melamine Parts Sheet 2 Melamine Parts Sheet 3 26 ...
Страница 27: ...Rostock MAX v2 Assembly Guide Melamine Parts Sheet 4 27 ...
Страница 171: ...Rostock MAX v2 Assembly Guide 171 Fig 14 8 Spool holder support installed ...