


7 Menu Network
Securepoint 10
Securepoint
Security Solutions
56
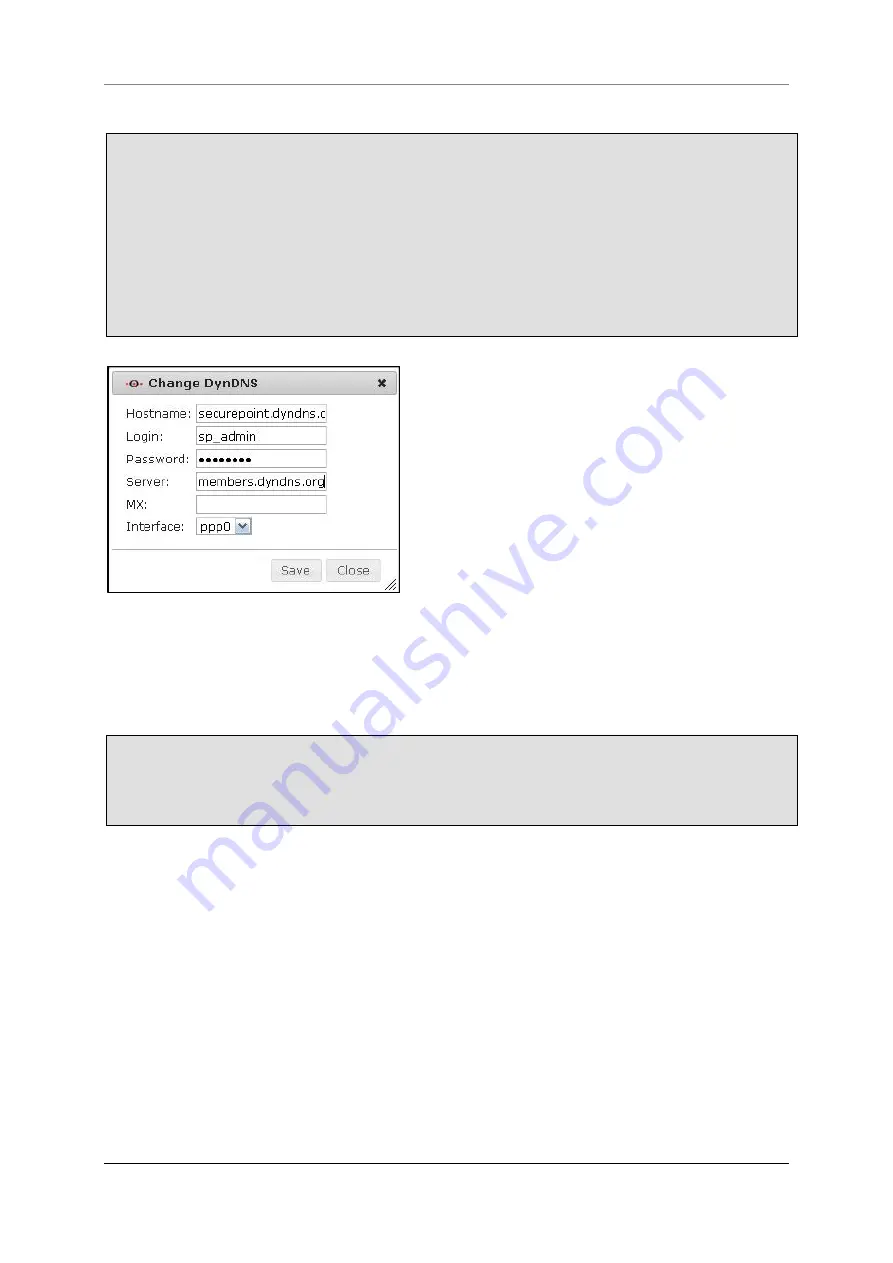
7.2.4.1 Create or Edit a DynDNS Entry
To create a new entry or to edit an existing entry, click on the
wrench symbol
.
The dialog
Change DynDNS
appears.
Enter your domain name into the field
Hostname
Type your access data of your services provider into the fields
Login
and
Password
.
Enter the address of the DynDNS server into the field
Server
.
In the field
MX
enter the domain for the e-mail reception (for example securepoint.de).
Select the interface which should be used for this connection from the field
Interface
(mostly a ppp interface).
fig. 57 create a DynDNS entry
7.2.4.2 Delete a DynDNS Entry
To delete a DynDNS Entry, click on the
trashcan symbol
beneath the relative entry.
Confirm the security query with
Yes
.
The DynDNS entry will be deleted.
Содержание RC 100
Страница 1: ...Securepoint 10 Securepoint ...
Страница 12: ...Securepoint 10 Securepoint Security Solutions 12 Part 1 The Administration Interface ...
Страница 95: ...9 Menu Applications Securepoint 10 Securepoint Security Solutions 95 fig 102 HTTP proxy dialog tab URL filter ...
Страница 191: ...Securepoint 10 Securepoint Security Solutions 191 Part 2 User Interface ...


