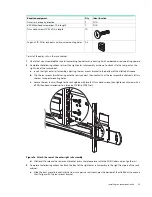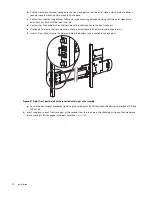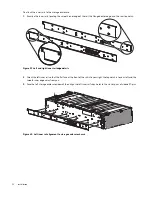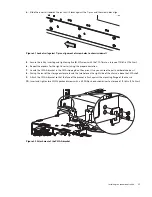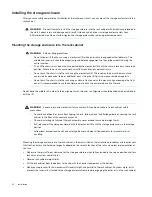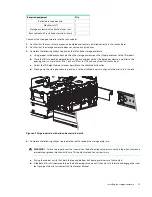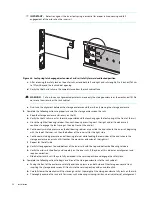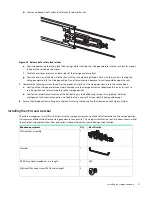
Routing power and data cables using the CMA
61
5.
Go to the right side of the open storage enclosure, so that the auxiliary bay is to the top of your workspace.
6.
Prepare to fill the main bay from top to bottom for each lateral bay, progressing from front to back.
7.
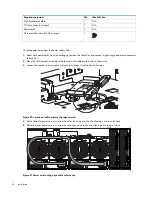
Release the disk driver carrier latch to open the carrier, then hold the handle so it is towards the rear of the slot (see
8.
Firmly press the disk drive into the mating connector on the baseplane.
9.
Close and press down on the disk drive handle until you engage the locking mechanism.
10.
Repeat the procedure, inserting each drive below the former one, until you complete the first lateral bay.
CAUTION:
If you partially populate the storage enclosure with disk drives, you must, populate from front to
back, filling an entire lateral bay before populating the next bay.
11.
(Optional) To completely populate the storage enclosure, take the following actions:
a.
Continue insertion of drives for each of the next three sets of twelve to complete the insertion of 48 disk drives.
b.
Close the front half of the main bay cover, latching it firmly in place.
c.
Using the rear latch of the main bay cover, lift the rear half, resting it on the front half.
d.
Continue insertion of the next 48 disk drives to complete population of the main bay, again filling the slots from
top to bottom, progressing from front to back.
e.
Close the rear half of the main bay cover, latching it firmly in place.
f.
Using the front latch of the auxiliary bay cover, remove it and set it aside to access the auxiliary bay.
g.
Continue insertion of the final 10 disk drives to complete population of the auxiliary bay using the same
progression from top to bottom and from front to back.
h.
Replace the auxiliary bay cover, latching it firmly in place.
12.
(Optional) Lower and remove the mechanical lift.
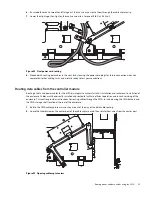
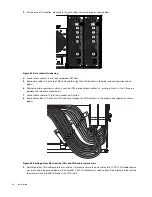
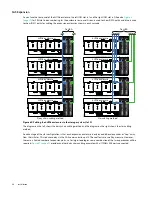
Routing power and data cables using the CMA
Routing power cords from the power supply units
This basic task connects the supplied power cords to the redundant power supply units.
CAUTION:
Use only power cords supplied in the installation kit or those that meet product specifications.
CAUTION:
Adhere to the following electrical safety guidelines:
•
During installation, never connect a power cord to a power supply unit (PSU) before installing it in the appropriate
storage enclosure slot.
•
Only connect the power cord to power that complies with the product specifications within a range of 200 to
240VAC, per the hazardous voltage warning label on the PSU.
•
During service, always remove the PSU from power by disconnecting the right-angle power connector before
removal of the PSU.


