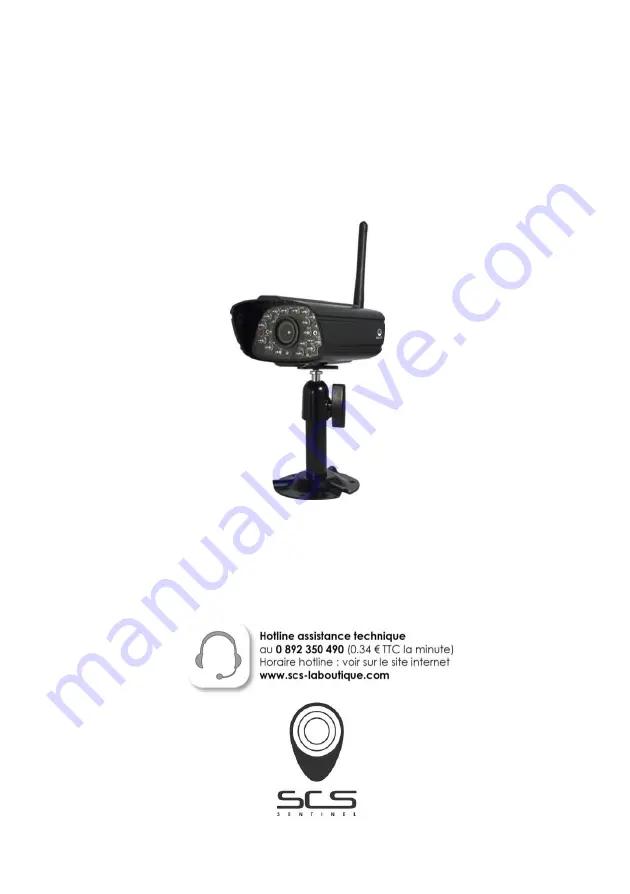
CAM ADD DWH
Manuel d'installation et d'utilisation
Modèle : DWH
Conservez ce manuel à titre d'information.
Страница 1: ...CAM ADD DWH Manuel d installation et d utilisation Modèle DWH Conservez ce manuel à titre d information ...
Страница 2: ...a 7 Réglage du canal de caméra option 8 Connexion de la caméra au récepteur option 8 DESCRIPTION DE LA CAMERA 9 FONCTIONNEMENT DU SYSTEME 10 Écran de configuration de la caméra 10 Connexion de la caméra 10 Activation de la caméra 11 Luminosité 11 SPECIFICATIONS 12 VERSION ANGLAISE English version 13 DECLARATION DE GARANTIE 27 ...
Страница 3: ...tes 1 Cet appareil ne doit pas entraîner d interférence nocive et 2 Cet appareil doit être capable de supporter des interférences y compris celles pouvant entraîner un fonctionnement indésirable Les produits portant la marque CE sont conformes à la directive CEM 2004 108 CE Directive basse tension 73 23 CEE R TTE 1999 5 CE émise par la Commission des Communautés européennes Le respect de ces direc...
Страница 4: ...registrements dans les lieux privés domicile ou entreprises non ouvertes au public extérieur qui n accueillent pas de public au sens de la loi ne relèvent d aucune procédure administrative préalable La mise en place éventuelle de caméras doit cependant s effectuer dans le respect de la vie privée et sans visionner la voie publique Les dispositions générales du code civil sur le droit à l image ou ...
Страница 5: ... Caméra sans fil et pied 1 B Antenne de caméra 1 C Adaptateur 5V 1A pour caméra 1 E Manuel d instruction 1 D Sachet de vis 1 Outillage nécessaire Perceuse électrique Foret béton 5mm Foret béton 15mm Tournevis Philips N 2 ...
Страница 6: ... d électrocution ne pas tenter d ouvrir le boîtier lorsque la caméra est exposée à de l eau de ruissellement ou des conditions humides Ne pas exposer les connexions de câblage à des conditions météorologiques défavorables En cas de terminaison de connexions de câbles en extérieur utiliser des boîtiers anti intempéries appropriés pour isoler les connexions Ces appareils ne contiennent pas de compos...
Страница 7: ...7 Installation de la caméra Fixez le pied de la caméra à une surface stable Desserrez la vis à tête Réglez l angle de vue puis fixez le joint à l aide de la vis à tête Schéma d absorption des ondes ...
Страница 8: ...ez les étapes de la section Configuration de caméra pour configurer ou modifier le canal de la caméra Lors de l ajout d une autre caméra connectée au moniteur du kit veiller à ce que son canal soit réglé sur un canal différent que celui ceux de la des caméra s déjà installée s Remarque Si la caméra se trouve à moins de 1 à 1 5 m du moniteur et que le volume de la caméra sur le récepteur est activé...
Страница 9: ...éra en marche Éteint Caméra à l arrêt Liaison Clignotant Caméra en mode appairement Allumé Vert Caméra connectée au récepteur Éteint Caméra en veille Caméra Connecteur d antenne Raccord d alimentation Bouton Marche Appairement Capteur de lumière État de la liaison État de l alimentation Vue de face Vue de dos ...
Страница 10: ...ppairer à un canal différent Dans le menu qui apparaît appuyer L écran principal indique sur les icônes suivantes 1 Appuyer sur l image de caméra à appairer Une icône de traitement s affiche avec un décompte de 60 secondes 2 Appuyer et relâcher la touche d appairement sur le cordon d alimentation de cette caméra voir la section Description du moniteur et de la caméra Une fois l appairement réussi ...
Страница 11: ... les icônes suivantes Un X indique que la caméra est à l arrêt un symbole indique qu elle est en marche Appuyez sur la caméra pour la mettre en marche ou l arrêter Luminosité Dans le menu qui apparaît appuyez L écran principal indique sur les icônes suivantes Appuyer sur une caméra pour changer son niveau de luminosité Par défaut la valeur est 0 et la plage va de 2 à 2 ...
Страница 12: ...cation 200 mètres en champ libre Résolution de la caméra Caméra simple 480x272 Plusieurs caméras 320x240 Température de fonctionnement 10 C 50 C Tension d exploitation CC 5V 1A Consommation 500mA MAX Vision nocturne 8 m Dimensions 151x74x49 mm ...
Страница 13: ...13 CAM ADD DWH Installation and Operating Instruction Manual Model DWH This manual should be retained for future reference ...
Страница 14: ... Camera Installation 18 Setting the Camera Channel optional 18 Pairing the Camera to Receiver optional 18 GETTING TO KNOW THE CAMERA 21 SYSTEM OPERATION 22 Camera Setup Screen 22 Camera Pairing 22 Camera Activation 23 Brightness 23 PRODUCT SPECIFICATION 24 WARRANTY DECLARATION 28 ...
Страница 15: ... manufacturer 9 To meet the regulations pertaining to parental responsibility keep the devices out of the reach of infants 10 Check power cables do not get crushed or damaged by sharp edges whenever the devices are in operation FCC Compliance Statement This device complies with Part 15 of the FCC rules Operation is subjected to the following two conditions 1 this device may not cause harmful inter...
Страница 16: ...nsible for compliance could void your authority to operate such equipment DISPOSAL If the camera system no longer functions or can no longer be repaired it must be disposed of according to the valid statutory regulations Disposal of spent batteries accumulators You are required by law Battery Ordinance to return all spent batteries and accumulators Disposing of spent batteries accumulators with co...
Страница 17: ...less Camera w stand x 1 B Camera Antenna x 1 C 5V 1A Power Adapter for Camera x 1 E Instruction Manual x 1 D Screw Bag x 1 Tools Required Electric drill 5mm masonry drill bit 15mm masonry drill bit No 2 Philips screwdriver ...
Страница 18: ...do not attempt to open the housing while the camera is exposed to rain water or wet conditions Do not expose any wiring connections to weathering If terminating any wiring connections outdoors then use a suitable weathering box to insulate the connections There are no user serviceable parts inside Refer servicing to qualified service personnel Camera Installation Avoid positioning the camera so th...
Страница 19: ...19 Secure camera stand on the stable surface Loosen up the Thumb screw Adjust proper view angle then secure the joint with T bolt ...
Страница 20: ...teps in Camera Setup section to setup or change the channel of the camera If you are adding another camera to link with the supplied monitor in this kit then ensure its channel is set to a different channel to the existing camera s Note If the camera is located within 1m to 1 5m from the monitor and the camera s volume on the receiver is turned on then you may hear a whistling noise on the monitor...
Страница 21: ...HAT THE LIGHTS MEAN Light State What it means Power status On Red The camera is on Off The camera is off Link status Flashing The camera is in pairing mode On Green The camera is connected to the receiver Off The camera is in standby ...
Страница 22: ...you have to pair it to the different channel s 1 Tap the camera image you want to pair A processing icon displays for a 60 second countdown 2 Press and release the Pairing button on that camera s power cord please refer to the Getting to Know the Monitor and Camera section The system will indicate pairing is successful when pairing completes 3 The system will automatically adjust the Camera On scr...
Страница 23: ...em the system will turn on the camera automatically An X indicates a camera is OFF a check indicates ON Tap on the camera to turn it ON or OFF Brightness Tap the camera to change brightness level The default brightness is 0 and the range is from 2 through 2 ...
Страница 24: ...mmunication Range 200 meters in open space Camera Resolution Single Camera 480x272 Multiple Camera 320x240 Operating Temperature 10゚C 50゚C Operating Voltage DC 5V 1A Current Consumption 500mA MAX Night Vision 8 m Dimension 151x74x49 mm ...
Страница 25: ......
Страница 26: ......
Страница 27: ...tion CAM ADD DWH N oubliez pas d enregistrer votre garantie dans le mois suivant votre achat en envoyant cette déclaration à SCS Sentinel Service SAV Rte de St Symphorien BP 69 85130 LES LANDES GÉNUSSON France ou en vous rendant sur notre site www scs laboutique com S E Hotline assistance technique au 0 892 350 490 0 34 TTC la minute Horaire hotline voir sur le site internet www scs laboutique com...
Страница 28: ... CODE Installation by Person Company Name ID code S E WARRANTY DECLARATION Ref Lead Time Product name CAM ADD DWH TO BE SEND AT LEAST 1 MONTH AFTER PURCHASING SCS Sentinel Service SAV Rte de St Symphorien BP 69 85130 LES LANDES GÉNUSSON France or directy on our website www scs laboutique com 2 YEARS DWH CAM ...