44
5.5.1 Freehand method:
Keyboard Operation
1. Press ZOOM/1 to select Freehand method. The measure cursor appears on the screen. Use
direction keys to move the cursor to the start of the examined spot.
2. Press DIST
,
and use direction keys to move the cursor along the fringe of the examined
area to the end.
3. Press DIST again to finish the measuring.
If measuring should be continued, press M/0 and 4 or directly press +/2
,
and repeat Step
2-3. You can get 2 sets of values at most. The results are on the right side of the screen.
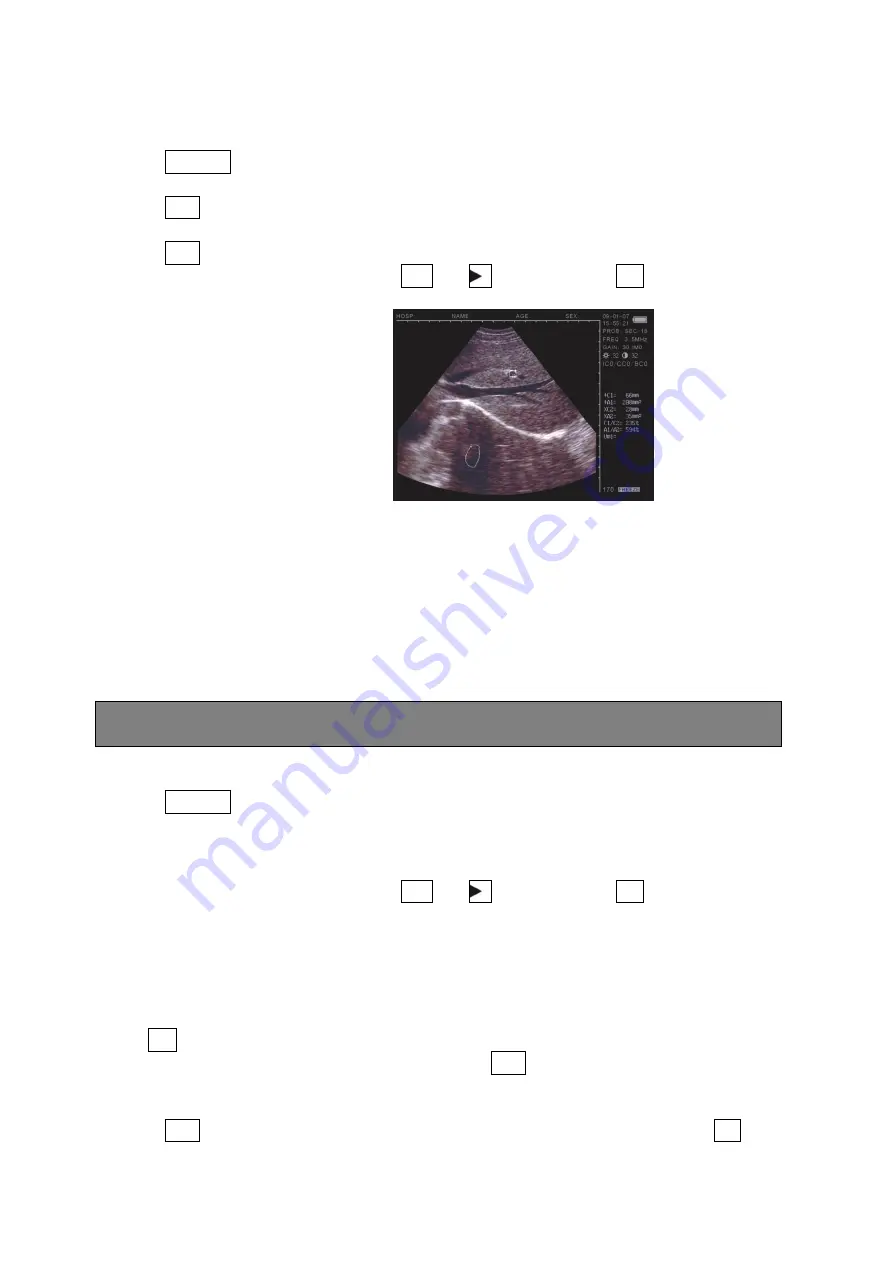
Picture 5.2. Illustration of Measuring circumference and Area(Free hand Method
)
C1 and A1 are respectively circumference and area of the first set
;
C2 and A2 are respectively circumference and area of the second set
;
C1/C2 is the ratio of two circumferences
;
A1/A2 is the ratio of two areas.
Notes: There are limitations of measuring circumference and area by keyboard. For more
conveniences, you can use the following Mouse Operation
Mouse Operation
1. Press ZOOM/1 to select Freehand method. The cursor appears on the screen, use the
mouse to move the cursor to the starting spot of the examined area
2. Press right button to move the cursor along the area that needs to be measured.
3. Press right button again to complete the measuring of circumference.
If measuring should be continued, press M/0 and 4 or directly press +/2
,
and repeat Step
2-3. You can get 2 sets of values at most. The results are mentioned on the right side of the
screen. After the measuring, press Middle button to clear the screen.
5.5.2 Ellipse Method:
Keyboard Operation
Press +/2 to select Ellipse method. At this time an ellipse area appears which is called the
examined area. Use direction keys to move this area. DIST is applied to shift among three
functions of direction keys to adjust the size and angle.
1. Use direction keys to move the examined area along the displayed image.
2. Press DIST
,
and then direction keys to alter the size of the examined area. Press
▲
3 and
Содержание 1609875
Страница 2: ...2 ...
Страница 6: ...6 Zijaanzicht Onderkant Achterkant ...
Страница 12: ...12 ...
Страница 26: ...26 ...
Страница 30: ...30 8 1 Examination 52 8 2 Malfunction Solution 52 ...
Страница 32: ...32 2 System introduction 2 1 Outline Figure 2 1 front view Figure 2 2 Side View ...
Страница 54: ...54 8 1 Kontrolle 77 8 2 Problemlösung 77 ...
Страница 80: ...80 7 3 Almacenamiento 105 8 Solución de problemas 106 8 1 Examen 106 8 2 Solución a un mal funcionamiento 106 ...
Страница 82: ...82 2 Introducción 2 1 Esquema Figura 2 1 Vista frontal Figura 2 2 Vista lateral Figura 2 3 Superficie inferior ...
Страница 86: ...86 Figura 3 2 Instalación desinstalación de la pila ...
Страница 101: ...101 Foto 5 6 Ilustración de la medición de volumen Método Eje 3 ...
Страница 108: ...108 8 2 Résolution des problèmes 130 ...
Страница 111: ...111 Vue face avant Vue de côté Vue face inférieure Vue face arrière ...
Страница 132: ...132 ...


