Operating and maintenance instructions
Installing optional attachments
Version 1.0
Page 33 of 56
6.2 Tachometer
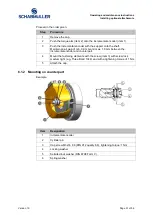
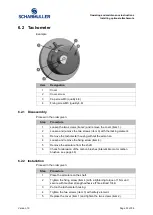
Example
Item
Designation
1
Cover
2
Cover screw
3
Cap screw M3 (quality 4.8)
4
Fixing screw M3 (quality 4.8)
6.2.1 Disassembly
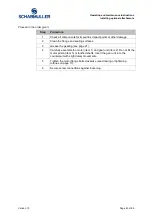
Proceed in the order given:
Step
Procedure
1
Loosen the two screws (item 2) and remove the cover (item 1).
2
Loosen and remove the two screws (item 3) with the locking element.
3
Remove the tachometer housing without the armature.
4
Loosen and remove the fixing screw (item 4).
5
Remove the armature from the shaft.
6
Check for abrasion of the carbon brushes (interval like motor carbon
brushes, see page 48).
6.2.2 Installation
Proceed in the order given:
Step
Procedure
1
Place the armature on the shaft.
2
Tighten the fixing screw (item 4) with a tightening torque of 1 Nm and
secure with medium strength adhesive (Three Bond 1344).
3
Put on the tachometer housing.
4
Tighten the two screws (item 3) with safety element.
5
Replace the cover (item 1) and tighten the two screws (item 2).

