4 INT-KWRL
SATEL
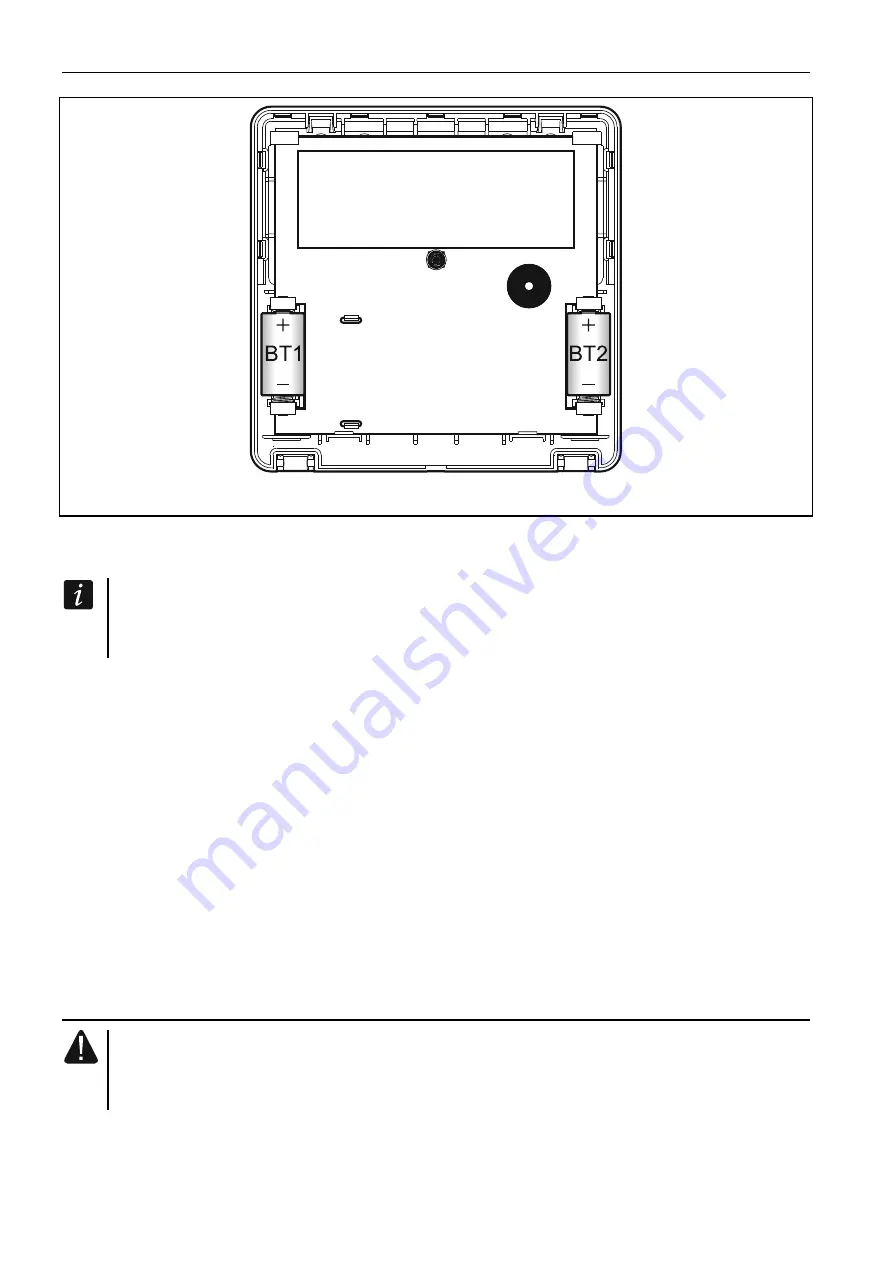
Fig. 3. Keypad enclosure inside with batteries installed.
3. Put the cover on the catches and snap the enclosure shut.
4. Place the keypad in the location intended for its installation.
If you want to hold the keypad in your hand when checking the radio signal level, grab
the device from its left side (on its right side, there is the antenna, which must not be
covered).
5. Check the level of signal received from the keypad by the ACU-120 / ACU-270 controller.
If the signal level is lower than 40%, select another place for installation. Sometimes, it is
sufficient to shift the device ten or twenty centimeters to obtain a considerable
improvement in the signal quality. Only after the optimal level of radio signal is achieved
can you proceed to the next step.
6. Open the keypad enclosure (Fig. 2).
7. Place the enclosure base against the wall and mark location of the mounting holes.
8. Drill the holes in the wall for wall plugs (screw anchors).
9. Using wall plugs (screw anchors) and screws, secure the enclosure base to the wall.
Select wall plugs and screws specifically intended for the mounting surface (different for
concrete or brick wall, different for plaster wall, etc.). When installed, the device must
withstand a pull-off force of at least 50 N.
10. Put the cover on the catches and snap the enclosure shut.
11. Lock the cover using screw.
3.1 Adding the keypad to the wireless system
Before adding a keypad, make sure that the controller terminals CKM and DTM
are connected with the keypad bus of the control panel, and the switch 8 in the
controller is set to the OFF position.
You can add the wireless keypad to the ABAX system by using either a computer with
DLOADX program installed, or an LCD keypad. The controller allows for registering of up to 4
INT-KWRL keypads. If no wired keypad is connected to the control panel, you can only add
the first wireless keypad using the DLOADX program (to establish communication between


