background image

INSTRUCTION MANUAL

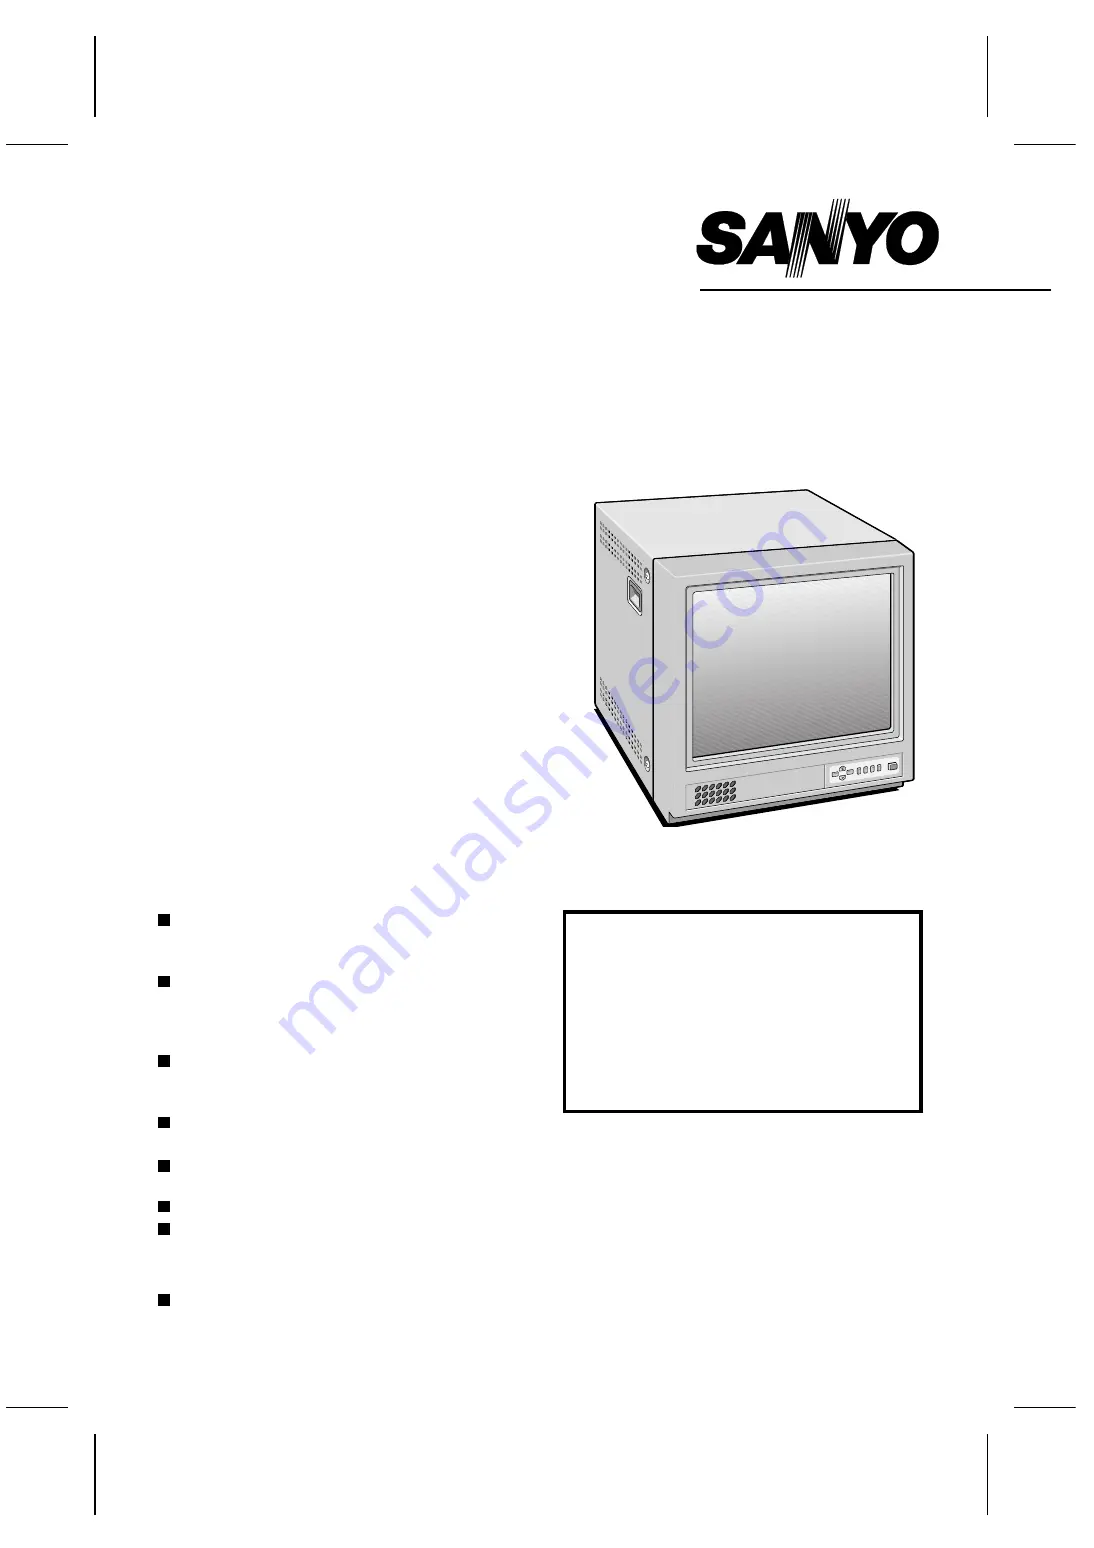
Colour Video Monitor

VMC-8615FP

CONTENTS

PRECAUTION . . . . . . . . . . . . . . . . . . . . . . . . . . . . . . 1

PARTS NAMES . . . . . . . . . . . . . . . . . . . . . . . . . . . . . 2

CONNECTIONS. . . . . . . . . . . . . . . . . . . . . . . . . . . . . 3

BASIC OPERATION . . . . . . . . . . . . . . . . . . . . . . . . . 4

ADJUST THE OSD MENU ITEM. . . . . . . . . . . . . . . . 5

TROUBLESHOOTING. . . . . . . . . . . . . . . . . . . . . . . . 6

SPECIFICATIONS . . . . . . . . . . . . . . . . . .  Back cover

FEATURES

Equipped with video and audio input terminals

The video and audio input terminals (two systems
for each input) allow loop-through.

Equipped with Y/C input (S-VIDEO input)
terminal

This terminal is used to input Y/C separation
signals (S-VIDEO signals).

Eight languages OSD MENU

ENGLISH, FRANCAIS, DEUTSCH, ESPAÑOL,
ITALIANO, RUSSIAN, CHINESE, JAPANESE

Horizontal resolution

More than 800 TV lines

PAL/NTSC colour system, selected
automatically

Built-in speaker

Multi voltage (100 – 240 V)

ACCESSORY

AC power cord (Re-attachable)

Important (U. K. only)

Connect the mains lead to a suitable plug
following the colour code:

Blue wire (Neutral) 

 to plug pin N or

coloured black

Brown wire (Live) 

 to plug pin L or

coloured red

Green and Yellow wire (Earth) 

 to plug pin

E or “

%

Do not connect Blue and Brown wire onto plug pin
E or onto earth symbol “

%

”.

About this manual
Before installing and using this unit, please read this
manual carefully. Be sure to keep it handy for later
reference.

L8MAG/XE, AU, UK (VMC-8615FP GB) 2003. 8. 22

Содержание VMC-8615FP

Страница 1: ...TSCH ESPAÑOL ITALIANO RUSSIAN CHINESE JAPANESE Horizontal resolution More than 800 TV lines PAL NTSC colour system selected automatically Built in speaker Multi voltage 100 240 V ACCESSORY AC power cord Re attachable Important U K only Connect the mains lead to a suitable plug following the colour code Blue wire Neutral to plug pin N or coloured black Brown wire Live to plug pin L or coloured red ...

Страница 2: ...inside the monitor Do not insert any metallic object through the ventilation grills Do not stick metal objects paper clips hair pins etc paper matches etc inside the monitor Do not place object containing liquids flower vase etc on top of the monitor If water or any other liquid does get inside the monitor immediately turn it off and unplug it Do not get the monitor wet Do not allow the monitor to...

Страница 3: ...r of the monitor 8 Monitor B selector button B When this button is pressed the audio and video input changes to the unit which is connected to the B terminals at the rear of the monitor 9 Monitor Y C selector button Y C When this button is pressed the audio and video input changes to the unit which is connected to the Y C terminals at the rear of the monitor F Power indicator Ñ POWER Lights when t...

Страница 4: ...be connected to either the A or B terminals at the rear of the monitor Monitor Video recorder Video camera Monitor Video recorder Video camera Monitor Video recorder To VIDEO A input terminal Rear panel To Video input terminal To AUDIO A input terminal Basic connections IN signal OUT signal To Audio input terminal To VIDEO B input terminal To AUDIO B input terminal To AUDIO input terminal To Y C i...

Страница 5: ...nitor Y C selector button Note If there is no signal being input from the input terminals selected A B or Y C at the rear of the monitor NO SIGNAL will be displayed 3 Menu screen operations 1 Press the OSD button The menu screen will be displayed The menu screen will only be displayed for about 13 seconds 2 Press the cursor l or j button The cursor will move up or down so that you can select the d...

Страница 6: ... 75 and then press the ENTER button 2 Use the cursor l and j buttons to adjust the brightness of the picture CONTRAST adjustment 1 Select 4 CONTRAST 75 and then press the ENTER button 2 Use the cursor l and j buttons to adjust the contrast of the picture SHARPNESS adjustment 1 Select 5 SHARPNESS 75 and then press the ENTER button 2 Use the cursor l and j buttons to adjust the sharpness of the pict...

Страница 7: ...ted to your monitor are describe here If none of the solutions presented here solve the problem unplug the monitor and consult a SANYO authorized dealer or service center for assistance Problems Points to be checked Measures Remedy Page No picture with the power on Is the video signal being output from the connected component Set the connected component correctly 3 Is the input signal selected pro...

Страница 8: ...SS CONTRAST SHARPNESS Sound adjustment Adjustable speaker volume Language setting Eight languages English Francais Deutsch Espanol Italiano Russian Chinese and Japanese Title setting Title entry up to eight alphanumeric characters Overscan or underscan selection YES Speaker x1 impedance of 8 Ω Audio output 1 W Power source 100 240 V AC 50 60 Hz Power consumption 95 W Ambient operating temperature ...

Отзывы: