Version 1.2
n-f
/0610/engl/A6
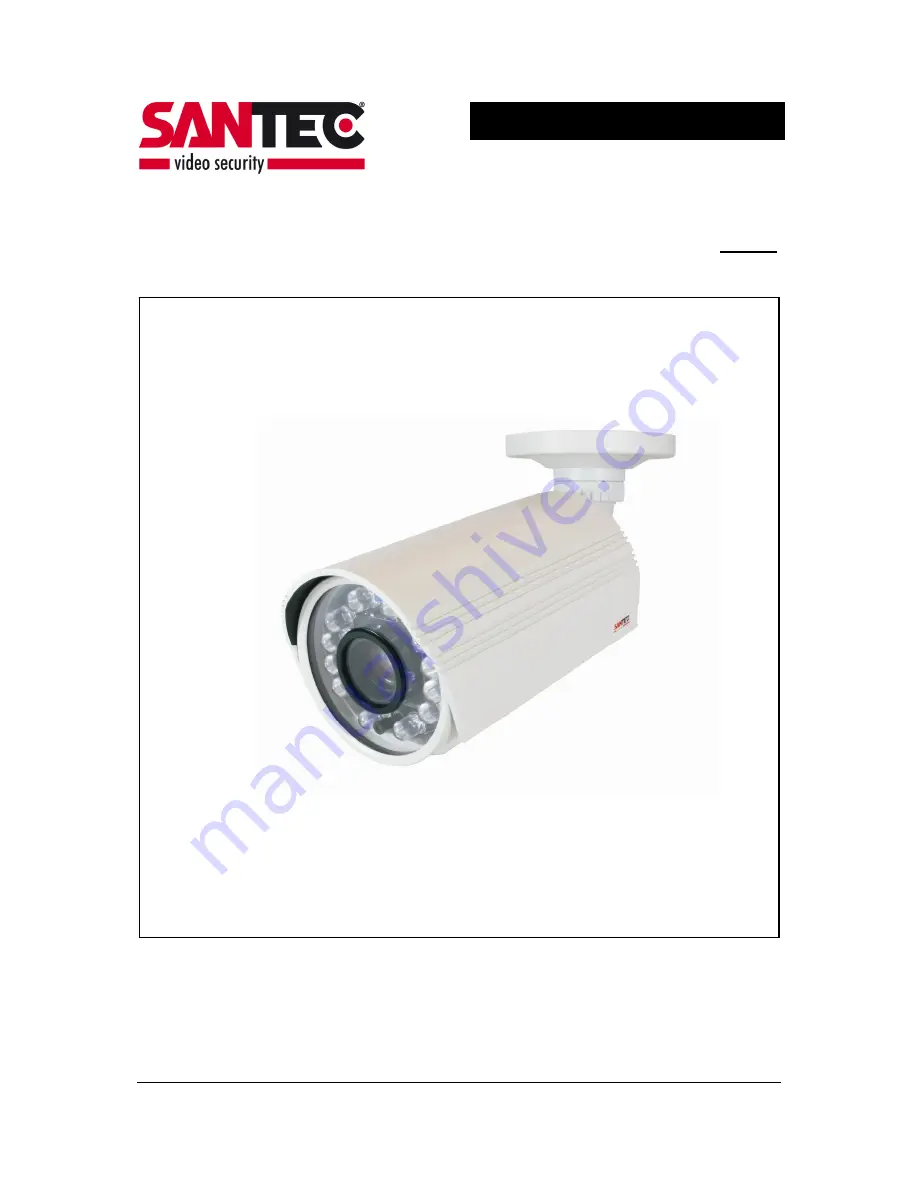
USER MANUAL
IP day/night camera
with motor zoom lens
in weather-proof housing
Model
SNC-565IR/W
Страница 1: ...Version 1 2n f 0610 engl A6 USER MANUAL IP day night camera with motor zoom lens in weather proof housing Model SNC 565IR W...
Страница 2: ...ieval system or transmitted in any form or by any means electronic mechanical photocopying recording or otherwise without the written prior permission of SANYO VIDEO Vertrieb AG No reproduction of any...
Страница 3: ...ue camera module 8 1 6 Sun shield installation 9 1 7 Safety note for IR LEDs 9 1 8 DIP switch 9 1 9 Camera overview 10 2 OSD menu 12 2 1 Menu overview 12 2 2 General 13 2 3 Cam title 13 2 4 White bal...
Страница 4: ...TP 41 4 5 5 DDNS dynamic domain name system 42 4 5 6 Event protocol 42 4 6 Video settings 43 4 6 1 Encoding 43 4 6 2 Camera settings 44 4 7 Audio settings 45 4 8 Extended settings 46 4 8 1 Motion dete...
Страница 5: ...of sufficient magnitude to constitute a risk of electric shock to a person Warning This symbol is intended to alert the user to the presence of important operating and maintenance servicing instructio...
Страница 6: ...only be operated from the type of power source indicated on the marking label If you are not sure of the type of power supplied at the installation location please contact your local dealer An applian...
Страница 7: ...e Bright vertical or horizontal lines can result in a distortion outshine of the entire image on the monitor This artifact is not an error but a particularity of semiconductor CCDs when they are direc...
Страница 8: ...ra Ensure that the camera is safely installed by using only suitable screws 1 3 Power supply The camera can be operated with 12 V DC via the external power supply unit or with PoE Power over Ethernet...
Страница 9: ...row buttons To confirm your selection press the OSD button 1 6 Sun shield installation After the camera has been installed the focus has been adjusted and the different adjustments via OSD menu are be...
Страница 10: ...____________________________________ 10 1 9 Camera overview Picture 1 Adjustments for service purposes Picture 2 Attaching the sun shield sun shield reset button video test connector joystick for OSD...
Страница 11: ...er manual SNC 565IR W _________________________________________________________________________________ 11 Picture 3 Connections Ethernet connection Voltage 12 V DC Audio input output Alarm input outp...
Страница 12: ...Menu overview Cam Title Off On White Balance ATW AWC Set Manual Backlight Off Low Middle High Motion Det Off On Focus Mode Zoom TRK Zoom Speed D Zoom Disp Zoom Mag Zoom Pos Init Lens Init End Exposur...
Страница 13: ...tton to call up the main menu Use the up down buttons to select CAM TITLE the selected item is marked by an arrow 2 Use the left right buttons to select ON NOTE When you select OFF for CAM TITLE the c...
Страница 14: ...ion of the camera name Confirm the new position by pressing SET 6 Once the settings are done move the cursor to END and confirm by pressing SET 2 4 White bal 1 Press SET to call up the main menu Use t...
Страница 15: ...en that the white balance isn t done properly under the following conditions if the surrounding mainly contains objects of high colour temperature e g blue sky or sundown under dull damped light condi...
Страница 16: ...is switched off ON Every kind of movement is detected in the defined surveillance area 2 Under AREA SEL select one of the four surveillance areas and activate it to ON 3 Use the up down left right bu...
Страница 17: ...Press SET to access the FOCUS sub menu MODE Select the suitable zoom mode Use the up down buttons to select MODE AUTO Select AUTO and confirm by pressing SET Use the up down buttons to increase decre...
Страница 18: ...rm Increase or decrease the position of the optical zoom ZOOM or of the digital zoom D ZOOM by using the direction arrows You will see the changes on the screen Once you are satisfied with your choice...
Страница 19: ...option ON and press SET Use the left right buttons to adjust the ZOOM LIMIT DISP ZOOM MAG The current zoom magnification is displayed on the screen Use the up down buttons to select DISP ZOOM MAG Sele...
Страница 20: ...sure 1 Press SET to call up the main menu Use the up down buttons to select EXPOSURE 2 Press SET to access the EXPOSURE sub menu BRIGHTNESS Use the up down buttons to select BRIGHTNESS Increase or dec...
Страница 21: ...tness by setting the shutter speed Use the up down buttons to select Shutter Use the left right buttons to select the desired shutter mode A FLK no flickering automatic adjustment of shutter speed ide...
Страница 22: ...ise reduction OFF no noise reduction SENS UP With this function you can achieve a better picture quality under low light condition or in darkness Use the up down buttons to select SENS UP Use the left...
Страница 23: ...p the main menu Use the up down buttons to select SPECIAL 2 Press SET to access the SPECIAL sub menu USER PRESET Use the up down buttons to select USER PRESET Use the left right buttons to select ON P...
Страница 24: ...___ 24 PRESET SAVE Save the preset settings PRESET CLEAR Delete the preset settings END Return to SPECIAL SETUP menu USER PRESET SETUP PRESET NO NO 1 PRESET MODE OFF PRESET SAVE END PRESET DEFINED PRE...
Страница 25: ...cy zone areas AREA MODE Display of privacy zone areas MASK TONE Adjustment of colour tone of privacy zone areas TOP Moving the privacy zone areas up BOTTOM Moving the privacy zone areas down LEFT Movi...
Страница 26: ...NOTE In AUTO 2 mode AGC is fixed to mode HIGH SYNC Two kinds of synchronisation are available internal and external LineLock INT The camera is synchronised internally LL The camera is synchronised Lin...
Страница 27: ...the COMMUNICATION sub menu CAM ID Camera ID DISP CAM ID The camera ID is displayed in the upper left corner of the screen BAUD RATE Baud rate adjustment UART MODE Parity Bit adjustment RET PKT Transfe...
Страница 28: ...ity and special characteristics FREEZE Freeze image H REV Horizontal turn of screen view V REV Vertical turn of screen view SHARPNESS By increasing the sharpness the object s contours become clearer H...
Страница 29: ...D admin Password 9999 To retain the default settings press the reset button There are the following 3 options to change the IP address of the camera a IP finder software Every SANTEC IP camera comes w...
Страница 30: ...n the device adjustment page via the context menu also see brief instructions on SanView software You will find the respective control elements on the network parameter tab To copy the parameters clic...
Страница 31: ...ddress of the network camera and press the ENTER key You will then access the web interface of the camera The default IP address of the camera is 192 168 1 168 You need the user ID and the password in...
Страница 32: ...2 Live View Page for camera adjustments Page for Live View Live View with 50 resolution Live View with defined resolution PTZ control pan tilt confirmation OSD menu PTZ speed S slow F fast Zoom in Zo...
Страница 33: ...ce Audio off camera web interface Audio on web interface camera Audio off web interface camera Storage location for snapshots and video sequences Save snapshot Start recording the video sequence is sa...
Страница 34: ...User manual SNC 565IR W _________________________________________________________________________________ 34 4 3 Setting overview...
Страница 35: ...ist o Synchronize with computer time If you select this option the computer time date is transferred to the camera o Synchronize with SNTP server If you select this option the SNTP server time date is...
Страница 36: ...Time stamp Enable time stamp The time stamp is displayed Time stamp position o UPPER LEFT o UPPER RIGHT o BOTTOM LEFT o BOTTOM RIGHT Time stamp format o YY MM DD o MM DD YY o DD MM YY o YY MM DD TITL...
Страница 37: ...added or modified Password Password of the above user name Confirm Re enter and thus confirm the password here Authority Authorisation level admin operator or viewer Submit Click here to apply the ne...
Страница 38: ...__________________________________________ 38 4 4 6 Update firmware This page displays information on the installed firmware version and the ActiveX components Search Select the firmware file from you...
Страница 39: ...om 0 to 255 By this the netmask can be identified in which the network camera is located Gateway Enter the 4 Byte gateway value from 0 to 255 First DNS Enter the 4 Byte DNS server address value from 0...
Страница 40: ...it Click here to apply the new network settings to the network camera 4 5 3 FTP FTP server IP address of the FTP server Can be entered as 4 Byte IP address or as domain name Port Port number of the FT...
Страница 41: ...t on e mail server Password Password of account on e mail server Sender This information is displayed as e mail sender SMTP server IP address of SMTP server Can be entered as 4 Byte IP address or as d...
Страница 42: ...DDNS server Can be entered as 4 Byte IP address or as domain name DDNS account Account on DDNS server DDNS password Password of account on e mail server Submit Click here to apply the new network sett...
Страница 43: ...solution The resolution of each video stream depends on the compression The following values apply Compression Resolution Single MPEG4 Video Stream 1 MPEG4 D1 720x576 MPEG4 Half D1 Video Stream 1 MPEG...
Страница 44: ...MPEG4_2 setting o Bitrate 200 4000 Kbit sec o Bildrate 25 13 6 3 fps Submit Click here to save the new settings 4 6 2 Camera settings On this page you can change the following picture settings o brigh...
Страница 45: ...__________________________________________ 45 4 7 Audio settings Audio Set the audio mode to o OFF audio is turned off o one way audio only from camera to PC o two way audio in both directions Audio o...
Страница 46: ...ivation of motion detection Sensitivity Set the sensitivity level of the motion detection o Lowest o Low o Medium o High o Highest CCD reference CCD reference 20 50 Motion detection mask Click on the...
Страница 47: ...o Active type high This means 3 3 V If the camera triggers an alarm the alarm output has 3 3 V o Trigger an alarm when Ethernet is lost The camera can trigger an alarm if the network connection is int...
Страница 48: ...D card enable Activate deactivate the SD card SD card rewrite Activate deactivate the rewriting of the SD card Format The SD card is being formatted Submit Click here to save the new SD card settings...
Страница 49: ...o Schedule record upload via FTP o Schedule record save into SD card o Alarm record upload via FTP o Alarm record save into SD card o Alarm record upload via SMTP e mail sending Additional setting op...
Страница 50: ..._____________________________________________________________ 50 4 8 4 2 Recording schedules You can set up to 7 schedules in the camera Submit Click here to save the new schedule settings Remove all...
Страница 51: ...ingle MPEG4 D1 max 25 fps Single MPEG4 half D1 max 25 fps Dual MPEG4 D1 max 20 fps MPEG4 CIF max 20 fps Dual MPEG4 D1 max 25 fps MJPEG D1 max 20 fps Motion detection Yes Schedule Yes Picture upload FT...
Страница 52: ...__________________________________________________________________________ www santec video com Your local distributor...