


9
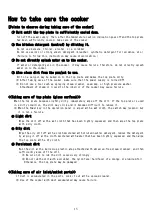
How to Use Cooker
※The explanation given below is for use of left Induction
heater.(Right Induction heater can also be used in the
same manner.)
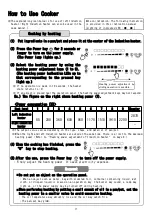
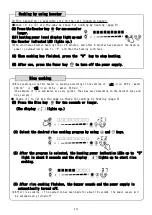
(1) Put ingredients in a pan/pot and place it at the center of the Induction heater.
(2) Press the Power key
for 2 seconds or
longer to turn on the power supply.
(The Power lamp lights up.)
(3) Select the heating power by using the
heating power adjustment keys (1 to 9).
(The heating power indication LEDs up to
that corresponding to the pressed key
light up.)
※ If no operation is made in 10 seconds, the heater
state returns to (2).
※ If an object is placed near the operation panel, the heating power adjustment keys may not respond.
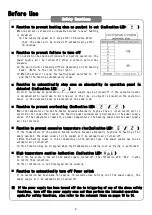
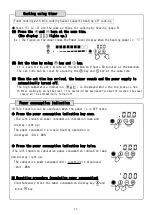
Ex.) The figure on the right shows heating power (7).
<Power consumption [W]>
Heat level
1
2
3
4
5
6
7
8
9
Booster
Left Induction
heater
85
200
360
600
860
1170
1510
1910
2200
2870
Right Induction
heater
-
※ The output value varies depending on the type, shape, and material of pan/pot.
※ When the right and left Induction heaters are used at the same time, there is a limit to the maximum
heating power.(Refer to “Heating power adjustment of Induction heater” on page 9.)
(4) When the cooking has finished, press the
“0” key to stop heating.
(5) After the use, press the Power key
to turn off the power supply.
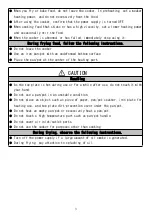
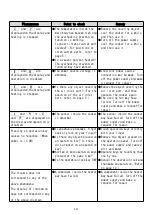
・ Finely adjust the heating power. It saves electricity expenses.
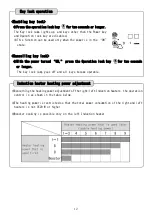
Cooking by heating
■Do not put an object on the operation panel.
・ When an object such as metal, bag with aluminum foil, container containing liquid, wet
cloth, or dripped liquid is placed on an operation key, the buzzer may sound, a lamp may
light up, or the power supply may be turned off during heating.
■When performing heating by putting a small amount of oil in a pan/pot, set the
heating power to a smaller value to avoid excessive heating.
・ The oil temperature may abruptly rise and the oil may catch fire.
・ The pan/pot may gl
ow.
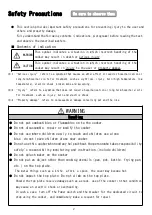
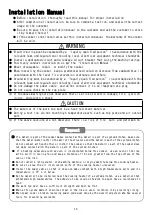
Request
Note on indication: The following indication
is provided in this instruction manual.
[Lighting of indicated LED : ●, ■ ]
Heating power adjustment by
sliding operation is possible.
Содержание SIH-BH327BTW
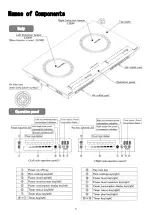
Страница 5: ...5 Names of Components Operation panel Body...
Страница 20: ......
Страница 21: ...SIH BH327BTW 220V 2 4 5 6 7 10 12 13 16 SANKAKOGYO IH...
Страница 22: ...2 1 2 3 1 2 3...
Страница 23: ...3...
Страница 24: ...4...
Страница 25: ...5 LED 10 10 9 LED LED LED LED LED Hot 10 P 10 11...
Страница 26: ...6 18 8 18 10 12 26 IH 12 2...
Страница 28: ...8 IH P7 LED 8 8 9 0 C1 290 350 C2 435 530 P7 2 LED 5 LED 5 LED 10 P7 LED 7 1 9 59 10...
Страница 29: ...9 OFF IH LED 1 kWh IH LED kWh IH 3520W IH 2 2 IH...
Страница 30: ...10 2 2 2 LED P6 P6 LED 2 LED...
Страница 31: ...11 LED P4 LED LED P4 LED ON 1 P9 LED...
Страница 32: ...12...
Страница 33: ...13 10 75...
Страница 34: ...14 220V 20A 2 0 3 5mm2 250V 20A...
Страница 35: ...15 100 70 0 0 100 5 5...