background image

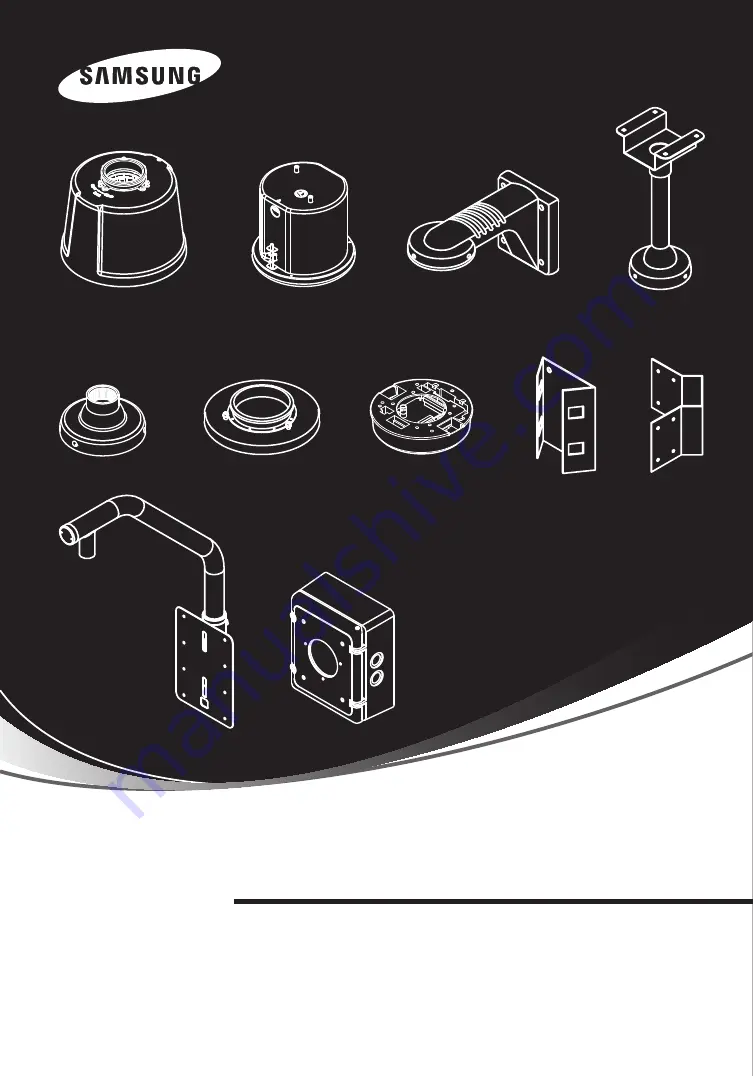
STH-380NPO / STH-360NPO/  

STH-370NPI / STH-370NPE

STB-370NPC/STH-270PWV/STB-496PPV

STB-25PF/STB-30PF/STB-350PPM

STB-330PPM/STB-340PCM/STB-270B

SNP-3750/3350

Network Speed Dome Camera Accessories 

Installation Manual

Before attempting to operate this product, 
please read the instructions carefully.

Содержание SNP-3350

Страница 1: ...STB 370NPC STH 270PWV STB 496PPV STB 25PF STB 30PF STB 350PPM STB 330PPM STB 340PCM STB 270B SNP 3750 3350 Network Speed Dome Camera Accessories Installation Manual Before attempting to operate this product please read the instructions carefully ...

Страница 2: ...he camera The use of equipment such as an aerial ladder while providing after sales service shall be at your expense SamsungTechwin cares for the environment at all product manufacturing stages to preserve the environment and is taking a number of steps to provide customers with more environment friendly products The Eco mark represents Samsung Techwin s will to create environment friendly product...

Страница 3: ...a built in install base for the Samsung Speed Dome Camera STH 380NPO STH 360NPO STB 370NPC STH 370NPE 1 Product Category 1 1 Housing Accessories 1 2 Interface Mounting Accessories 1 3 Mounting Bracket Accessories This WallType Mount is used for the installation of STH 380PO STH 370PO STH 360PO STH 370PI and STB 25PF of the Samsung Speed Dome Camera This CeilingType Mount is used for the installati...

Страница 4: ...msung Speed Dome Camera Wall Type Mount Ceiling Type Mount STB 330PPM STB 340PCM STB 270B Corner Mount for the Samsung Speed Dome Camera Setup Box for the Samsung Speed Dome Camera Pole Mount for the Samsung Speed Dome Camera 2 Speed Dome Camera Installation Category Pendant Type On Ceiling Mount Type Indoor Flush Mount Type Indoor Flange Type Mount Product Category Speed Dome Camera Installation ...

Страница 5: ...ng Housing Open the hinged door at the bottom of the housing Hold the knob on the hinged door to open 3 Connecting Housing and Bracket To prevent the housing from falling down during the installation process hook the safety cable on the bracket loop as shown in the picture Do not connect the camera to a power outlet until the installation is complete Supplying power in the middle of the installati...

Страница 6: ... sure to hook the safety cable on the bracket loop before connecting the housing Neglecting this caution may expose you to injury caused by a fallen housing Notes 4 Assembling Housing and Bracket After hooking the safety cable fit the housing into the fixture grooves on the bracket as shown in the picture When attaching locate the Samsung logo on the housing facing the center front 5 Securing Hous...

Страница 7: ...ation Protocol SW2 ID SW1 To attach the camera to the mount refer to the alignment guide marks as shown in the picture Make sure to first hook the camera s safety cable to the mount before proceeding Otherwise you may be exposed to serious injury caused by a fallen camera Notes Camera Wiring Diagram This wiring diagram indicates the connection between the interface board and external equipment For...

Страница 8: ... the mount as shown in the picture Push the camera until you hear a click Detaching the camera To detach the camera pull the camera downward while pushing the unlock buttons on the camera upward 10 Assembling Dome Cover Once the camera is successfully attached secure the mount with the transparent dome cover Next turn on the power 11 Dome Cover Setting Once the installation is complete please opti...

Страница 9: ...arrel to prevent water leakage Please note that the STH 380NPO housing requires an additional installation of the fan heater adapter enclosed with the product 2 Assembling STB 30PF and Pipe After sealing the screw taps assemble the STP 30PF flange securely to the pipe Using unsealed screw taps can cause the product to fall down or allow water leakage that may lead to fire or damage the product Sea...

Страница 10: ...ssful close the hinged door 5 Setting Up Camera DIP Switches DIP switches for communication and ID protocols are located on the bottom of the camera For the switch settings refer to the appendix of this manual 3 Assembling Mount and Flange First hook the safety cable on the mount and then fit the housing into the fixture groove on the bracket as shown in the picture Once the housing is safely atta...

Страница 11: ...the mount To attach the camera to the mount refer to the alignment guide marks as shown in the picture Make sure to first hook the camera s safety cable to the mount before proceeding Otherwise you may be exposed to serious injury caused by a fallen camera Notes To attach or detach the camera refer to the picture Attaching the camera Hold up the camera and push it to the mount as shown in the pict...

Страница 12: ...aching Camera Carefully attach the camera to the mount following the alignment guide marks as shown in the picture First hook the camera s safety cable on the mount and then attach the camera The safety cable is coiled inside the install base As shown in the leftward picture pull out the safety cable from the install base and then hook it to the mount 2 Wiring Terminal Cables Connect the cables to...

Страница 13: ...r detach the camera refer to the picture Attaching the camera Hold up the camera and push it to the mount as shown in the picture Push the camera until you hear a click Detaching the camera To detach the camera pull the camera downward while pushing the unlock buttons on the camera upward To attach the camera To detach the camera UNLOCK Unlock Button On Ceiling Mount Type Installation Indoor Flush...

Страница 14: ...n the center of the template 3 Wiring and Arranging Anti fall Eyebolts Attach the enclosed turnbuckle and eyebolts inside the ceiling and then drop the camera cables down from the ceiling through the hole 5 Inserting the flush housing Arrange the cables and eyebolts as shown in the picture and then insert the housing into the ceiling hole 6 Securing Screws or Internal Supports Two fixture methods ...

Страница 15: ... the alignment guide marks as shown in the picture Make sure to first hook the camera s safety cable to the mount before proceeding Otherwise you may be exposed to serious injury caused by a fallen camera Notes Be careful to not scratch the transparent cover during the assembly Scratched dome covers may decrease the graphics quality and overall performance of the camera Notes To attach or detach t...

Страница 16: ...he install bracket 2 Fill unwanted wire holes with mount caps Secure the mount cap with the mount cap fastener 3 Place the setup box on the install bracket as shown in the picture 4 Using hexagon bolts fasten the setup box to the bracket Next feed the camera cables into the setup box through the hole in the cover 5 Feed the camera cables through the wall bracket and secure the bracket using 4 scre...

Страница 17: ... 270PWV pole mount to the wall 1 Drill 8 anchor bolt holes on the wall according to the holes in the parapet mount 2 Using a tool insert anchor bolts and then set the parapet mount on the bolts Use 8 nuts to fasten the bolts 1 Drill 8 anchor bolt holes on the wall according to the holes in the corner mount 2 Using a tool insert anchor bolts and then set the corner mount on the bolts Use 8 nuts to ...

Страница 18: ...D DOME CAMERA ACCESSORIES 35 SPEED DOME CAMERA ACCESSORIES Unit mm Unit mm Product External Dimensions Wall Mounting Ceiling Mounting Ceiling Exposed Mounting Indoor Flush Mounting Product External Dimensions ...

Страница 19: ...erials Components mm Wall Type Mount ALDC 12 Ceiling Flange ALDC 12 On Ceiling Installation ALDC12 Housing Flange E G I 2 0t DOOR FRONT ALDC 12 Ceiling Pipe SPPS32A SCH 40 COVER PC ABS Adaptor Housing AL BASE HOUSING ALDC 12 Ceiling Bracket E G I 2 0t Ceiling Bracket E G I 2 0t COVER PC ABS Ceiling Support SUS INSTALL BRACKET C R 2 0t Ceiling Plate SPCC JOINT MOUNT 1EA Miscellaneous Screw 4EA Self...

Страница 20: ...MEMO MEMO ...

Страница 21: ...740 8151 8 FAX 82 31 740 8145 SAMSUNG TECHWIN EUROPE CO LTD Samsung House 1000 Hillswood Drive Hillswood Business Park Chertsey Surrey UNITED KINGDOM KT16 OPS TEL 44 1932 45 5300 FAX 44 1932 45 5325 SAMSUNG TECHWIN AMERICA Inc 1480 Charles Willard St Carson CA 90746 UNITED STATES Tol Free 1 877 213 1222 FAX 1 310 632 2195 www samsungcctvusa com SALES NETWORK ...

Отзывы: