


SERVICE
LASER PRINTER
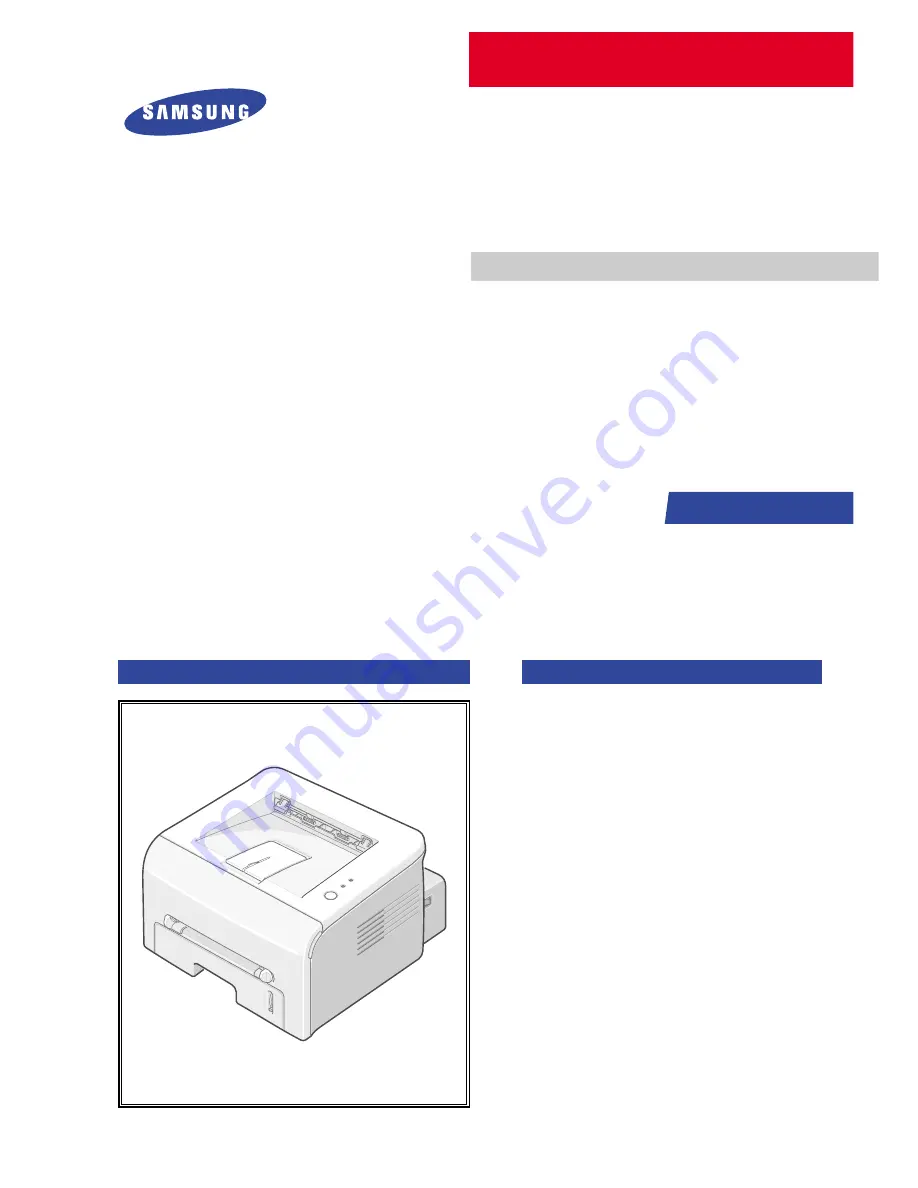
ML-1740
/XSH
Manual
LASER PRINTER
CONTENTS
1.
Precautions
2. Reference
Information
3.
Specifications
4.
Summary of product
5. Disassembly and Reassembly
6. Alignment
and
Adjustments
7.
Troubleshooting
8.
Exploded Views and Parts List
9.
Block Diagram
10. Connection Diagram
Basic Model : ML-1740
Содержание ML-1740/XSH
Страница 3: ...2003 12 ...
Страница 11: ...2 4 REFERENCE INFORMATION Samsung Electronics Service Manual 2 3 2 A4 2 Pattern ...
Страница 12: ...2 5 Samsung Electronics REFERENCE INFORMATION Service Manual 2 3 3 A4 IDC Pattern ...
Страница 13: ...2 6 REFERENCE INFORMATION Samsung Electronics Service Manual ...
Страница 17: ...3 4 Specifications Samsung Electronics Service Manual ...
Страница 60: ...6 15 Samsung Electronics LIGNMENT DJUSTMENTS Service Manual ...
Страница 95: ...8 12 EXPLODED VIEW PARTS LIST Samsung Electronics Service Manual ...
Страница 98: ......
Страница 99: ......
Страница 100: ......
Страница 101: ......
Страница 102: ......
Страница 103: ......
Страница 104: ......
Страница 105: ......
Страница 106: ......
Страница 107: ......


