4-36
4. Troubleshooting
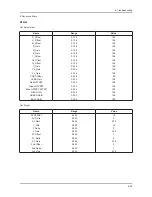
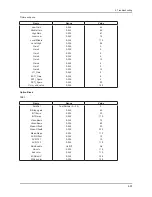
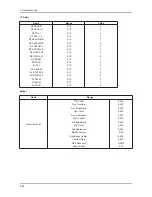
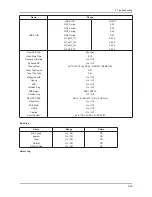
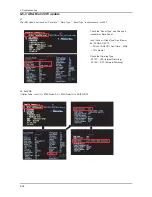
4-6-2 RS-232C
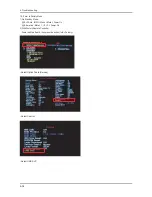
2-1.
- Before S/W Update, set the value “Service Select Debug/DL”
- To set the value, enter to “1.Option Table (Service) -> Control”
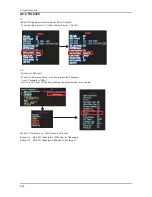
2-2.
- Set the value “Debug On”
- To enter “4. Advanced Menu”, we have to press the Password.
( now, Password is “0000”)
- Turn off (=AC Power off) the Set (waiting a few seconds) and turn on again.
Caution !!! If Debug is on, Wall_Mount is not active.
Debug On : RS-232C (Baudrate=115200 bps) for Debugging
Debug Off : RS-232C (Baudrate=9600 bps) for Wallmount
Содержание LA40A680M1R
Страница 91: ...5 84 5 Exploded View Part List Memo ...
Страница 95: ...1 4 1 Precautions Memo ...
Страница 107: ...2 12 2 Product specifications ...
Страница 108: ...2 13 2 Product specifications ...
Страница 111: ...2 16 2 Product specifications Memo ...
Страница 115: ...4 4 4 Troubleshooting WAVEFORMS 1 2 PC Input V Sync H Sync 3 LVDS Out CLK ...
Страница 117: ...4 6 4 Troubleshooting WAVEFORMS 4 5 HDMI Input CLK 6 Tuner CVBS Out Pattern Grey Bar 7 TS DATA Out Clk Data 0 ...
Страница 119: ...4 8 4 Troubleshooting WAVEFORMS 6 Tuner CVBS Out Pattern Grey Bar 7 TS DATA Out Clk Data 0 8 Eagle Out Clk H Sync ...
Страница 121: ...4 10 4 Troubleshooting WAVEFORMS 6 Tuner CVBS Out Pattern Grey Bar 7 TS DATA Out Clk Data 0 ...
Страница 123: ...4 12 4 Troubleshooting WAVEFORMS 6 Tuner CVBS Out Pattern Grey Bar 7 TS DATA Out Clk Data 0 9 S VIDEO Input Y C ...
Страница 125: ...4 14 4 Troubleshooting WAVEFORMS 6 Tuner CVBS Out Pattern Grey Bar 7 TS DATA Out Clk Data 0 0 Component Input Y Pb ...
Страница 127: ...4 16 4 Troubleshooting WAVEFORMS Audio Input Sign Wave 12S Input Clk Data Audio Amp Out Sign Wave ...
Страница 151: ...4 40 4 Troubleshooting Memo ...
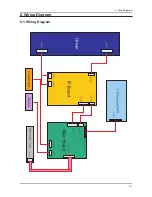
Страница 152: ...6 1 6 Wiring Diagram 6 Wiring Diagram 6 1 Wiring Diagram ...
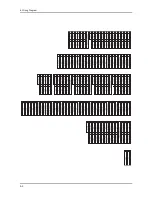
Страница 153: ...6 2 6 Wiring Diagram ...


