34
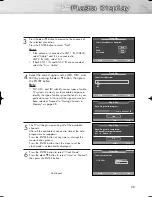
Option 1: Setting the Clock Automatically
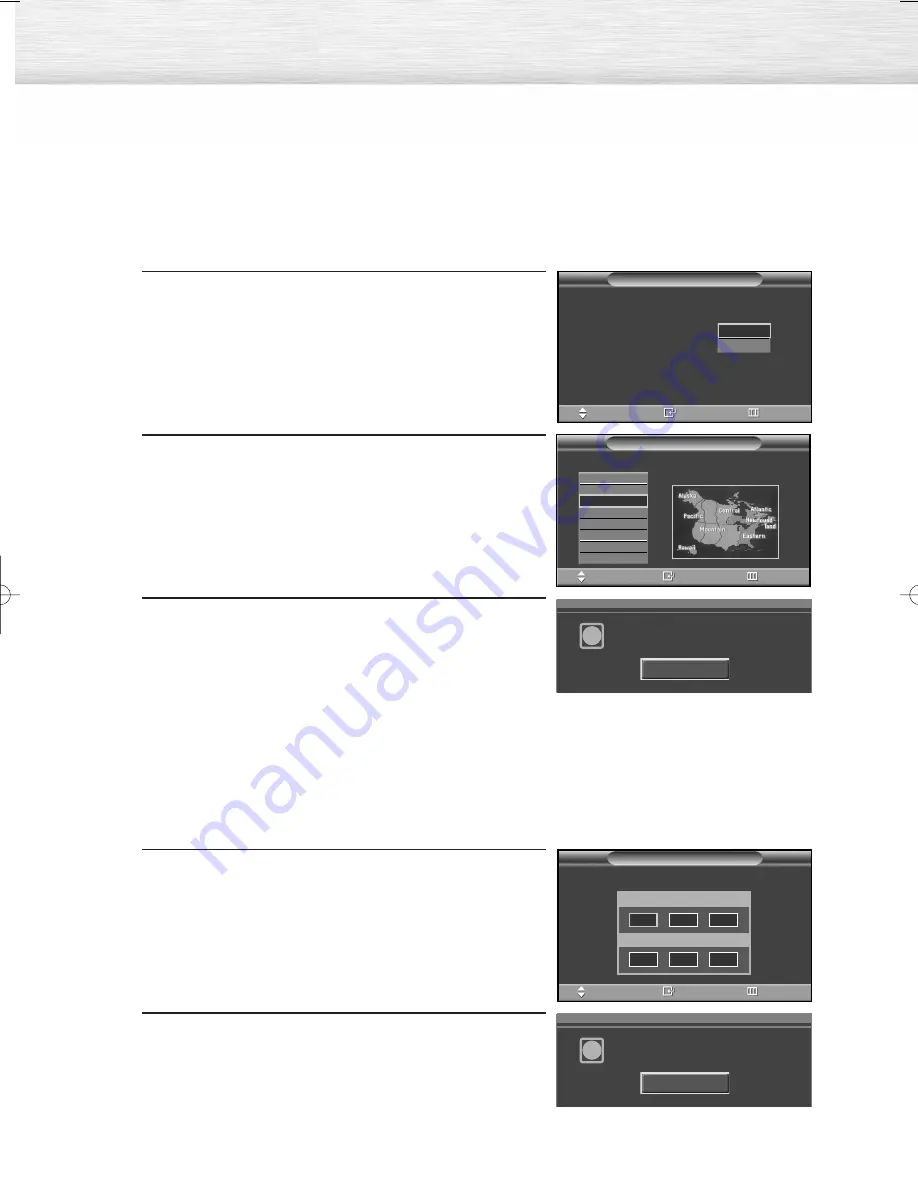
If you set “Clock Mode” to “Auto” in step 6, follow the instructions below.
7
Press the ENTER button to select “DST”(Daylight Savings
Time).
Press the
▲
or
▼
button to select “No” or “Yes”, then
press the ENTER button.
“Select the time zone in which you live” menu is
automatically displayed.
8
Press the
▲
or
▼
button to highlight the time zone
for your local area (and to move the highlight to the
appropriate time zone on the map of the United States).
Press the ENTER button.
If you have received a digital signal, the time will
be set automatically. If not, see page 99 to set the
clock.
9
The message “Enjoy your watching.” is displayed.
When you have finished, press the ENTER button.
Option 2: Setting the Clock Manually
If you set “Clock Mode” to “Manual” in step 6, follow the instructions below.
7
Press the
œ
or
√
button to move to “Month”, “Day”,
“Year”, “Hour”, “Minute”, or “am/pm”.
Set the clock you want by pressing the
▲
or
▼
button,
then press the ENTER button.
• You can set the month, day, year, hour and minute
directly by pressing the number buttons on the remote
control.
8
The message “Enjoy your watching.” is displayed.
When you have finished, press the ENTER button.
Enjoy your watching.
i
OK
Enjoy your watching.
i
OK
Set to daylight savings time.
Daylight Savings Time :
English
Plug & Play
Enter
Skip
No
Yes
Move
Clock Set
Select the time zone in which you live.
Plug & Play
Newfoundland
Atlantic
Eastern
Central
Mountain
Pacific
Alaska
Hawaii
Enter
Skip
Move
Enter
Skip
Move
Set current date and time.
Month Day Year
Hour
Minute am/pm
…
†
--
--
----
--
--
--
BN68-00991B-01Eng(032~051) 2/17/06 1:57 PM Page 34
Содержание HP-S4253
Страница 6: ......
Страница 18: ......
Страница 50: ......
Страница 96: ......
Страница 102: ......
Страница 132: ......
Страница 137: ...137 137 Dimensions HP S4253 JACK PANEL DETAIL 2 1 4 H x 18 3 4 W 5 3 4 UP FROM BOTTOM TOP VIEW FRONT VIEW...
Страница 138: ...138 SIDE VIEW REAR VIEW...
Страница 139: ...139 Dimensions HP S5053 JACK PANEL DETAIL 2 1 4 H x 18 3 4 W 5 3 4 UP FROM BOTTOM TOP VIEW FRONT VIEW...
Страница 140: ...140 SIDE VIEW REAR VIEW...
Страница 141: ...This page is intentionally left blank...
Страница 142: ...This page is intentionally left blank...
Страница 143: ...This page is intentionally left blank...

