3-16
3. Disassembly and Reassembly
Part
Photo
Description
DRAIN PUMP
ASS’Y
CIRCULATION
PUMP ASS’Y
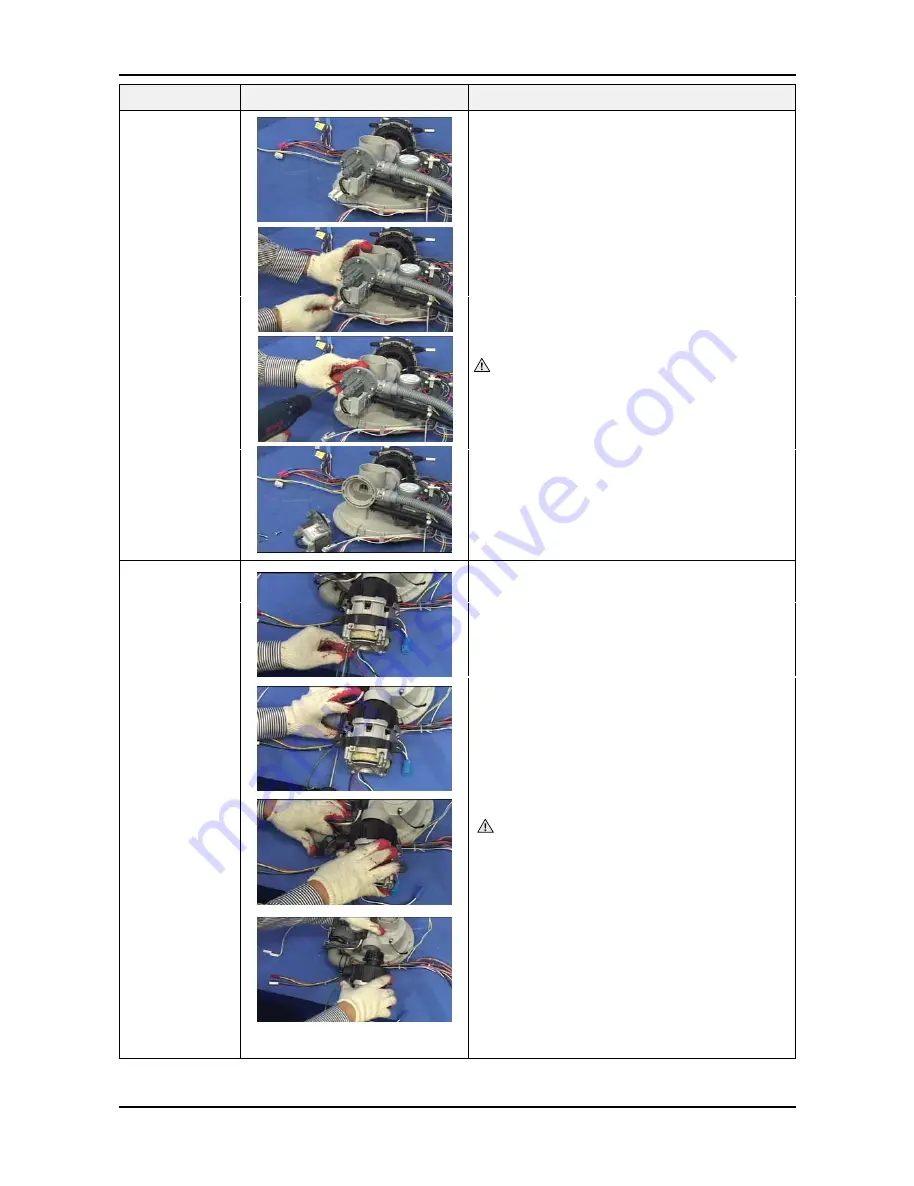
24. Drain pump ass'y
Ƒ
Separate housing L/R
Ƒ
Separate main pcb ass'y
Ƒ
Separate top table ass’y
Ƒ
Separate tub ass'y
1) Remove the two (2) DRAIN PUMP connectors.
2) Remove the five (5) screws holding DRAIN PUMP
ASS’Y in place.
Ƒ
Separate sump ass'y
3) Remove the DRAIN PUMP ASS’Y.
25.Circulation pump ass'y
Ƒ
Separate housing L/R
Ƒ
Separate main pcb ass'y
Ƒ
Separate top table ass’y
Ƒ
Separate tub ass'y
Ƒ
Separate sump ass'y
1) Remove the screw holding GROUND WIRE in place.
2) Remove the DOUBLE WIRE SCREW CLAMP holding
the C-PUMP OUTLET HOSE in place.
5) You can remove the CIRCULATION PUMP ASS’Y.
Caution
* If necessary, rub with a dry towel remainning water
water in order to keep clean SUMP ASS’Y.
* In assembling, confirm the assembly condition of
contact sump gasket
* When sump gasket is deformation, you must change
new one
Caution
* If necessary, rub with a dry towel remainning water
water in order to keep clean SUMP ASS’Y.
* In assembling, confirm the assembly condition of
contact sump gasket
* When sump gasket is deformation, you must change
new one
All manuals and user guides at all-guides.com
all-guides.com


