10
INSTALLATION AND OPERATION
HOW TO USE THE GUN SAFETY
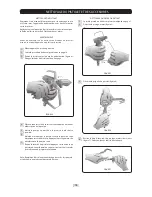
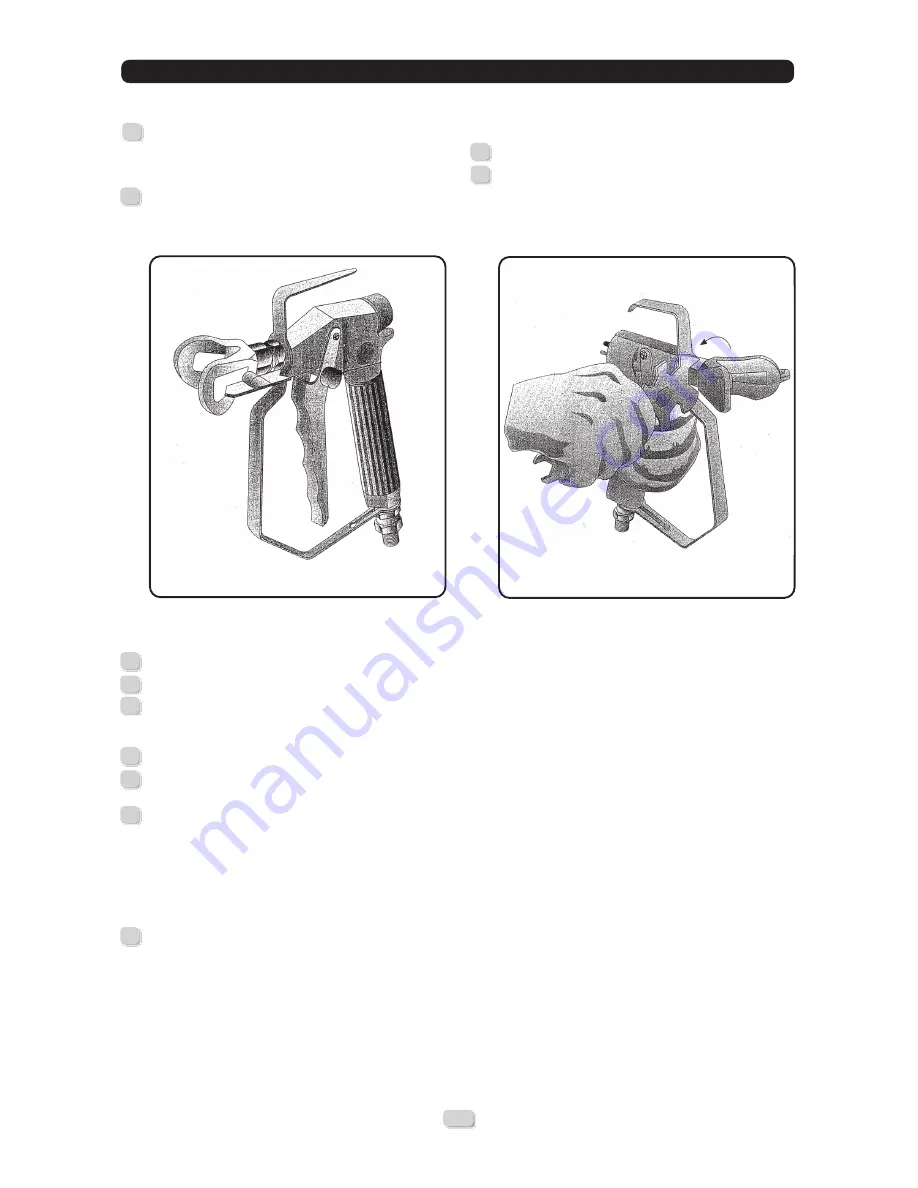
In order to engage the safety (block the opening in the trigger
of the gun), move the trigger forward (locked position) and
turn the lever (no. 1 - figure 2) until it butts against the gun
body. Check that the trigger is locked.
In order to disengage the gun safety, push the trigger forward
(closed position) and turn the lever (no. 1 - figure 2) until it
butts against the trigger itself.
HOW TO USE THE GUN
Connect a fluid hose (with grounding wire) to the gun inlet.
Without installing the tip, start up the pump.
Remove the product used for cleaning the pump. Prime the
unit with the product and apply to pump as indicated in the
instruction manual.
Unthread the guard and nut.
Place the spray tip and locking seal together with the nut and
guard. Tighten firmly.
Start up the pump. Adjust the pressure until the fluid comes
out completely in the form of a spray. Use the least pressure
necessary. A higher pressure will cause excessive wear in the
material and premature wear of the tip and locking seat. If
you need higher product flow, take a tip with a larger tip. If
it is not possible to spray the product correctly, use a smaller
size tip until the correct size is determined for the required
coat thickness and optimum spraying conditions.
Pull the trigger in such a way that it is completely open or
completely closed. Keep the gun at a distance of 200-300
milimetres from the working surface. Move the gun
perpendicularly to the surface at the appropiate speed,
overlapping paint strokes.
ADJUSTING THE SPRAY JET
In order to adjust the spray jet correctly, do the following:
Follow the decompression procedure described on page 11.
Loosen the tip support nut (figure 3). Turn the tip guard and
place the groove in the horizontal position in order to obtain
a vertical fan.
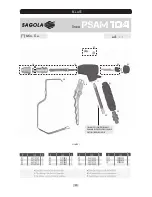
ACCESSORIES SUPPLIED WITH THE GUN
Filter 100 mesh (yellow)
Multiple gun wrench
Hexagonal female wrench
7
6
5
4
3
1
2
1
2
1
2
FIGURE 2
FIGURE 3


