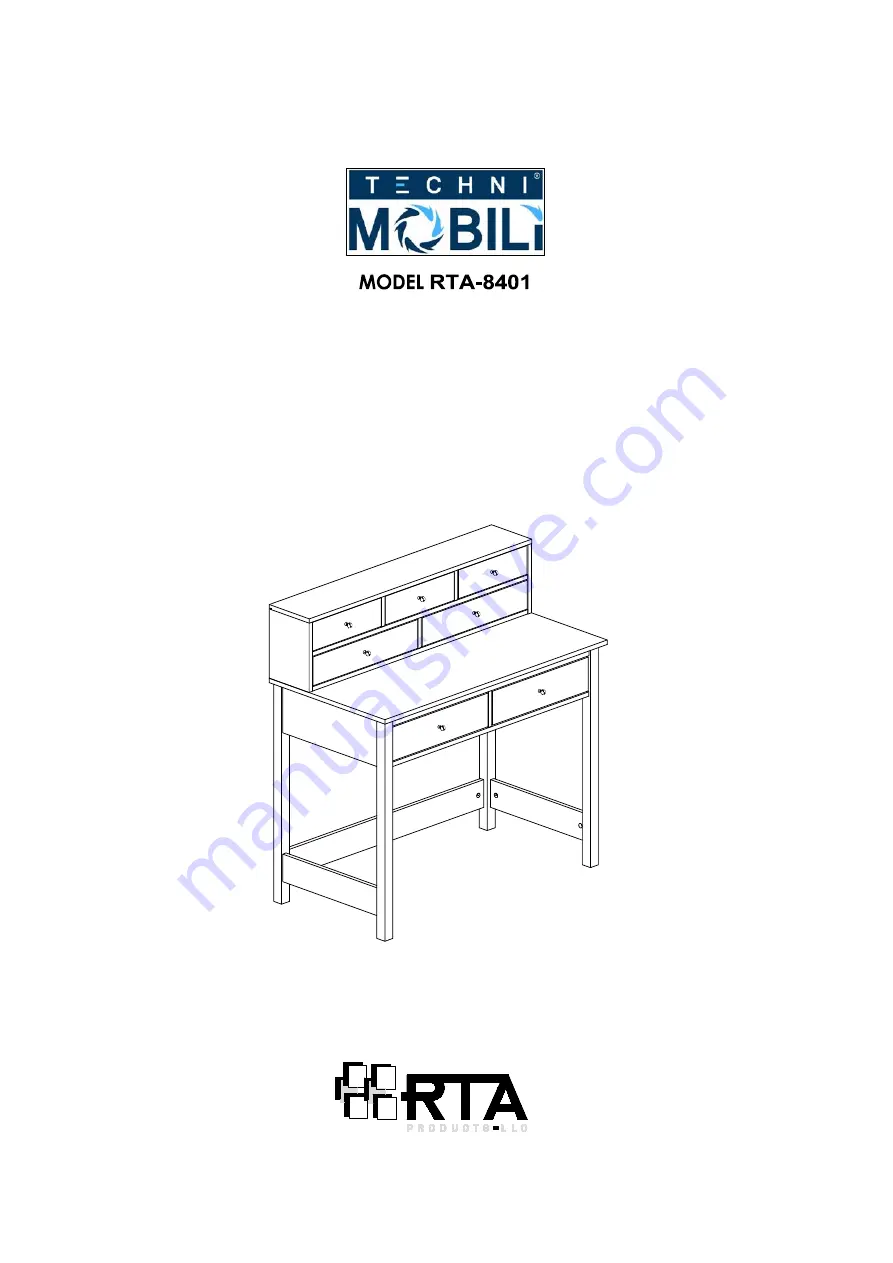
Thanks for purchasing one of our products.
Please read carefully the assembly instructions before the installation.Please save this manual for future reference.
ASSEMBLY INSTRUCTIONS
Страница 1: ...Thanks for purchasing one of our products Please read carefully the assembly instructions before the installation Please save this manual for future reference ASSEMBLY INSTRUCTIONS ...
Страница 2: ......
Страница 3: ...eg Left Back Leg Right K L J E Partition Panel Upper Side Panel Left Upper P Q O M N Top Panel Upper Bottom Panel Upper R S Drawer Side Panel Left B x 2 Drawer Side Panel Right B x 2 S2 S3 S1 S4 T Drawer Side Panel Left S x 5 Drawer Side Panel Right S x 5 T2 T3 T1 T4 U Drawer Bottom Panel S x 3 U2 V U1 Side Panel Right Upper Stand Panel Upper x 3 Drawer Front B x 2 Drawer Front M x 2 Drawer Front ...
Страница 4: ...15mm 20Pcs Screw 4 x 30mm 6 2Sets Drawer Metal Sliders Set 8 4Pcs 9 10 7Sets 8Pcs Screw 5 x 8mm 11 2 70Pcs Wooden Pin 8x25mm 10Sets Cam Lock Bolt Sets 12mm Attention Holes on panels may be hidden underneath PVC laminate Do not tighten the screws until all of them are in the right position Plastic Feet Handle 2293 M4x20mm Handle Screw 12 ...
Страница 5: ......
Страница 6: ...some holes are intended for cam bolts in subsequent steps 2 T1 T1 T1 T1 T1 T2 T2 T2 T2 T2 1 2 x70 B C D E F G G H N O P Q R R R S1 S1 S2 S2 2 Install all the thin wooden pins 1 into the panels shown in the illustrations but please make sure to insert them in the correct holes as some holes are intended for cam bolts in subsequent steps 1 x10 ...
Страница 7: ... holes as some holes are intended for the wooden pins in subsequent steps 4 Attach Bolts 3 to all panels as shown but please make sure to insert them in the correct holes as some holes are intended for the wooden pins in subsequent steps 3 4 x38 K L I J S S P Q M O C D B A 4 3 x10 U U U T T ...
Страница 8: ...e panels C D and E using screws 12 as shown In panel E the sliders attach on both sides of the panel Set aside the L shaped drawer sliders as they will be used until step 19 6 secure with 4 12 9 E E C D RIGHT VIEW LEFT VIEW B E 9 x8 x2 Sets 12 x1 4 4 ...
Страница 9: ... with 8 8 Position all the panels as shown in both illustrations paying close attention to the orientation of legs K and L and then assemble the panels using Cam Locks 4 as shown 8 F C K I G D J G L x1 8 4 x8 4 ...
Страница 10: ...9 secure with 6 Pcs 4 10 secure with 8 Pcs 4 as shown 10 H B F D L C K 4 Attach all Plastic Feet 10 to Leg I J K L as shown I J A 4 x6 4 x4 10 x8 4 ...
Страница 11: ...11 secure with 8 12 secure with 8 13 secure with 4 8 R R O R N 8 4 x2 8 x1 4 x1 8 outwards and its groove faces down ...
Страница 12: ...mbled pieces over again and assemble panel M secure with 4 pcs of Cam Locks 4 as shown 16 Turn the assembled pieces over and insert back panel V with its finished side facing outwards as shown 4 P V M Q 4 x4 4 x4 4 The groove on M faces down ...
Страница 13: ...rotrude at the drawer won t fit in the unit Assemble drawer back panel S3 secure with screw 8 as shown Attach Hole Covers 5 to panels S1 S2 as shown 18 20 S4 S2 S5 S1 8 S3 9 6 9 6 5 11 S Install Handle with screw 11 to panel S as shown S S2 S1 x3 4 x5 8 Left x4 6 x1 Set 9 x2 5 x1 11 Repeat steps 17 to 20 for the second large drawer ...
Страница 14: ...ith Cam Locks 3 as shown Assemble drawer back panel T3 secure with screw 7 as shown Insert drawer bottom panel T4 as shown 22 24 T2 T1 T4 T T3 7 11 T Repeat steps 21 to 24 for the second medium drawer 3 x4 7 x2 3 x1 11 Install Handle with screw 11 to panel T as shown ...
Страница 15: ... drawer front U secure with Cam Locks 3 as shown Assemble drawer back panel U1 secure with screw 7 as shown Insert drawer bottom panel U2 as shown Repeat steps 25 to 28 for the other two small drawers 26 28 U2 T2 T1 U U1 11 7 U x2 3 x4 7 x1 11 ...
Страница 16: ...29 secure with 8 30 Place all Drawers into cabinet as shown 5 8 Attach 6 Pcs Hole Covers 5 to panels G H as shown G H G U T S U U T S x6 5 x2 8 ...
Страница 17: ......