Real Time Automation, Inc.
33
1-800-249-1612
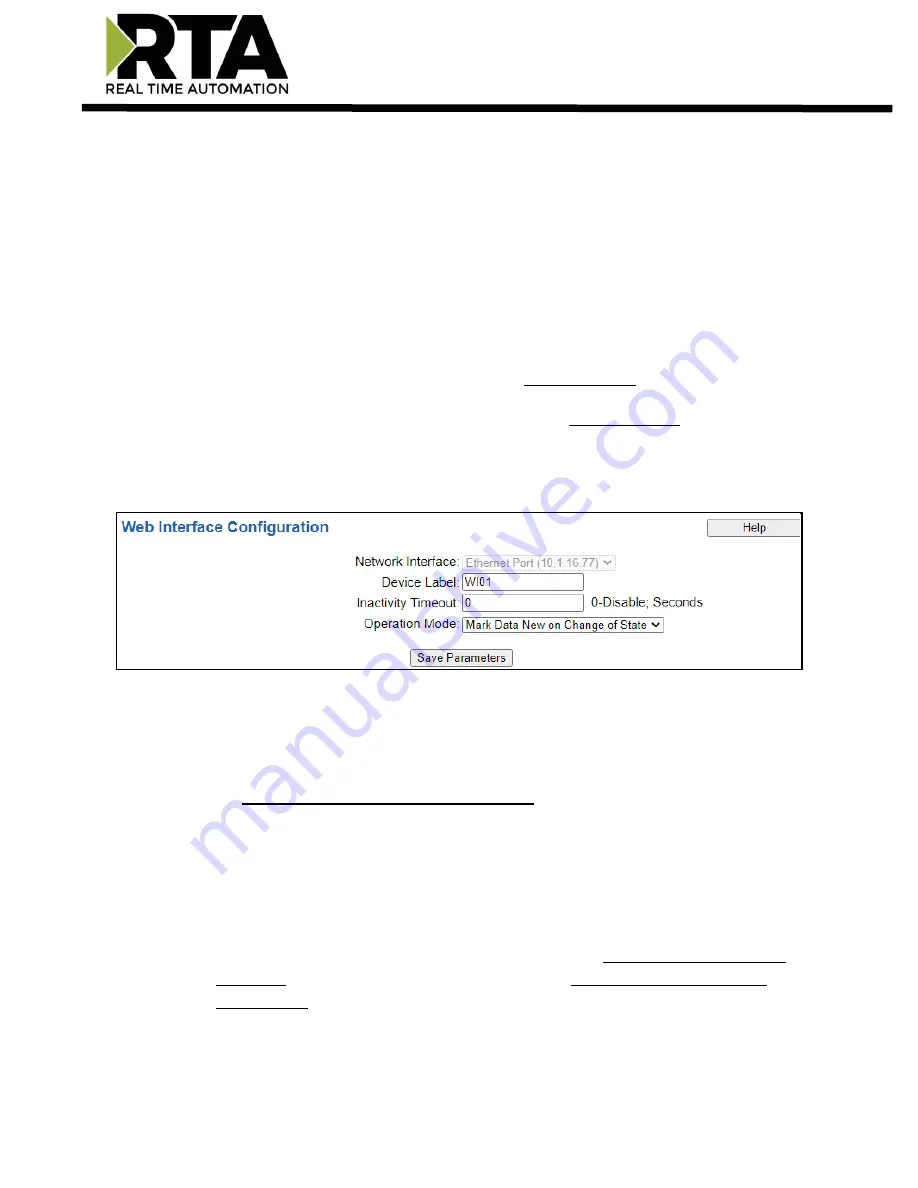
Web Interface Configuration
Click the
Web Interface
button to access the configuration page.
1)
Select which
Network Interface
to use for the web interface.
2)
Enter a
Device Label
to identify the device within the gateway.
3)
Inactivity Timeout
: If the gateway has not received any messages within the entered time interval,
in seconds, then the gateway will change the status of its connection to be “Idle”. Enter a value of
zero to disable this feature.
4)
Operation Mode:
a.
Mark Data New on Change of State: Send data to the mating technology, on a per point basis,
upon a change of state. For more explanation see the Operation Mode section below.
b.
Mark Data New on New Message: Send data to the mating technology for all data points, no
matter change of state or not. For more explanation see the Operation Mode section below.
5)
There are two different modes in which the Web Interface may operate in the gateway:
a)
Sever Mode
b)
Client Mode
Web Interface Gateway Server Configuration
1)
Server Mode
–
where the gateway acts as a web server and responds to HTTP POST and HTTP
Get requests from a web services client, such as a web browser or Excel.
a.
No special configuration is needed to configure the server side of the gateway. Skip to
the Web Interface Data Point List Configuration section of this manual and set up the
data points.
Web Interface Gateway Client Configuration
1)
Client Mode
–
is where the gateway acts as a web client and initiates a connection to a web
server, such as Apache or IIS (Internet Information Services). The gateway would then send all
configured data points to the web server cyclically in a HTTP POST operation.
a.
To configure the client side of the gateway, configure the Automatic Data Transfer to
User Host section. Then proceed with the rest of the Web Interface Data Point List
Configuration section of this manual.
b.
The gateway is always enabled as a server and may act as both a server and client at the
same time.


