36
Explanation of the panels
Explanation of the panels
H.
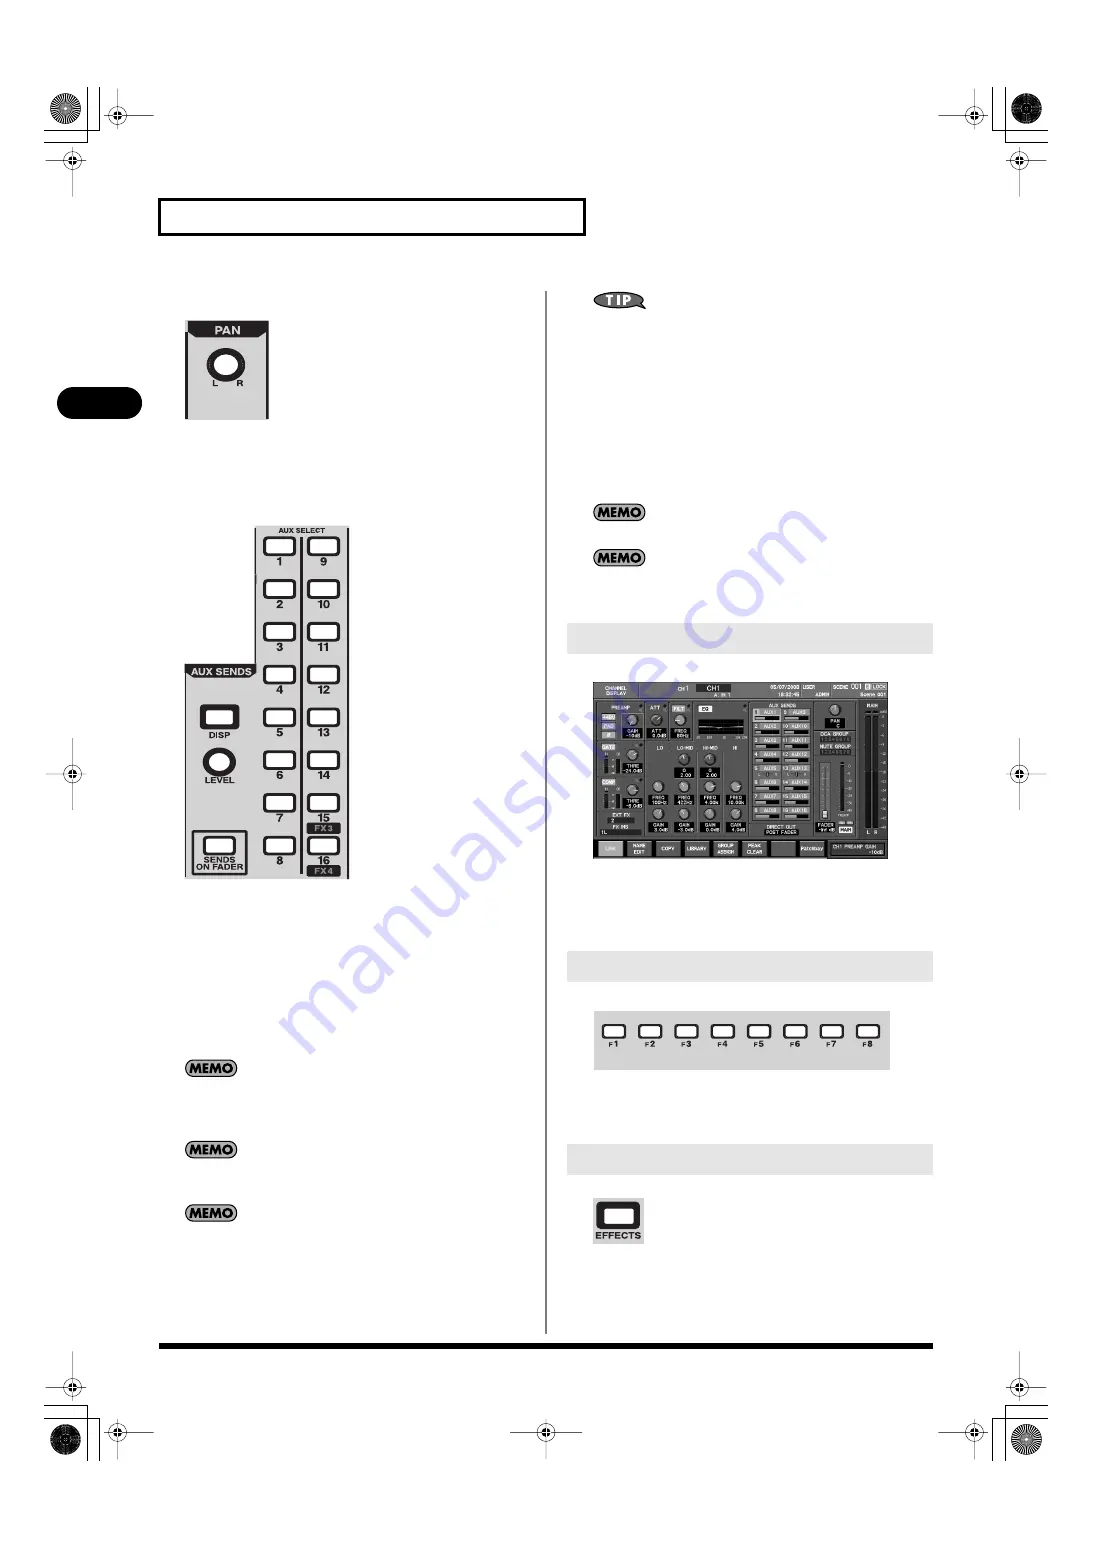
PAN area
fig.ChEdtPan.eps
•
PAN knob
For CH1–CH48, this adjusts the pan. For AUX1–AUX16, MAIN
L/R, MATRIX1–MATRIX8, it adjusts the balance.
I.
AUX SENDS area
fig.ChEdtAux.eps
In this area you can adjust the send level from CH1–CH48 or the
MAIN L/R channel to the AUX buses.
•
1–16 buttons
These buttons select the AUX bus that will be the target of the
SEND LEVEL knob or the faders in SENDS ON FADER mode.
•
DISP button
This button accesses the AUX SENDS popup where you can
make detailed settings. It will light red while the popup is
shown.
If an AUX channel is selected, or if the MTX SENDS indication
is shown in the CHANNEL DISPLAY screen for MAIN L/R,
this will adjust the send levels to MATRIX1–MATRIX8.
If a MATRIX channel is selected, this will adjust the send levels
from AUX1–AUX16 to MATRIX.
You can turn the corresponding send switch on/off by holding
down [SHIFT] and pressing AUX SELECT [1]–[16].
•
SEND LEVEL knob
This adjusts the send level to the AUX bus selected by the AUX
SELECT [1]–[16] buttons.
If AUX buses are stereo-linked, selecting the odd-numbered
AUX bus will let you adjust the send pan, and selecting the
even-numbered AUX bus will let you adjust the send level.
•
SENDS ON FADER button
This button turns SENDS ON FADER mode on/off. It will blink
if SENDS ON FADER mode is on.
When SENDS ON FADER mode is on, you can use the faders of
each channel to adjust the send level to the selected AUX Bus.
Press one of the AUX SELECT [1]–[16] buttons to select the
AUX bus whose send level you want to adjust.
The main fader cannot be used with SENDS ON FADER.
SENDS ON FADER can be used only to adjust the send levels
from CH1–CH48 to AUX.
fig.DisplayGuide.eps
This area shows mixer parameters, system settings, and meters. You
can use the CHANNEL EDIT section, the function button section,
and the screen controller section to perform operations in the
display.
fig.FunctionSectGuide.eps
Use these buttons to operate the function buttons shown at the
bottom of the display, and to operate the tabs that switch between
display screens.
fig.EffectsBtn.eps
This button accesses the EFFECTS screen where you can control the
effects, 31-band GEQ, and external insert paths. It will light red
while this screen is shown.
5. Display
6. Function button section
7. EFFECTS button
M-400_v15_e.book 36 ページ 2008年6月20日 金曜日 午後4時5分
Содержание M-400
Страница 247: ...MEMO M 400_v15_e book 247 ページ 2008年6月20日 金曜日 午後4時5分 ...
Страница 248: ...MEMO M 400_v15_e book 248 ページ 2008年6月20日 金曜日 午後4時5分 ...
Страница 249: ...MEMO M 400_v15_e book 249 ページ 2008年6月20日 金曜日 午後4時5分 ...
Страница 250: ...For EU Countries For China M 400_v15_e book 250 ページ 2008年6月20日 金曜日 午後4時5分 ...


