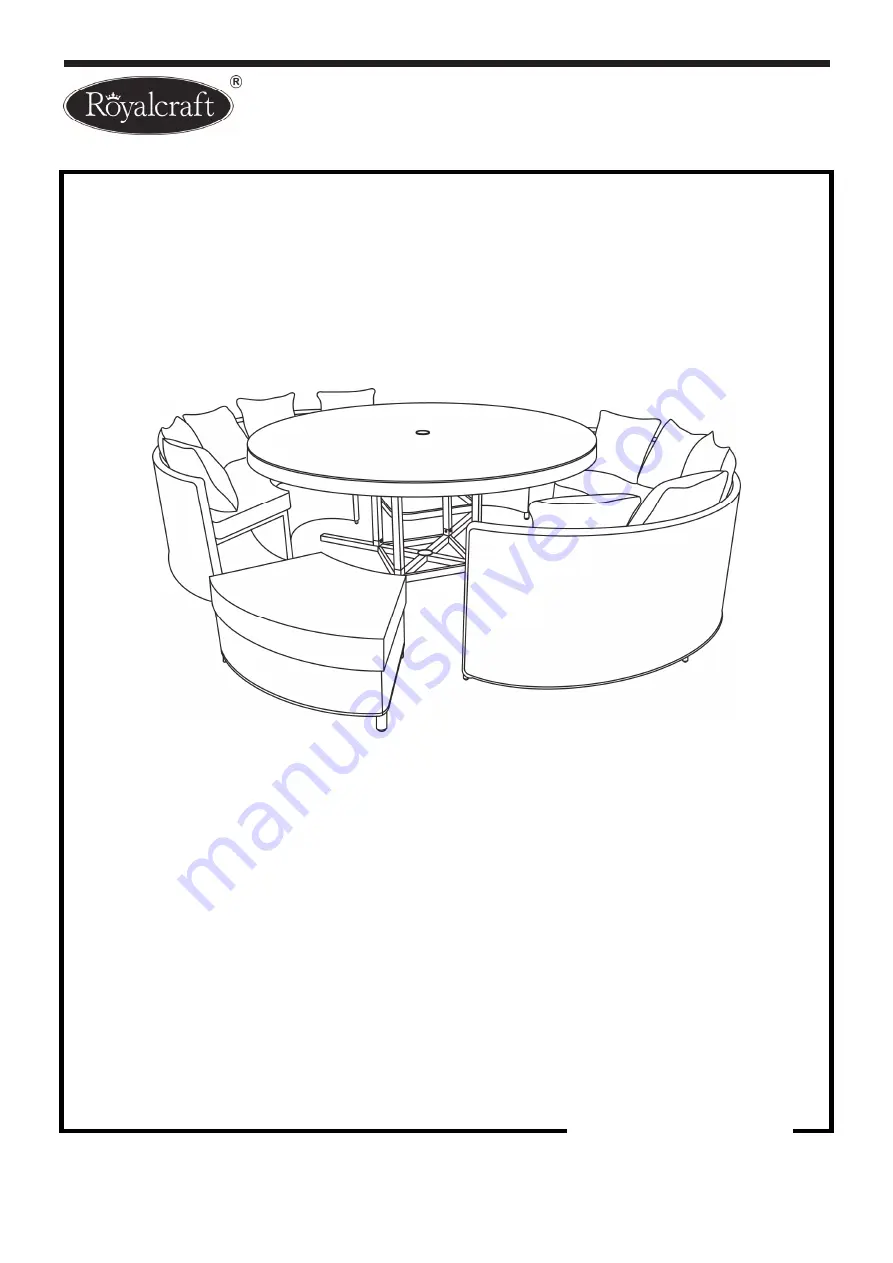
Royalcraft Santorini Set Скачать руководство пользователя страница 1

Santorini Set 


Assembly Instructions


Produced in China for A. Mir & Co., Ltd. 

© A. Mir & Co., Ltd.                         


1 / 6 


www.royalcraft.co.uk


Product size: 

Table: L180*H75 cm 
Bench: L180*H75 cm 
Stool: L180*H75 cm 


This product is for Domestic Use only! 


IMPORTANT, RETAIN FOR FUTURE REFERENCE 

READ CAREFULLY


Содержание Santorini Set

Страница 1: ...ons Produced in China for A Mir Co Ltd A Mir Co Ltd 1 6 www royalcraft co uk Product size Table L180 H75 cm Bench L180 H75 cm Stool L180 H75 cm This product is for Domestic Use only IMPORTANT RETAIN FOR FUTURE REFERENCE READ CAREFULLY ...

Страница 2: ...use PLEASE NOTE All cushions should be stored indoors after use The cushions are not waterproof During severe weather conditions and in the winter months we recommend moving your furniture inside into a cool dry place Before storage ensure that the product is clean and dry To clean wipe down with a sponge and warm soapy water and wipe with a clean dry cloth Cushions should be cleaned following the...

Страница 3: ...oduced in China for A Mir Co Ltd A Mir Co Ltd 3 6 www royalcraft co uk This dining set includes below parts The Table is KD which needs assembly Combination Part No Diagram Name Qty 1 Table assembly required 1 PC 2 Bench 2 PCS 3 Stool 2 PCS ...

Страница 4: ...ft co uk Components fixtures fittings not actual size Table Parts List Part No Diagram Qty Part No Diagram Qty A Table Top Frame 1 PC B Leg 4 PCS C Connecting Ring 1 PC D Base 1 PC E Glass Top 1 PC S1 Spanner 1 PC F2 Bolt Head Cap 20 PCS W20 M6 20mm Bolt 8 PCS W35 M6 35mm Bolt 12 PCS F3 Washer 20 PCS ...

Страница 5: ...urface to avoid scratching the table surface or rim Step Two Place the Table Legs B onto the Table Top Frame A aligning all holes in each part Loosely attach the Table Legs to the Table Top Frame using Washers F3 and Bolts W20 Loosely attach the Connecting Ring C onto The Table Legs B aligning all holes in each part using Washers F3 and Bolts W20 Only tighten the bolts when all bolts and washers a...

Страница 6: ...panner S1 Do not over tighten Cover each bolt with Bolt Head Cap F2 Step Four With the help of another person carefully turn the table in the upright position Note There are adjustable feet screws under the base adjust the feet screws to ensure the table is evenly placed on the level ground Don t place the glass until the table is even and stable Carefully place the Glass Top E onto the Table Top ...

Отзывы: