


Custom Control Button Setup
When you assign a custom control to a button, you can
give that button a unique name and assign an icon to it.
The images for the icons must be on a USB drive in the
frame when you assign them. Once assigned the icons
are stored in the frame and the USB can be removed.
Each of the tabs can be named.
The configuration of the tabs and custom control
assignment to buttons are stored with the switcher
personality settings.
To Set up the Custom Control Buttons
If you want to assign icons to the custom control buttons,
you must have the images you want to use for the icons
stored on a USB drive installed in the frame. After the
images have been assigned you can remove the USB
drive.
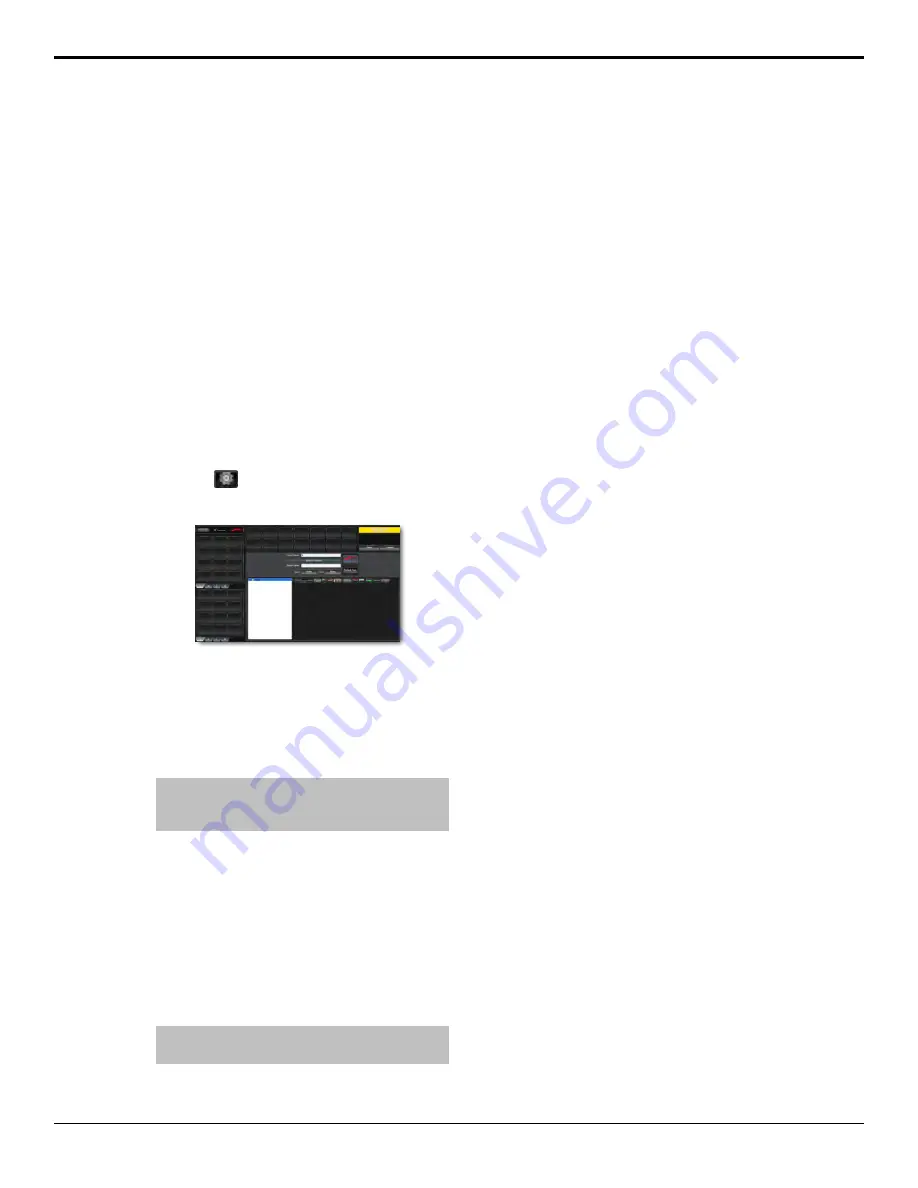
1.
Click the
icon in the upper right corner of
the window.
Figure 18: ViewControl Edit Button
2.
Press the custom control button that you want to
set up.
3.
Enter a name for the button in the
Button Name
field.
Tip:
You can change the name of a tab by selecting
a button on the tab and then entering a new name in
the Group Name field.
4.
Click the
Bank
button and select the number of
the bank you want to select a custom control
from.
5.
Click the
CC X
button and select the number of
the custom control you want to assign to the
button.
6.
Navigate the files on the USB drive and click
the image you want to assign as the icon for the
button.
Tip:
Press Default Icon to switch back to the default
icon.
7.
Set up additional custom control buttons as
required.
8.
Press
Done
when you are done setting up
custom control buttons.
Carbonite Operation Manual (v10.1) — ViewControl •
23


