


22.
Clip Position Slider Handle
— Indicates the current
point in the clip that is being played. You can drag
the handle back and forth to select a different point
in the clip. Playback stops if you move the slider
handle.
23.
Clip Position Slider Bar
— A graphical
representation of the current clip. When the clip is
playing or recording, the slider handle moves along
the slider bar showing real-time progress through
the clip. The slider handle and bar are green when
playing and red when recording.
24.
Seek to End
(
) — Seek to the last frame of the
clip.
25.
Chain
(
) — Selects whether a channel transport
is ganged with other channel transports. When
Chain
is turned on for a channel transport, that
channel transport becomes linked to the other
channel transports in the chain in Mira Explorer.
Within Mira Explorer, any transport commands run
on one channel transport in the chain are
frame-accurately duplicated on all the other channel
transports in the same chain. Commands sent to a
channel transport from an external device over
serial/ethernet control are not chained to the other
channels.
Note:
Record and Load/Eject Clip are not support as
chained commands and will only be performed on the
channel transport that you run them on.
To Load a Clip
The clip can start to play as soon as it is loaded into a
channel transport. Ensure that you are using the right
channel configuration for the clip you want to load.
1.
Select the channel transport you want to load a clip
into.
Note:
If you are loading a VK (video + alpha) clip, ensure
that the channel transport has been configured as VK as
well.
2.
Double-click the clip you want to load into the
transport control. The clip must be in the same video
format that the server is operating in.
Tip:
You can also drag and drop the clip onto the channel
transport area, or click the load clip button (
) next to the
clip name in the transport control area.
Tip:
Click the up arrow next to the Clip Library title to
expand the listing. Only the selected channel transport is
shown with the expanded library list. Click the same button
again to return the list to normal.
The clip is loaded into the transport control and the
transport control buttons become active. A thumbnail of
the clip is shown in the preview window in the transport
control area. If you are using a remote Mira Explorer
client, the thumbnail is not shown.
Note:
If the Auto Play feature is enabled (Channel Transport
> Enable Auto Play), the clip will start to play as soon as it is
loaded.
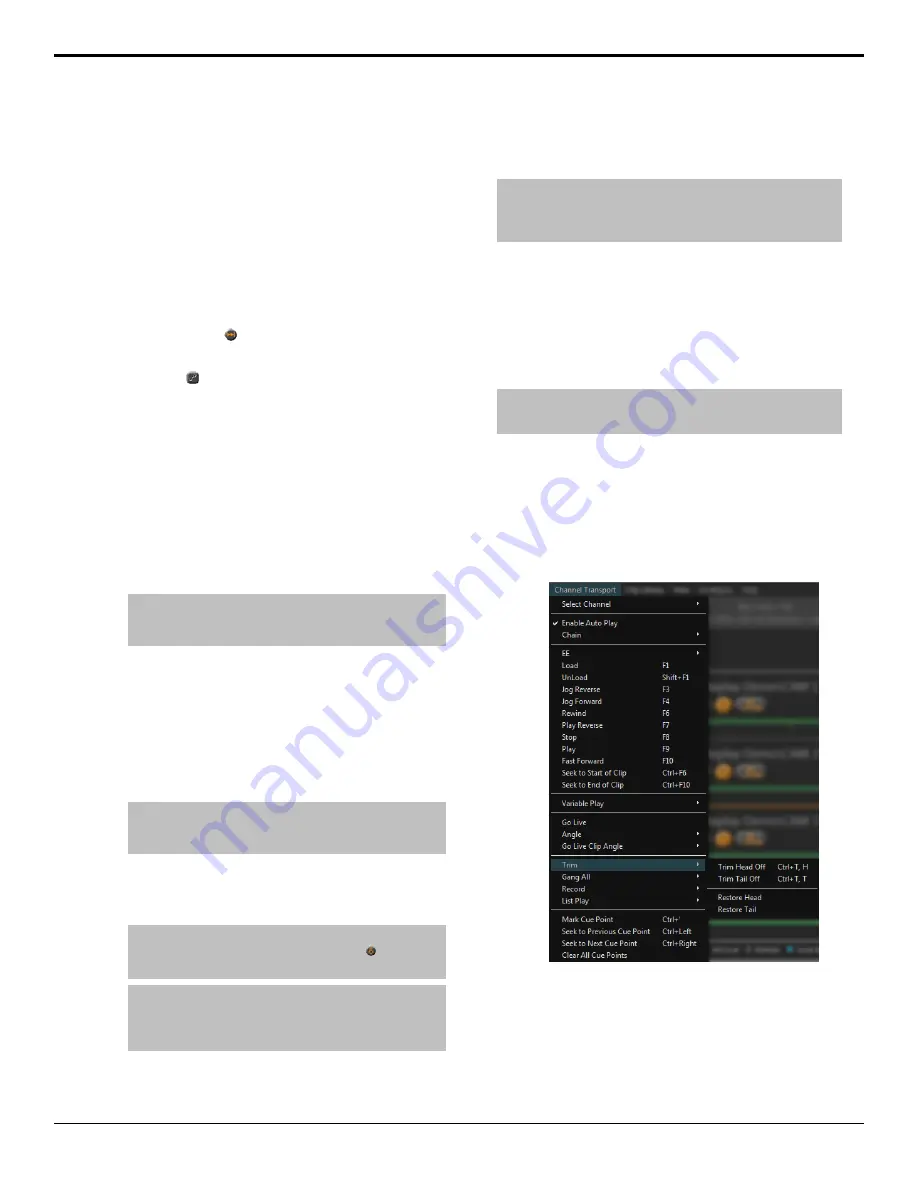
To Trim a Clip
You can trim the head (beginning) and tail (ending) off
of a clip to shorten it and change the frame the clip starts
and ends on. Trimming a clip is not destructive and the
entire clip can be restored at any time. You can also edit
the trim information from the metadata of the clip.
Tip:
If you know the timecode values for the head and tail trim
points you can set them directly in the metadata of the clip.
1.
Load the clip you want to edit into a channel
transport.
2.
Seek through the clip to the point where you want
the clip to start. This will be the new starting
field/frame of the clip.
3.
Click
Channel Transport
>
Trim
>
Trim Head
Off
.
The portion of the clip before the trim point is hidden
and the clip has been shortened.
4.
Seek through the clip to the point where you want
the clip to end. This will be the new last field/frame
of the clip.
Mira Manual (v6.1) — Channel Transport Control •
27
Содержание Abekas Mira
Страница 1: ...Mira Manual v6 1 ...


