


2.
Press
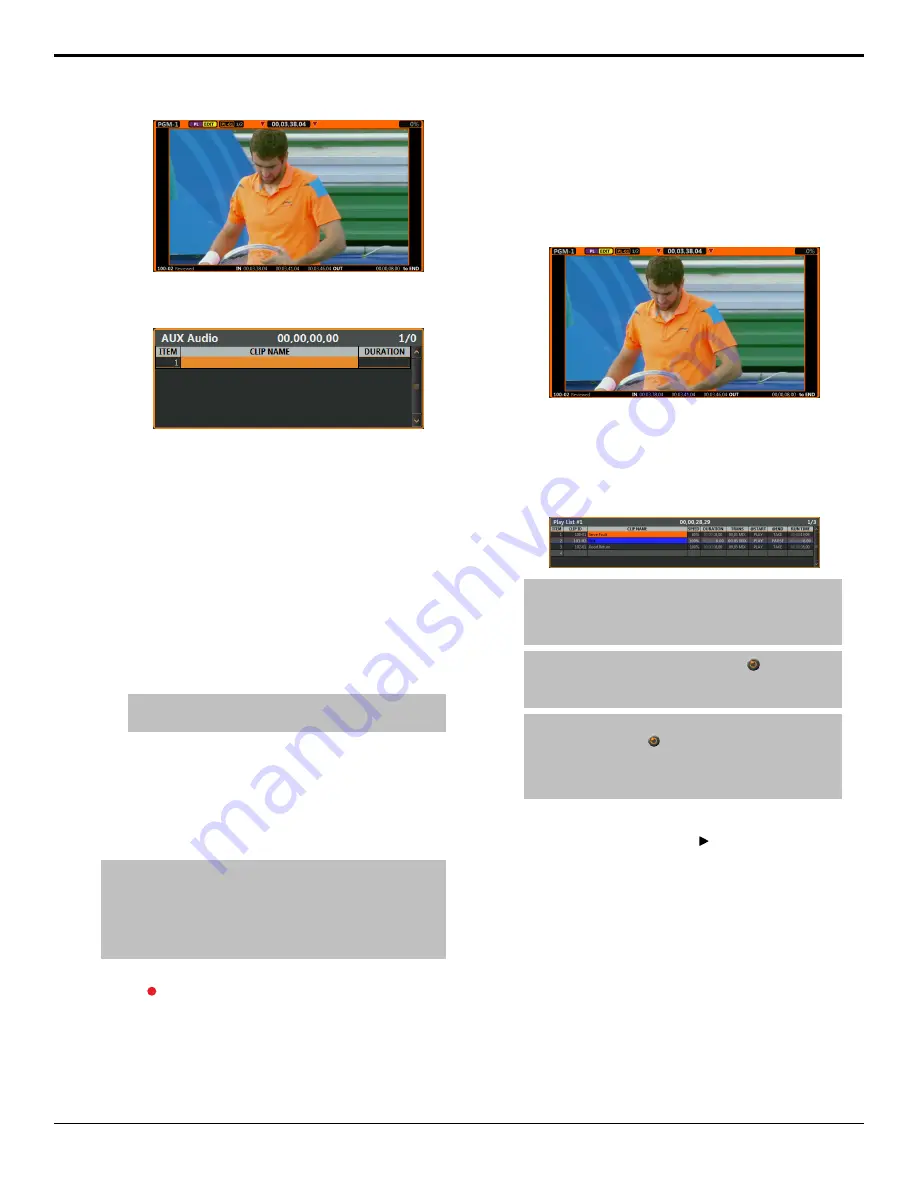
AUX AUDIO ENABLE (5)
to toggle the
feature on.
3.
Press
Mira Clip Library (3)
and select the audio
clip that you want to add to the Aux Audio list.
4.
Add the audio clip to the end (Append) of the Aux
Audio list.
•
Press
APPEND to AUX Audio (9)
to add the
selected audio clip to the end of the Aux Audio
list.
5.
Add the audio clip to a point (Insert) in the Aux
Audio list.
•
Select the item in the Aux Audio list that you
want to insert the audio clip above and press
INSERT in AUX Audio (8)
.
Tip:
Press SHIFT > EXIT to switch between the Play List
and the Clip Register.
To Air a Play List
You can take a finished Play List on-air with one or two
playout channels. They server will play through the clips
in the list according to the Play List. Transitions between
clips require two playout channels.
Note:
If the ALWAYS use PVW/PGM pair in PLAY LIST AIR
setting from the User Setup menu is set to ON, you will always
use two playout channels for Play List playout control. If the
option is set to OFF, you can manually select one or two
channels for Play List playout control.
1.
If playout channel 1 is in Play List mode, press
P1
> . You cannot gang channels together from Play
List mode.
2.
Select number of playout channel(s) that you want
to take the Play List on-air with.
•
1-Channel
— press
P1
>
PLAY LIST
.
•
2-Channel
— press
GANG
>
PLAY LIST
.
3.
Press
Edit Item Flags (10)
>
PLAY LIST Library
(1)
.
4.
Select the Play List that you want to play and press
PLAY LIST
.
The Play List is loaded and the playout channel is
in
PL EDIT
mode.
5.
Press
PLAY LIST
again.
The playout channels are in
PLAY LIST
mode. In
2-channel playout you will notice that the first item
in the Play List is cued in P1 and the second item in
the list is cued in P2.
Tip:
This is a good time to take a quick note of how the
@START and @END flags are set for each clip in the list.
You may have to press TAKE or turn LOOP off to advance
to the next clip.
Tip:
If the current clip is set to loop, the
icon is shown
in the border of the playout channel and the LOOP button
pulses green.
Tip:
You can set the entire Play List to loop by pressing
SHIFT > LOOP. The
icon appear in the border of the
Play List and the LOOP button pulses amber. If the both
the current clip and the Play List are set to loop, the LOOP
button pulses between green and amber.
6.
Play the clip at the desired speed.
•
Normal Speed
— press
to play the clip at the
speed set in the Play List.
•
T-Bar
— move the T-bar to play the clip at a
dynamic variable speed. The further you move
the T-bar, the faster the clip plays. You can set
the play speed of either limit from the
User
Setup
menu.
•
Variable Speed 1
— press and hold
DISABLE
and move the T-bar to the speed you want to play
the clip at and release the button, or enter the
speed manually with the keyboard. The speed is
shown in the
SPEED PRESET
field at the
bottom right of the menu. Press
VAR PLAY
to
play the clip at the variable speed.
Mira Manual (v6.1) — Replay •
23
Содержание Abekas Mira
Страница 1: ...Mira Manual v6 1 ...


