


•
Variable Speed 1
— press and hold
DISABLE
and move the T-bar to the speed you want to play
the clip at and release the button, or enter the
speed manually with the keyboard. The speed is
shown in the
SPEED PRESET
field at the
bottom right of the menu. Press
VAR PLAY
to
play the clip at the variable speed.
•
Variable Speed 2/3
— press
VAR 2
, or
SHIFT
+
VAR 2
(variable speed 3) to set the
speed and press
VAR PLAY
to play the clip.
Tip:
Press LOOP to turn looping on and have the clip seek
back to the in-point when it reaches the out-point. When
looping is active the
icon is shown at the top of the
border around the playout channel.
To Define and Save a Clip to the Clip Register
You can capture and store a replay clip to the Clip
Register for future use. To capture the clip you must
define the start (in-point) and end (out-point) points of
the clip.
1.
Put the playout channels you want to use for a replay
event in Live Record mode. Refer to
Playout Channel in Live Record (EE) Mode
on page
18 for information on live record mode.
2.
Use the keyboard to enter the number of the Bank
(0-99) that you want to store the clip to in the
ENTRY
field and press
SHIFT
>
LOAD
.
3.
Mark the clip when something interesting happens.
You can either mark the point of interest (POI), end
of the event (end-point), or start of the event
(in-point). The remaining points are automatically
marked according to the Auto-Mark In/Out point
from the
User Setup
menu.
•
Point of Interest
— press
SAVE
to mark a POI
at the current timecode for all cameras.
•
Out-Point
— press
OUT
to mark the out-point
(end) of the event for all cameras.
•
In-Point
— press
IN
to mark the in-point (start)
of the event for all cameras.
4.
Manually adjust the in-point and out-point as
required.
•
In-Point
— press
GOTO IN
(the
IN
button turns
red and the playout channel goes into
PLAYBACK
mode) and use the rotary dial to
select the new point and press
IN
to mark it.
•
Out-Point
— press
GOTO OUT
(the
OUT
button turns red and the playout channel goes
into
PLAYBACK
mode) and use the rotary dial
to select the new point and press
OUT
to mark
it.
Tip:
You can also press
,
,
,
, or
buttons to
fine-tune the points.
5.
Press
SAVE
to save the clip with all the camera
angles to the Clip Register.
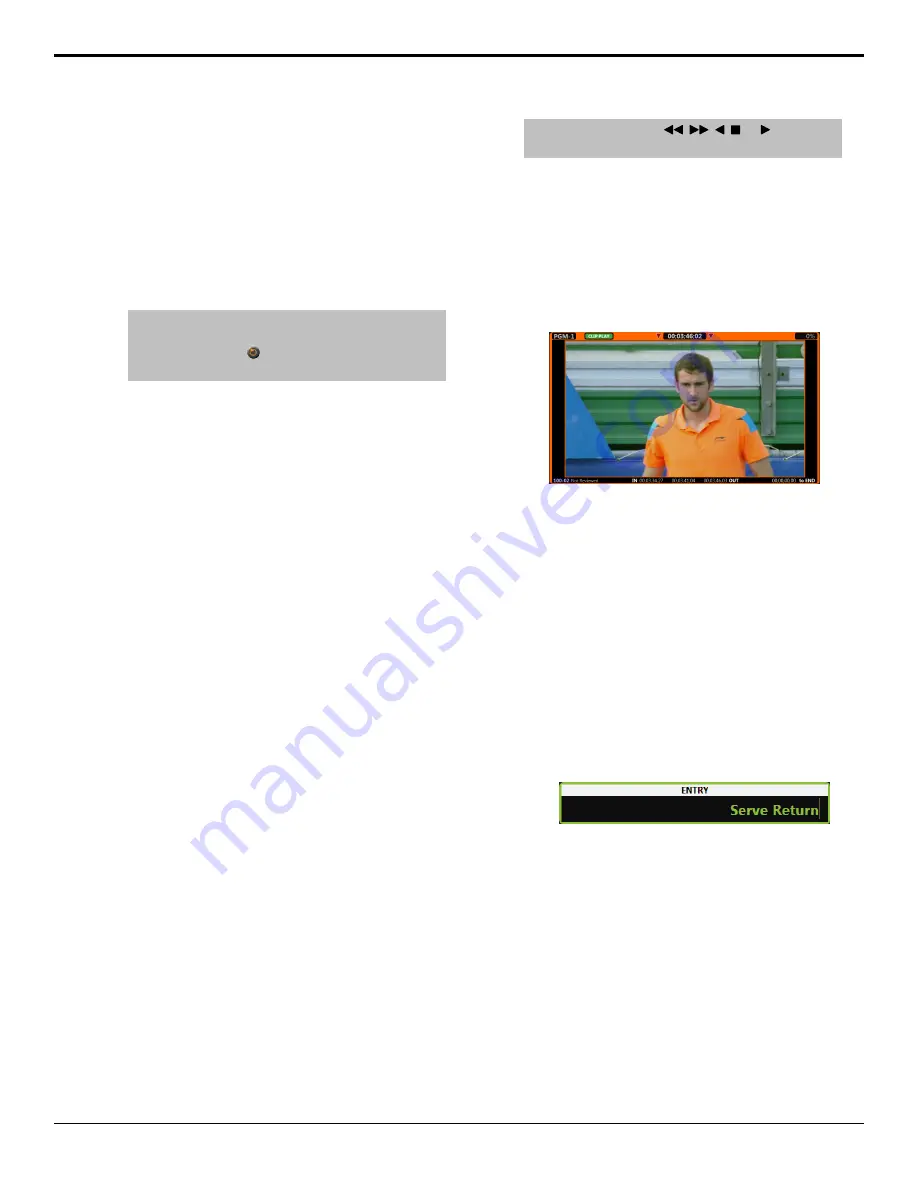
6.
Press
LOAD
to load the clip and use the softkeys to
select the camera that you want to view.
The playout channel goes into
CLIP PLAY
mode
and the in-point of the new clip is shown. The
IN
button lights red to indicate that you are looking at
the in-point of the new clip.
To Name a Clip
Once a clip has been defined and saved you can name
the cameras in the clip to organise them for future use.
A name can be applied to a single camera or all the
cameras in the clip.
The preset names are set from the
User Setup
menu.
Ensure that you have saved the text you want to use
before trying to name a clip with preset names.
1.
In the Clip Register select the clip and camera that
you want to rename.
2.
Enter a custom name or use one of the preset names.
•
Custom
— use the keyboard to enter the new
name in the
ENTRY
field.
•
Preset
— press the
8
,
9
, or
10
softkeys to apply
text to the camera name. Additional text can be
added to the name by pressing one of the
1
-
9
softkeys or using the keyboard.
3.
Apply the name to a single camera, or all cameras
in the clip.
•
Single
— press
Enter
on the keyboard.
•
All
— press
Shift
+
Enter
on the keyboard.
To Load a Clip from the Clip Register
Once a clip is captured, you can load the clip and camera
to a playout channel.
Mira Manual (v6.1) — Replay •
19
Содержание Abekas Mira
Страница 1: ...Mira Manual v6 1 ...


