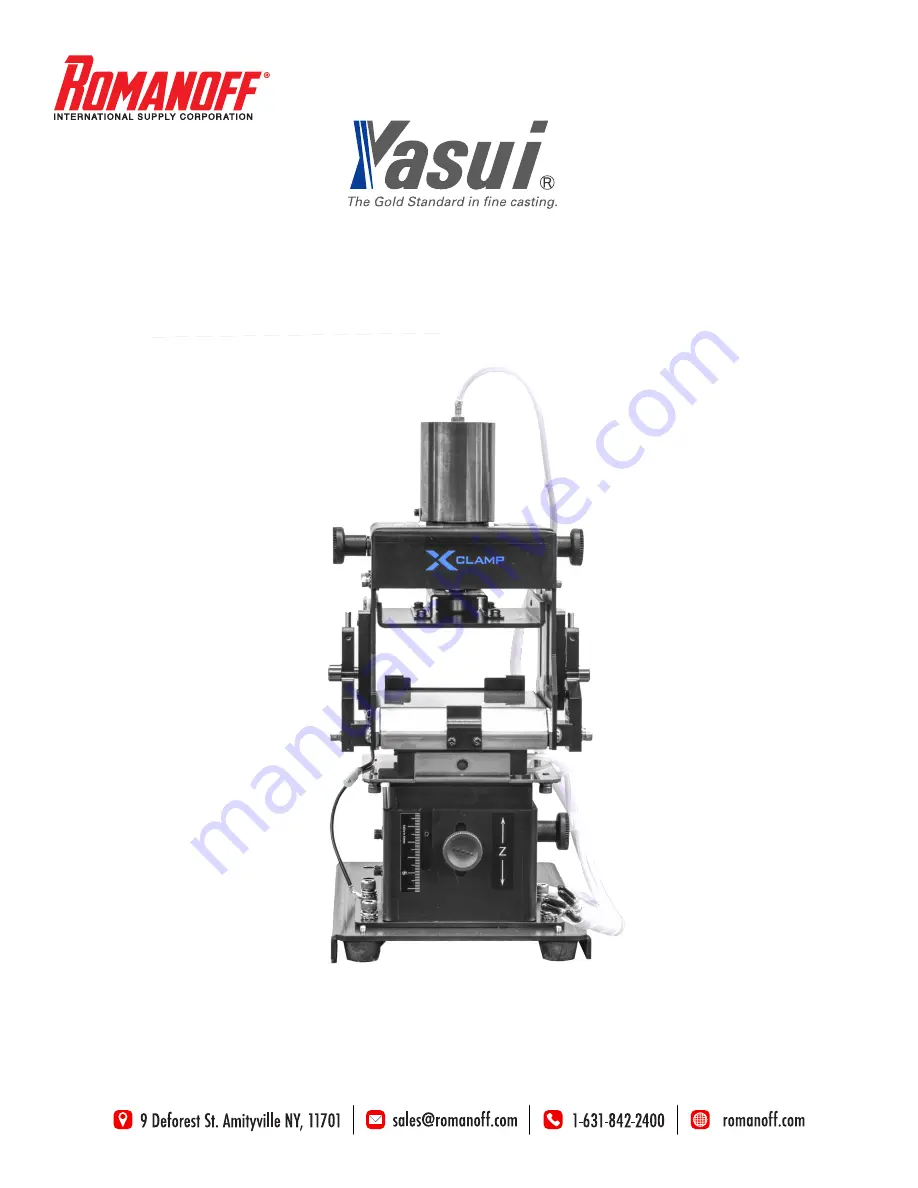
X-Clamp
For PRIME X Vacuum Wax Injectors
OPERATIONS MANUAL
Страница 1: ...X Clamp For PRIME X Vacuum Wax Injectors OPERATIONS MANUAL ...
Страница 2: ...odies resulting from contacting with high temperature parts and their consequential or indirect damages are not compensated by the manufacturer Damages resulting from delay of reaction at emergency and mistaken operation are not compensated by the manufacturer Damages from electrical noise over voltage or wiring error are not compensated by the manufacturer Mold production results by the machine o...
Страница 3: ...IFICATION LABEL 2 2 WORKING CONDITIONS 2 3 INSTALLATION 2 4 TRANSPORTATION 2 5 PRODUCT INFORMATION 3 INSTALLATION 3 1 ACCESSORIES 3 2 PLACE 3 3 Z axis adjustment 3 4 Y axis adjustment 4 FUNCTION 5 OPERATION 4 5 5 5 5 5 5 6 6 7 9 10 11 12 CONTENTS ...
Страница 4: ...If the eyes or skin were exposed to molten wax flush and cool the eyes or skin with a large amount of cold water and get prompt medical attention 2 Take care not to touch START button blue on control unit unnecessarily because machine starts its injection process automatically 3 Do not place fingers on moving parts such as platen as this could result in injury Fingers may be pinched between platen...
Страница 5: ...ng 0 40 degrees Celsius and humidity under 70 2 Do not use the machine under atmosphere with too much dust or with harmful gas 2 3 INSTALLATION 1 It is very important to handle and install with enough attention to show the superior performance 2 Try to check loose connection and contacts first especially when it is transported by car 2 4 TRANSPORTATION 1 When you transport the machine put cushion ...
Страница 6: ...Please review this list to ensure all parts are included without damage 74 265 AJ2 3 INSTALLATION 74 269X SC X Clamp for Yasui Prime X Wax Injector Systems 6 3 1 ACCESSORIES ...
Страница 7: ...amp unit As such the lower clamp unit may become accidentally undone and fall on your foot 2 Remove the 8 screw bolts from clamp base Use the supplied 5mm hex wrench included with the clamps 3 Place the base under the body of PRIME X Allow the guide stopper on the base and front panel touch each other Fasten the 4 screws inside of body Always handle from the clamp s base Never handle from the top ...
Страница 8: ...ber more easily 5 Place the clamp unit on it s base and fasten it to the unit with the 4 remaining screws Be sure not to hit the nozzle or mirror during installation 5 Place the clamp unit on it s base and fasten it to the unit with the 4 remaining screws Be sure not to hit the nozzle or mirror during installation 6 Open the right and rear side panels to feed the 5 plastic tubes inside of the cont...
Страница 9: ...e Adjust height as necessary using the following instructions Loosen the two lock nuts that hold the clamp in place Adjust the height and reinstall the two screw bolts Use the supplied mirror to aid this process Dial positions displayed are for shown as a reference 3 3 Z axis adjustment Do not power on the unit while right panel is open CAUTION Connect each corresponding tube from clamp unit with ...
Страница 10: ... optimal fitting SKU 98 132 large or 98 133 small if poor wax due to vacuum or wax leakage results occur you can manually adjust Clamp Position along the Y axis back and forth Changing the pivot point of clamp cylinder can very effective Simply loosen two lock nuts to adjust the clamp cylinder position Lock nuts on both sides Reference the indicator on top of the clamp for current position 3 4 Y a...
Страница 11: ...the rotary dial clockwise until option 10 is reached To return to standby mode long press the FUNCTION button or press the CANCEL button 1 From the FUNCTION Button turn the rotary dial to navigate to P10 2 Press the rotary dial The selected value will start blinking 3 Select the desired value by turning the rotary dial Valid range 0 2 0 Working without Clamp unit 1 Standard Clamp unit 2 Large Clam...
Страница 12: ...mold from the clamp unit when the process is completed Press the START Button SHOOTING PRCEDURE 5 OPERATION 1 Power ON the machine before starting 2 Select the desired memory preset 3 Check temperature pressure and other settings 4 Place your rubber mold onto the acrylic jig then place the jig onto the clamp stage 4 Place your rubber mold onto the acrylic jig then place the jig onto the clamp stag...
Страница 13: ...74 269X SC X Clamp for Yasui Prime X Wax Injector Systems 13 NOTES ...
Страница 14: ...74 269X SC X Clamp for Yasui Prime X Wax Injector Systems 14 ...