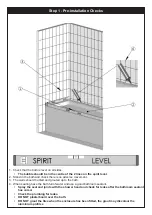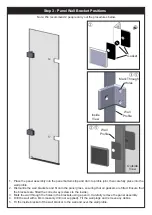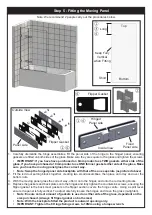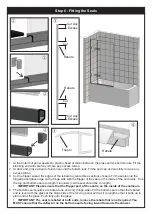
Step 5 - Fitting the Moving Panel
1. Carefully dismantle the hinge assemblies. Fit the panel side of the hinge to the hinged panel, ensuring
gaskets are fitted on both sides of the glass. Make sure they are square to the glass and tighten the screws.
• IMPORTANT: If you have have purchased an 8mm product use TWO gaskets either side of the
glass, if you have purchased a 10mm product use ONE thinner gasket either side of the glass. Make
sure you have the moving panel glass the correct way.
• Note: Swap the hinged panel side backplate with that of the one seperate (as pictured above)
2. Fit the red door setting blocks together, creating two small assemblies, then place onto tray and over the
bottom rails.
3.
With the moving panel glass the correct way, offer it onto the hinges and onto the red setting blocks.
4. Replace the gaskets and back plates onto the hinges and fully tighten the countersink screws, ensuring the
flipper gasket is the back most gasket so the flipper section covers the hinge centre. Using a spirit level,
ensure the panel is fully vertical. To adjust carefully loosen the hinges and move the glass (re-tighten).
•
Note: Ensure correct amount of gaskets is used on either side of the glass, dependant on the
size purchased. (Always fit flipper gasket on both sizes)
•
Note: With the backplate fitted the product is outward opening only.
•
IMPORTANT: Tighten the 8 Hinge fixing screws to 10N/m using a torque wrench.
③
④
①
②
Top
Bottom
Long
Short
Panel side
Note: We recommend 2 people carry out the procedures below.
Outside View
Fixed
Panel side
Hinged
Panel side
Keep Fully
Vertical
when Fitting
Inside View
Flipper Gasket
④
①
Flipper Gasket
④
④
①


