Network Settings
18
Connecting to a Wi-Fi Router by WPS
This connects the unit and Wi-Fi router by using WPS.
“WPS” is a feature that makes it easy to connect to a Wi-Fi router
and make security-related settings.
MEMO
5
The Wi-Fi router you’re using must support WPS.
5
When a WPS connection is made to a Wi-Fi router, the
connection information is saved in memory, and thereafter the
connection is established automatically.
1.
Insert the optional wireless USB adaptor into the unit’s
USB WLAN ADAPTOR port.
For the wireless USB adaptor, use the ONKYO UWF-1 or Roland
WNA1100-RL.
2.
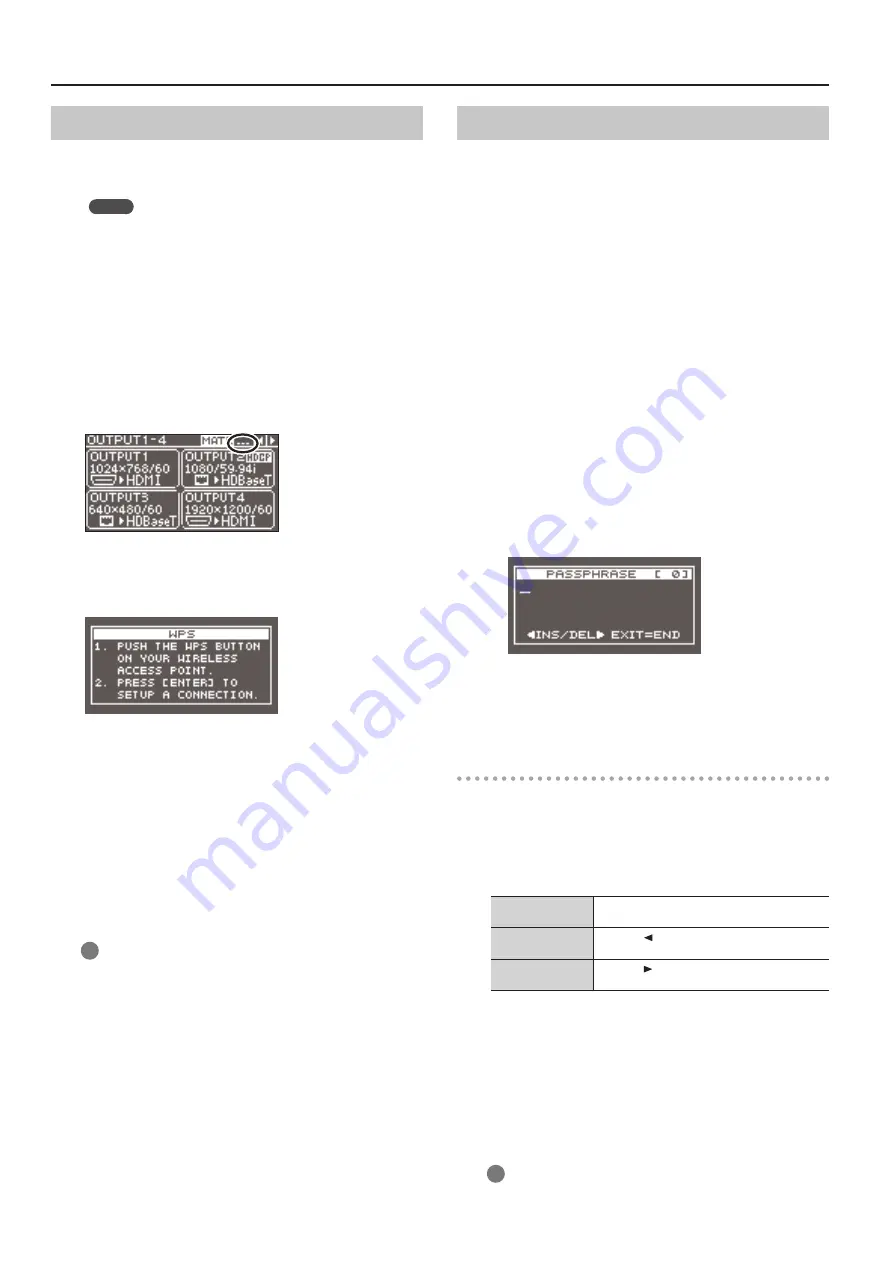
Wait until the icon shown below appears at the upper
right of the unit’s display.
3.
Use the [MENU] button to select “WIRELESS LAN”
g
“WPS,” then press the [VALUE] dial.
The “WPS” popup appears.
4.
Enable WPS on the Wi-Fi router (e.g., press the router’s WPS
button).
* To enable WPS on the Wi-Fi router, refer to the documentation
for the router.
5.
Press the [VALUE] dial.
The WPS connection is established.
When connection is successful, the “WPS” popup disappears and
the unit returns to the WIRELESS LAN menu.
6.
Press the [MENU] button to quit the menu.
7.
Connect the iPad and the Wi-Fi router.
1
On the iPad, tap “Settings”
g
“Wi-Fi,” make sure Wi-Fi is turned
on, then at “Choose a Network,” select the Wi-Fi router to
which the unit is connected.
Selecting and Connecting to a Wi-Fi Router
From the list of Wi-Fi access points, select the Wi-Fi router where
you want to connect the unit.
* The 802.11g/n (2.4-GHz) wireless protocols and WPS and WPS2
authentication methods are supported.
* For information on how to operate the Wi-Fi router, refer to the
router’s documentation.
1.
Insert the optional wireless USB adaptor into the unit’s
USB WLAN ADAPTOR port.
For the wireless USB adaptor, use the ONKYO UWF-1 or Roland
WNA1100-RL.
2.
Use the [MENU] button to select “WIRELESS LAN”
g
“ACCESS POINT,” then press the [VALUE] dial.
The “ACCESS POINT” popup appears.
5
The number of the currently selected Wi-Fi router is highlighted.
5
Names that use other than single-byte alphanumeric characters
are not displayed correctly.
3.
Select the Wi-Fi router you want to connect to and press
the [VALUE] dial.
5
When the Wi-Fi router is one you’re connecting to for the
first time
The “PASSPHRASE” popup appears. Go on to step 4.
5
When the Wi-Fi router is one that you’ve connected to in the
past
The connection is made as soon as you select the Wi-Fi router.
When a successful connection is made, the unit returns to the
WIRELESS LAN menu. Go on to step 7.
Entering Security Data
* This procedure is necessary only when the Wi-Fi router is one
you’re connecting to for the first time.
4.
Enter the security data (passphrase) for the Wi-Fi router.
Pressing the [VALUE] dial lets you change the character at the
cursor location. Turn the [VALUE] dial to change the character, then
press the [VALUE] dial to apply the change.
Moving the cursor
Turn the [VALUE] dial. The cursor moves forward or
backward.
Inserting a character
Press the [ ] button. The same character as the
one just before the cursor location is inserted.
Deleting a character
Press the [ ] button. The character at the cursor
location is deleted.
5.
When you’ve finished entering the text, press the [EXIT]
button.
6.
Check the message and press the [VALUE] dial.
(If you want to quit, press the [EXIT] button.)
When a successful connection is made, the unit returns to the
WIRELESS LAN menu.
7.
Press the [MENU] button to quit the menu.
8.
Connect the iPad and the Wi-Fi router.
1
On the iPad, tap “Settings”
g
“Wi-Fi,” make sure Wi-Fi is turned
on, then at “Choose a Network,” select the Wi-Fi router to
which the unit is connected.


