


Performing Advanced Setup of the Media
11
Chapter 1 Fully Utilizing the Machine
Setting the Print Area for Each Setup of Media
Usually, when you set up the media, the print area and the base position from the previous setup are set .
You can change them every time you set up the media .
Procedure
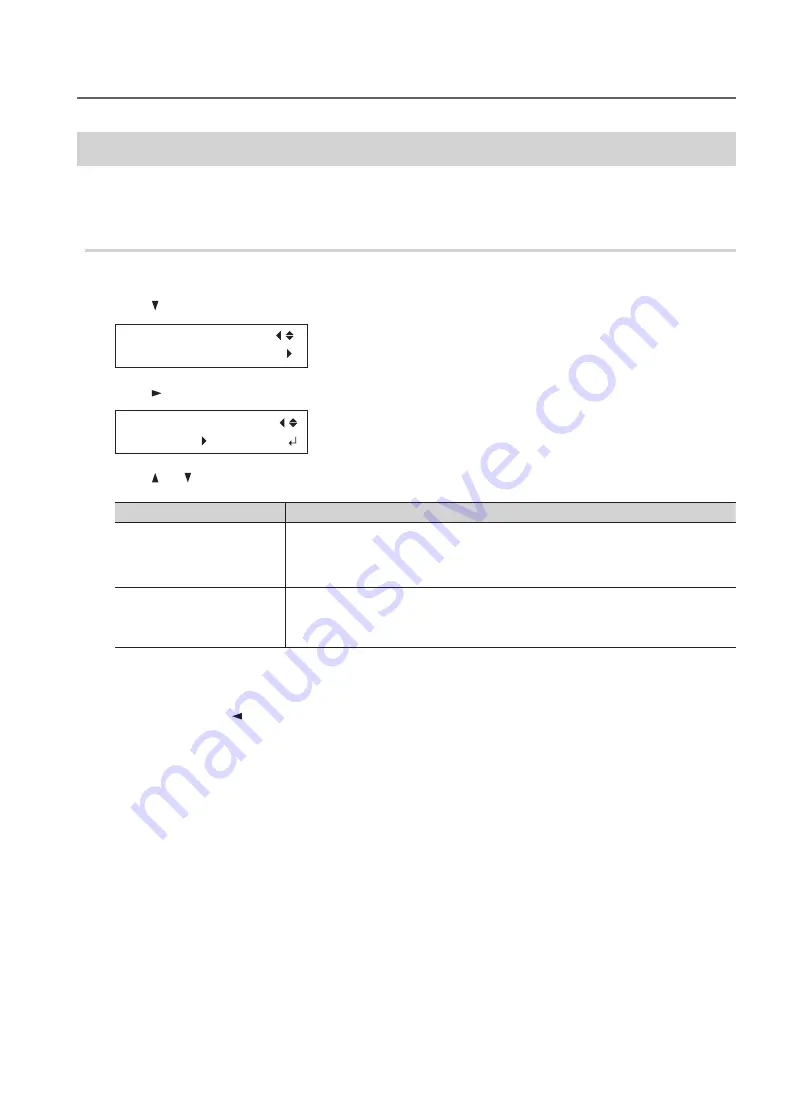
1.
Press [MENU] .
2.
Press [ ] to display the screen shown below .
MENU
SUB MENU
3.
Press [ ] twice .
SET AT SETUP
ENABLE DISABLE
4.
Press [ ] or [ ] to select a value .
SET AT SETUP
Explanation
DISABLE
(default setting)
Setup is performed using the print area of the previous setup .
The factory default print area is the full area (508 × 330 mm [20 × 13 in .]) .
This setting is suitable when you always perform printing on media of a fixed size .
ENABLE
Set the print area (base position, width, and length of the print area) every time you set
up the media .
Select this value when the media shape changes for each printing operation .
5.
Press [ENTER] .
6.
Press [MENU], then [ ] to go back to the original screen .


