17
Recording
Adjusting the Input Level
The R-07 is designed to let you record a wide range of sounds. By
adjusting the input level (volume) appropriately for the source
you’re recording, you’ll be able to record with optimal quality.
The basic principle when adjusting the level is to get the level
as high as possible without allowing distortion to occur. This
principle applies whether you’re using the built-in mics, an
external mic, or AUX IN.
Manually Adjusting the Input Level
NOTE
You can’t adjust the recording level if Limiter (p. 16) is “AGC.”
1
Point the R-07’s mics toward the source you’ll be
recording.
2
In the main screen, press [ ] so the REC/PLAY
indicator is blinking red.
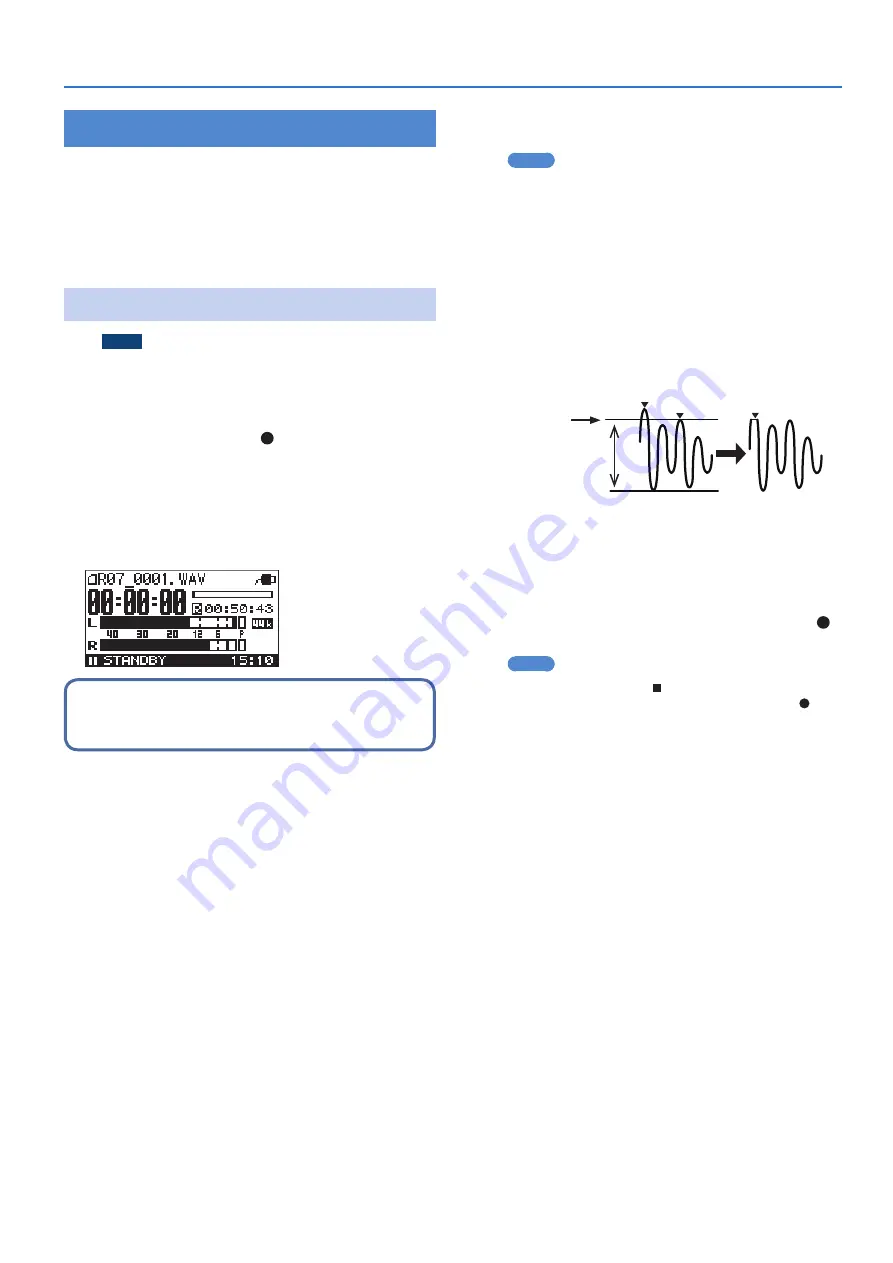
The R-07 is in recording-standby mode.
3
On the audio source you’ll be recording, play the
sounds that you actually intend to record.
The level meter will move according to the loudness of the sound
being input to the R-07.
If you’re going to record a musical performance such as an
instrument or vocal, you should play the loudest passage of the
song.
4
While the sound plays, use INPUT [+] [–] to adjust
the recording level a little at a time.
MEMO
If the recording mode is set to 2xWAV- (dual-level recording),
the input level cannot be set to a value of 1–41.
The higher the level at which the sound is being captured, the
farther toward the right the level meter will move. Use INPUT [+]
[–] to adjust the level so that the sound is captured at as high a
level as possible.
However, don’t allow the PEAK indicator to light; this indicates
that the input volume is excessive.
If the PEAK indicator lights, this means that the input has
exceeded the maximum volume that can be recorded by the R-07;
i.e., the input is “clipping.” Sound that’s recorded in this condition
will be distorted.
Clipping level exceeded
Clipping
Waveform is clipped,
distorting the sound
Input audio waveform Recorded waveform
Level range
recordable by the R-07
PEAK indicator
lit
Use INPUT [+] [–] to adjust the level so that even the loudest
passages do not cause the PEAK indicator to light; i.e., so that
clipping does not occur. If you’re recording a song, make sure that
clipping does not occur during the climax of a vocal or during a
fortissimo passage of an instrumental performance.
5
When you’ve finished adjusting the level, press [ ]
to start recording.
MEMO
5
To stop recording, press [ ]; you’ll return to the main screen.
The level setting will be preserved, so you can press [ ] once
again to start recording at the same recording level.
5
When using the INPUT [+] [–] buttons, you might hear a
slight noise when the input level changes; this does not
indicate a malfunction.
Содержание R-07
Страница 1: ...Reference Guide...


