


134
Chapter 10. Detailed Editing for Performances
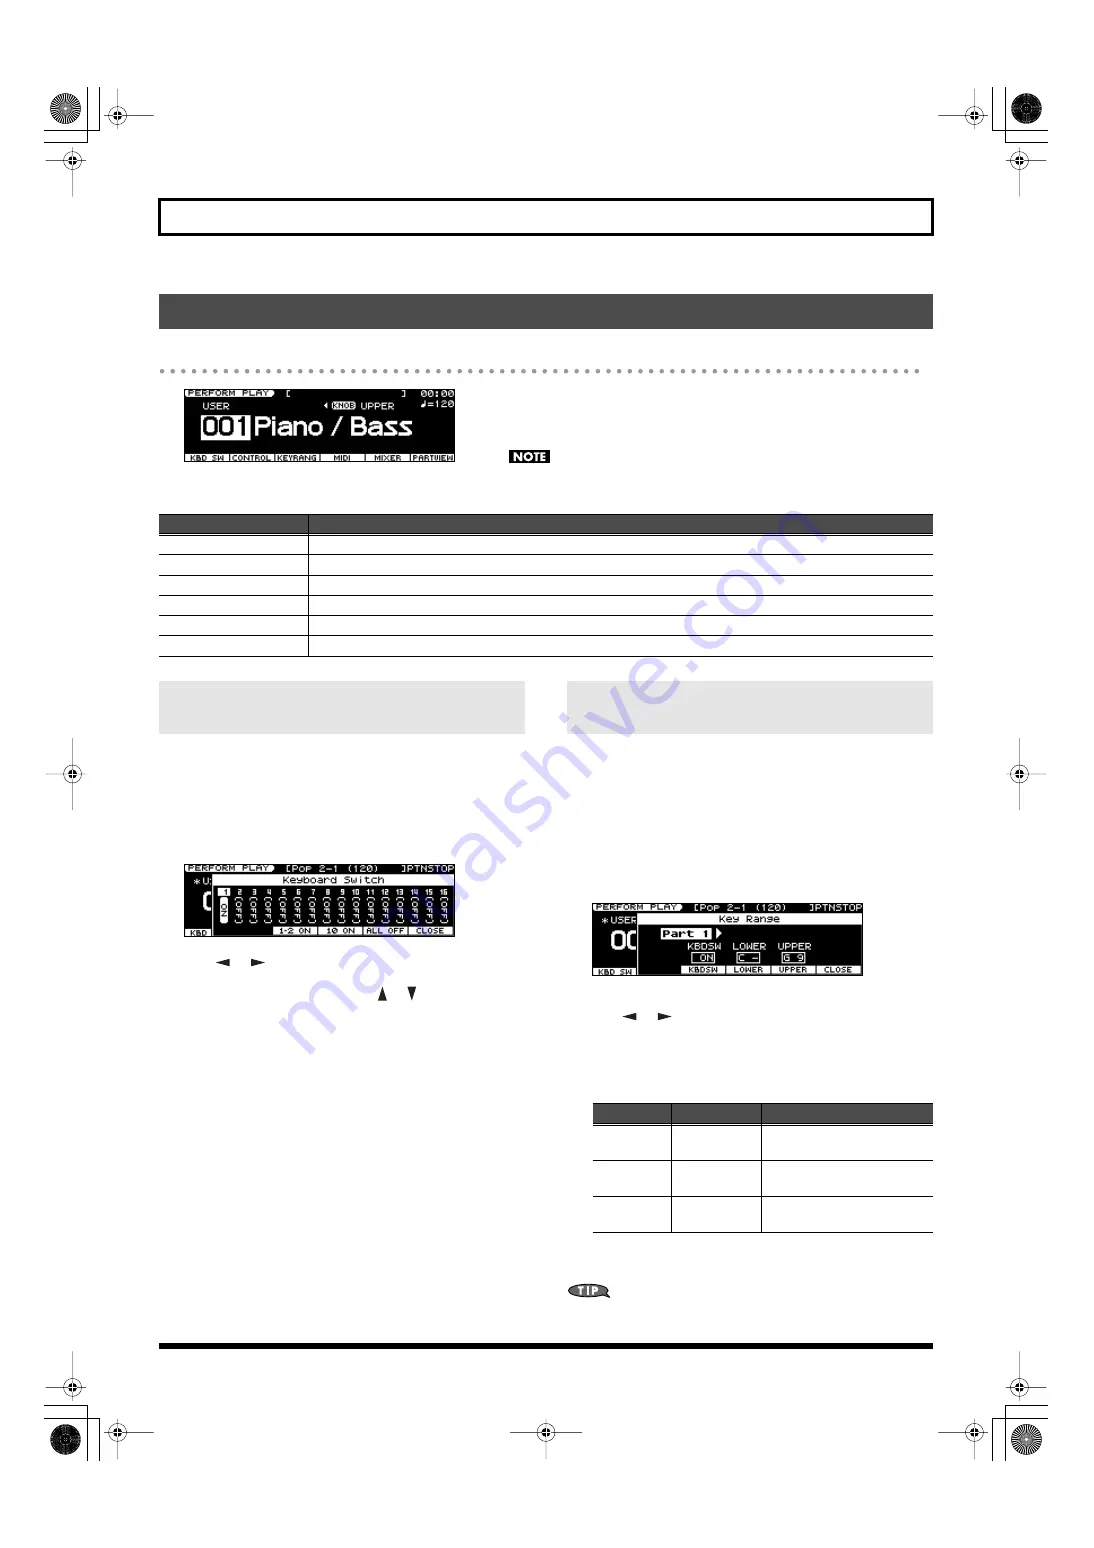
PERFORM PLAY Screen
fig.disp-prfrmplay.eps
When you press [PERFORM], the PERFORM PLAY screen will appear.
Use the [2]–[7] buttons located below the display to execute the functions shown
in the bottom line of the screen.
You can’t use the function buttons if FAVORITE [ON/OFF] is on. If you want to
use the function buttons, turn off FAVORITE [ON/OFF].
Here’s how to select the parts that will play a patch or rhythm set.
Each part has a “keyboard switch” that determines whether it can be
played from the keyboard.
1.
In the PERFORM PLAY screen, press [2 (KBD SW)].
The Keyboard Switch window will open.
fig.disp-kbdsw.eps
2.
Use [
] [
] to select a part.
3.
Use the VALUE dial, [DEC] [INC], or [
] [
] to select “ON” or
“OFF.”
When you play the keyboard, you’ll hear the parts whose
keyboard switch is “ON” and the part that is currently selected.
You can also use the following function buttons to turn this on/off.
• Pressing [4 (1-2 ON)] will turn part 1 and part 2 on.
• Pressing [5 (10 ON)] will turn part 10 on.
• Pressing [6 (ALL OFF)] will turn all parts off.
4.
Repeat steps 2–3 to turn the Keyboard Switch “ON” for each part
that you want to play from the keyboard.
5.
Press [7 (CLOSE)].
The Keyboard Switch window will close.
In Performance mode you can specify the key range of each part,
allowing you to divide the keyboard into as many as sixteen zones,
and play a different sound in each.
The keyboard zone to which each part will respond is determined by
the part’s “key range” setting.
1.
In the PERFORM PLAY screen, press [4 (KEYRANG)].
The Key Range window will open.
fig.disp-krange.eps
2.
Use the cursor buttons to move the cursor to the part name, and
use [
] [
] to select the part that you want to edit.
3.
Use the cursor buttons or [4 (KBDSW)]–[6 (UPPER)] to select a
parameter.
4.
Use the VALUE dial or [DEC] [INC] to set the value.
5.
When you’ve finished making settings, press [7 (CLOSE)].
The Key Range window will close.
By overlapping the key range of two or more parts, you can layer
those parts so that they will sound together.
Performance Edit Screens and Parameters
Button
Content
[2 (KBD SW)]
Opens the Keyboard Switch window, where you can select the parts that will produce sound.
[3 (CONTROL)]
Accesses the CTRL SETTING (PERF) screen, where you can edit the controller settings (p. 135).
[4 (KEYRANG)]
Opens the Key Range window, where you can specify the key range for each part.
[5 (MIDI)]
[6 (MIXER)]
Accesses the PART MIXER screen, where you can edit the volume and panning (p. 139).
[7 (PARTVIEW)]
Selecting the Parts that will Produce Sound
(Keyboard Switch)
Specifying the Range of Each Part
(Key Range)
Parameter
Value
Explanation
KBDSW
OFF, ON
Turns the sound of the part on/
off
LOWER
C - –(UPPER)
Specifies the lower limit of the
key range
UPPER
(LOWER)–G9
Specifies the upper limit of the
key range
JUNO-STAGE_e.book 134 ページ 2008年10月17日 金曜日 午後12時27分
Содержание Juno-Stage
Страница 1: ...5 1 0 0 0 0 0 0 4 0 0 2 JUNO STAGE_Cover_e1 fm 1...
Страница 13: ...13 Introduction JUNO STAGE_e book 13...
Страница 17: ...17 MEMO JUNO STAGE_e book 17...
Страница 23: ...23 Quick Start JUNO STAGE_e book 23...
Страница 37: ...37 Reference JUNO STAGE_e book 37...
Страница 157: ...157 Appendices JUNO STAGE_e book 157...
Страница 253: ...For EU Countries For China JUNO STAGE_e book 253...
Страница 256: ...5 1 0 0 0 0 0 0 4 0 0 2 JUNO STAGE_Cover_e1 fm 1...


