20
Chapter 2 Creating Your Own Favorite Tones (Patches)
Making More Precise Effect
Settings
Each effect comprises several different kinds of parameters.
You can more precisely create the sounds you want by
editing each of these parameters individually.
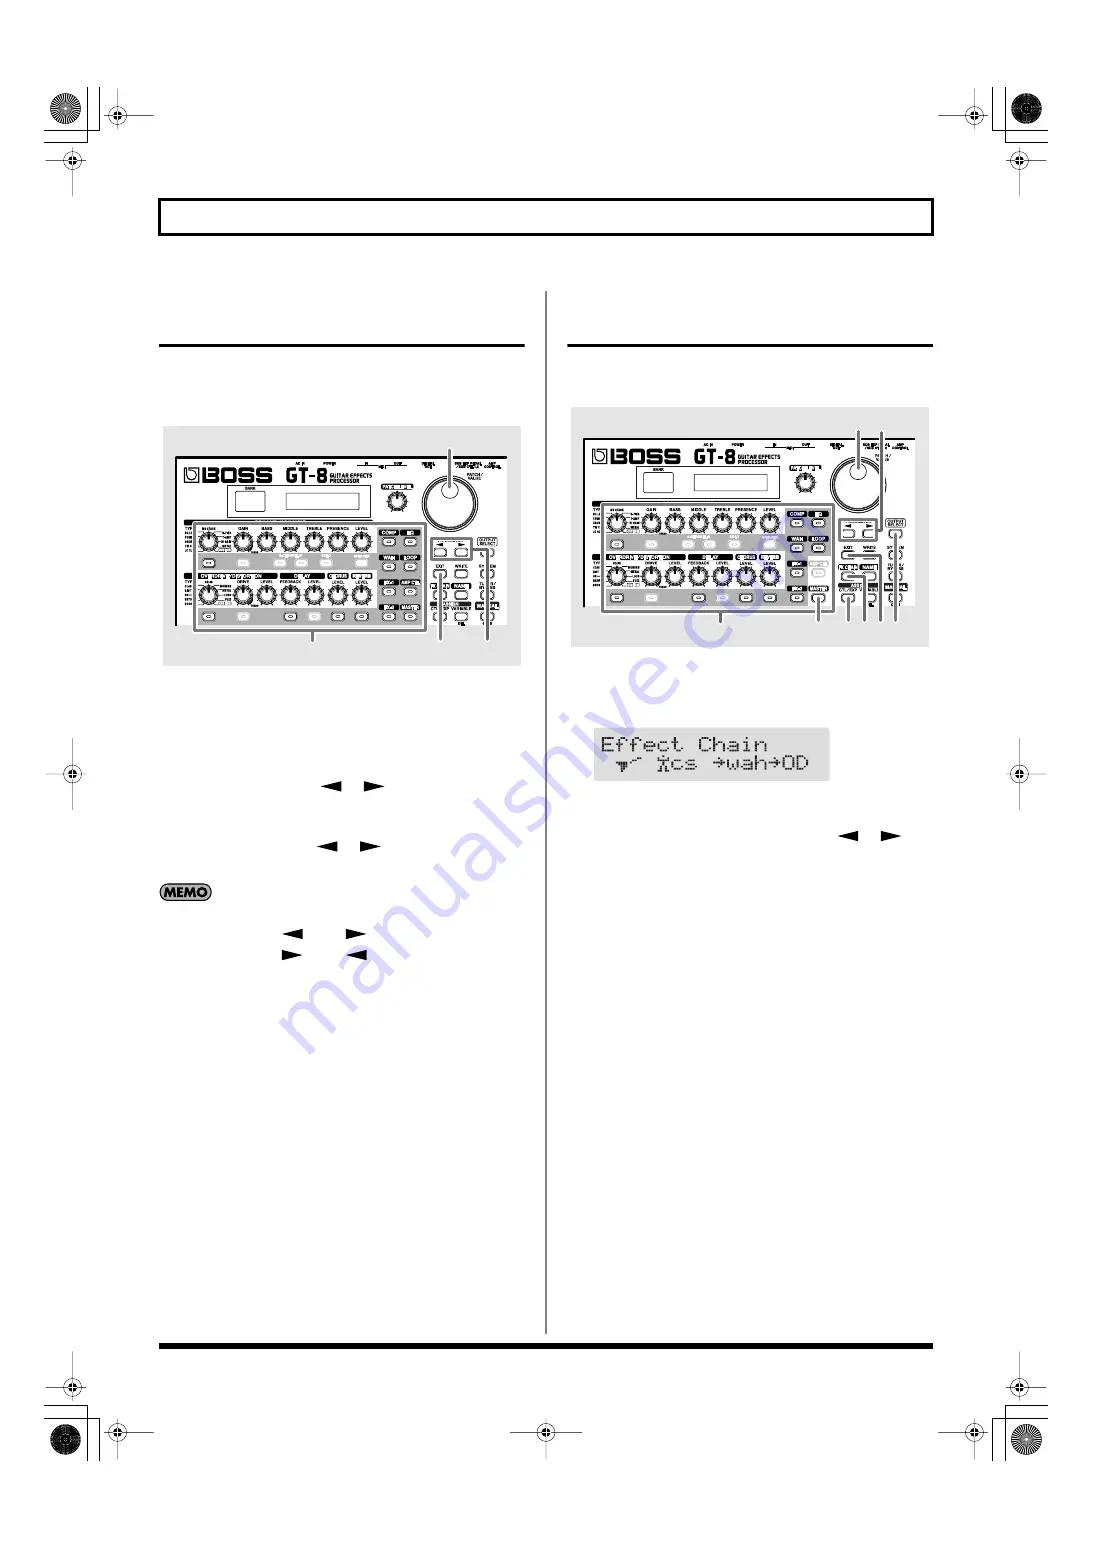
fig.02-120
1.
Press the on/off button for the effect with the settings
you want to change.
The parameters for the selected effect appear in the
display.
2.
Press PARAMETER [
] [
] to select the
parameter whose settings are to be changed.
When more than one parameter is shown in the display,
press PARAMETER [
] [
] to move the cursor to
the parameter to be set.
You can jump to the core parameters by pressing
PARAMETER [
] (or [
]) while holding down
PARAMETER [
] (or [
]). With items for which
there aren’t that many parameters, the GT-8 jumps to the
last (or first) parameter.
3.
Rotate the VALUE dial to change the value of a setting.
4.
Repeat Steps 2 and 3 for any other parameter settings
you want to change.
5.
If you further want to change parameter settings in any
other effects, repeat Steps 1 through 4.
6.
Press [EXIT] to return to the Play screen.
7.
If you want to save a tone with the settings you’ve
made, proceed as described in “Storing Patches (Patch
Write)” (p. 22).
* If you want to name the patch or edit the name, proceed to
“Naming Patches (Patch Name)” (p. 21) before you save.
Changing the Connection
Order of Effects (Effect Chain)
Here’s how you can change the order in which the effects are
connected.
fig.02-130
1.
Press [FX CHAIN].
The effect chain screen appears.
fig.02-140d
* Effects are shown in lowercase letters when turned off.
2.
Use the VALUE dial or PARAMETER [
] [
] to
move the cursor to the point where you want to have an
effect inserted.
3.
Press the ON/OFF button for the effect you want to
insert.
The selected effect is inserted at the cursor position.
* Use [MASTER] to set the Noise Suppressor, use ASSIGN
[CTL/EXP] to set the Foot Volume, and use [OUTPUT
SELECT] to set the Digital Out.
4.
If you want to change the sequence further, repeat
Steps 2 and 3.
* Effects can be switched on and off even while making the
settings for the connection order. With effects appearing to the
left and right of the cursor, the ON/OFF button corresponding
to the effect can be pressed to turn them on/off.
5.
Press [EXIT] to return to the Play screen.
6.
If you want to save the sequence you’ve set up, proceed
as described in “Storing Patches (Patch Write)” (p. 22).
* If you want to name the patch or edit the name, proceed to
“Naming Patches (Patch Name)” (p. 21) before you save.
6
2
1
3
3 1
3
3
2 2
5
3
GT-8_e.book 20 ページ 2007年6月29日 金曜日 午後3時55分


