22
Chapter 2 Basic of Pattern Playback
5.
Press [ENTER] button.
The screen contains patches in the selected category.
6.
Select a patch using [VALUE] dial or [INC/DEC]
buttons.
7.
Press [ENTER] button.
The patch is selected and the display returns to the initial
patch display screen.
* Selection by category is also possible for real-time recording,
for which the above procedure can be applied. (P. 64)
Range:
CATEGORY:
PIANO, KEYS&ORGAN, GUITAR, BASS, ORCHESTRAL,
BRASS, SYNTH, PAD, ETHNIC, RHYTHM&SFX, USER
Changing the settings of
each part
You can modify the settings of each part to change how the
pattern will sound. The six items listed in “Setting ranges”
can be adjusted.
Procedure
1.
Press [PTN] button.
The pattern playback display will appear.
2.
Press [F2 (STUP)] button.
3.
Press [F1 (PART)] button.
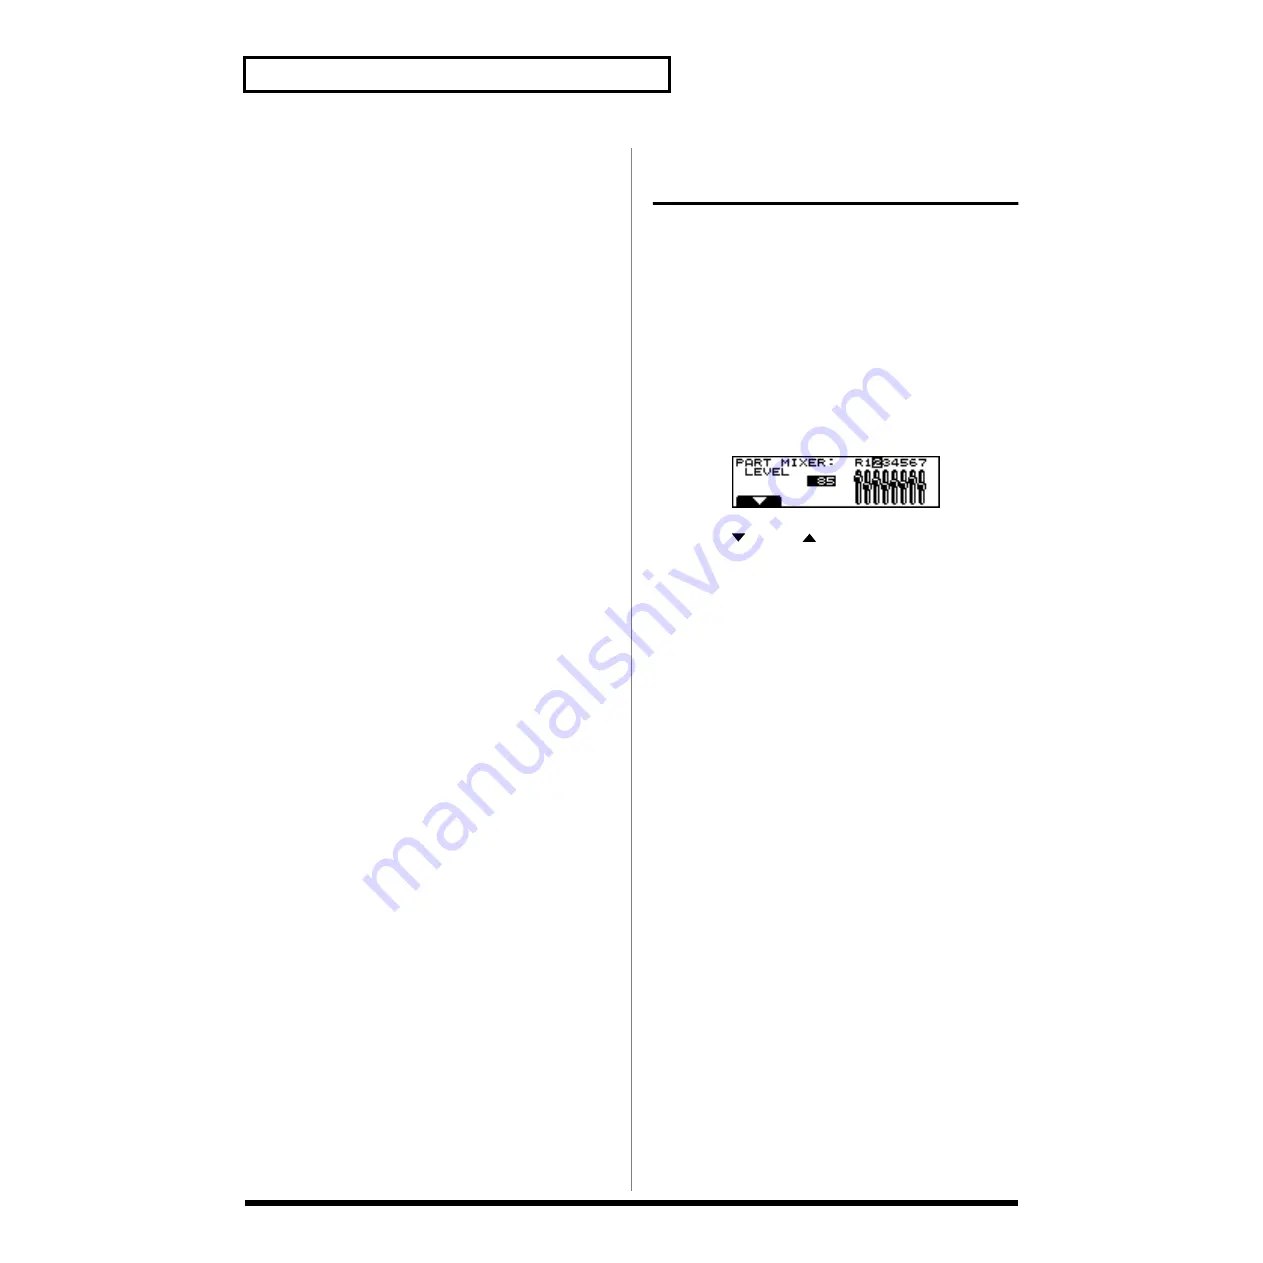
The “PART MIXER” display will appear.
4.
Use [F1 (
)] or [F2 (
)] buttons to select the item you
wish to set.
5.
Use [CURSOR (left/right)] buttons to select the part for
which you wish to make settings.
6.
Use [VALUE] dial or [INC/DEC] buttons to make
settings.
Range:
- LEVEL (Part Level)
Set the volume of the part.
Range: 0–127
- PAN (Part Pan)
Set the left/right position of the part.
Range: L64–0–63R
- KEY SHIFT (Part Key Shift)
Set the transposition of the part.
Range: -48–0– +48
- REVERB (Part Reverb Level)
Set the amount of reverb for the part.
Range: 0–127
- DELAY (Part Delay Level)
Set the amount of delay for the part.
Range: 0–127
- M-FX SW (Part M-FX Switch)
Specify whether or not the part will use the multi-effect.
Range: OFF, ON, RHY
* RHY can be selected only for a rhythm set. When RHY is
selected, M-FX will be applied according to the setting for each
individual tone of the rhythm set. If you select ON for a
rhythm part, M-FX will be applied to all tones.


