1
3
2
6
5
1
1
1
6
4
3
2
1
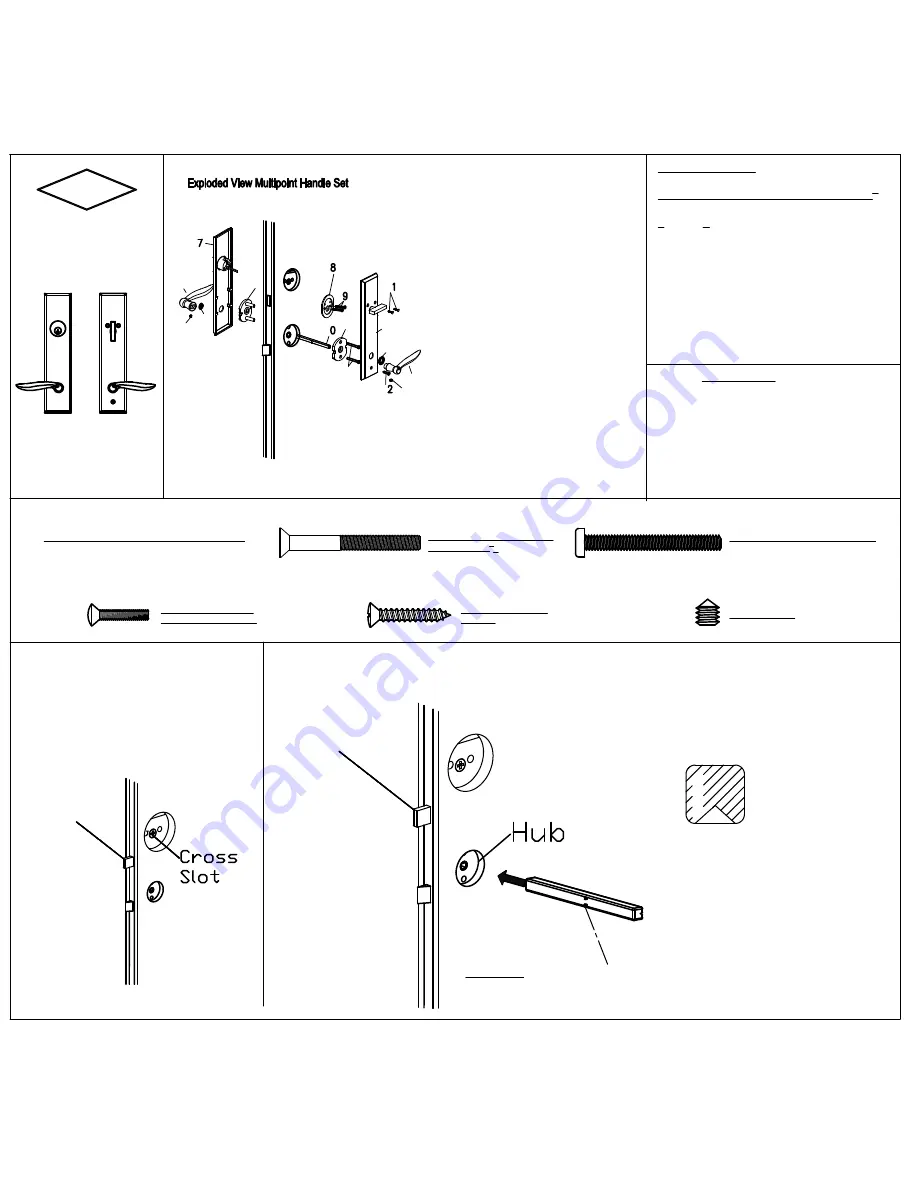
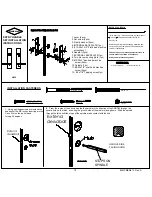
1.Lever (2pcs)
2.Set screw (2pcs)
3.Plastic washer (2pcs)
4.INTERNAL BACKPLATE(1pc)
5.# 10-24x1-3/4" Flat head machine
screw(2pcs)
6.Adaptor (2pcs)
7.EXTERNAL BACKPLATE(1pc)
8.Turn piece mounting plate (1pc)
9.#10-32x2" pan head machine
screw (2pcs)
10.Spindle (1pc)
11.#8-32x7/8" oval head machine
screw (2pcs)
12. #8 x 7/8" Tapping screw(1pc)
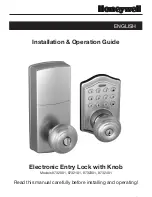
BEFORE YOU BEGIN
Check door thickness as handle will work with a 1-
3
4
" thick door only. If door thickness is greater than 1-
3
4" up to 2-
1
4" thick please contact Rockwell
Security Inc.
Remove and discard all packaging materials and
verify you have all the parts in the exploded view
section of instructions
Follow step by step installation instructions to
ensure proper operation of handle set.
Always wear protective eyewear.
(2) MOUNTING PLATE SCREW
#10-24
UNC
x1-
3
4
"
(2) DEADBOLT MOUNTING SCREW
#10-32 x 2"
INSTALLATION FASTENERS
(1)
TAPPING SCREW
#8 x 7/8"
(2)MOUNTING PLATE
SCREW, #8-32 UNC 7/8"
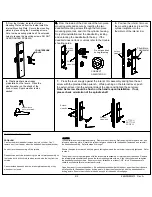
1. Using a philipps screwdriver extend the
deadbolt of the MP lock by inserting into the
Cross Slot on the top hole and
turning 90 degrees
Extend
deadbolt
2.
From the inside of the door insert the the spindle in the direction of the ARROW through the
square hole on the latch, ensuring the groove side of th spindle is facing down. Slide the spindle
through the latch until the stops of the spindle make contact with the hub.
INSIDE
SP
IN
DL
E
GROOVE SIDE
FACING DOWN
STOPS ON
SPINDLE
(2) SET SCREW
1/4"-20
TM
Rockwell
ENTRY HANDLE
SET INSTALLATION
INSTRUCTIONS
H435
REQUIRED TOOLS
Protective Eyewear
#2 Phillips Screwdriver
Extend
deadbolt
86MPMEN913 Rev. A
1/2


