background image


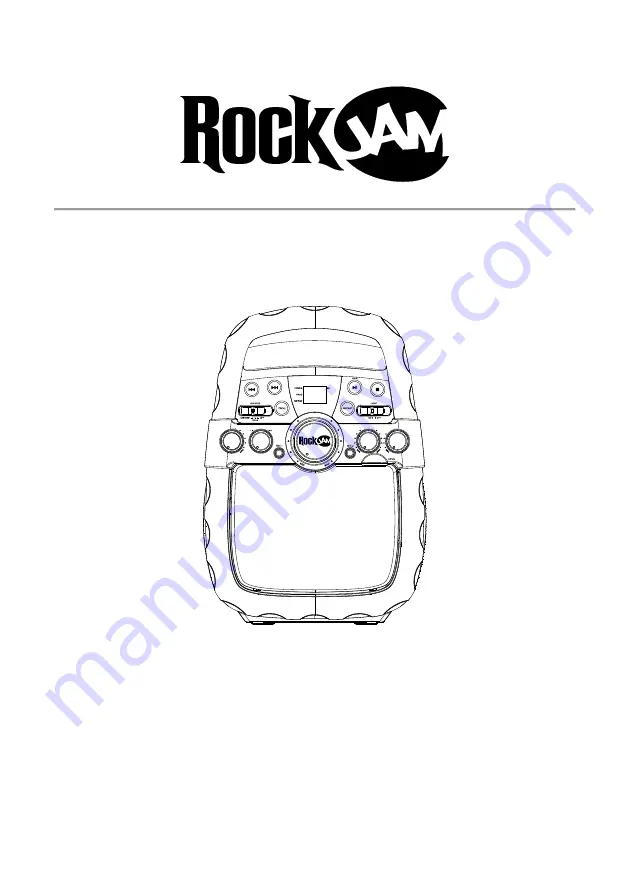
RJPS200 Karaoke Machine with Bluetooth®


User Guide 


Please read this user guide first before operating the karaoke machine and save it for future 

reference. 

Congratulations on your purchase of this RockJam Karaoke Machine. To get the most from 

your purchase, please take a few minutes to read these instructions. 

C

I

H

C

O

E

L

O

V

M

A.V.C

VO

R

E

L

T

U

S

M

A

E

M

A

N

L

C

A

E

B

Содержание RJPS200

Страница 1: ...before operating the karaoke machine and save it for future reference Congratulations on your purchase of this RockJam Karaoke Machine To get the most from your purchase please take a few minutes to r...

Страница 2: ...uctions All operation and use instructions should be followed 5 Water and Moisture The appliance should not be used near water for example near a bathtub washbowl kitchen sink laundry tub in a wet bas...

Страница 3: ...to service the appliance beyond that described in the operating instructions All other servicing should be referred to qualified service personnel FCC Statement This equipment has been tested and fou...

Страница 4: ...Machine to a TV 8 Connecting to the Electricity Supply 9 Battery Operation 9 Switching the Karaoke Machine On Off 10 Lightshow Selection and Switching off the Lightshow 10 Operation 11 Playing a CD G...

Страница 5: ...ct 20 No Sound General 20 No Sound If connected to a TV 21 Lyrics do not appear on the TV screen 21 No sound from the microphone 21 Bluetooth device pairing problems 21 Other Bluetooth problems 22 Pro...

Страница 6: ...that the following items are included Main unit 1 or 2 x 16 Song Chart Hit CD G discs are optionally included See product gift box supplied for details of any included CD Gs C I H C O E L O V M A V C...

Страница 7: ...Speaker Balance 7 AVC Control 8 MIC 1 Socket 9 Master Volume 10 Carry Handle 11 PLAY PAUSE PAIR Button 12 STOP Button 13 Repeat Button 14 LIGHT ON OFF Switch 15 Echo Control 16 MIC Volume 17 CD Door...

Страница 8: ...7 Location of Controls Rear 21 Stereo Speaker 22 LINE IN Socket 23 Video Output 24 Audio R Right Output 25 Audio L Left Output 26 DC 5V Power 27 Battery Compartment 28 Stereo Speaker...

Страница 9: ...VO R E L T U S M A E M AN L C A E B R L Microphones Connect a microphone into MIC 1 Socket 1 as well as MIC 2 Socket 2 if desired Note Do not drop or tap the microphones as damage to the microphones...

Страница 10: ...tes This unit can be used with or without a TV but it is highly recommended to use a TV in order to utilize all the features To see the lyrics on the screen you must use a CD G disc Connecting to the...

Страница 11: ...witch to the left The Power indicator LED will light red To switch off the karaoke slide the ON OFF SOURCE switch all the way to the right 1 The Karaoke Machine has a built in lightshow that beats to...

Страница 12: ...most karaoke discs that will display the words on the screen Never place anything other than a CD or CD G in the compartment as foreign objects can damage the unit If no disc is inserted no will appea...

Страница 13: ...isplay will show the number of the track that is playing 5 Adjust the playback volume to a comfortable level using the Master Volume control 6 Connect microphone s as shown previously and slide the ON...

Страница 14: ...Auto Voice Control can be activated by rotating the AVC control The more this control is turned clockwise the more the vocals on the multiplex recording will be muted when the user starts to sing thr...

Страница 15: ...t a time by pressing the FWD and REV buttons 11 Repeat Mode During CD G CD playback press the REPEAT button briefly to cycle through the track repeat modes Repeat Single Repeat indicator flashes Repea...

Страница 16: ...indicate the 2nd programmed track 15 Repeat steps 13 and 14 up to a maximum of 20 tracks in the program and then press the PLAY PAUSE button to start the program playback 16 The Program indicator wil...

Страница 17: ...gain to resume normal playback 18 Press the STOP button to stop the music playback 19 Slide the ON OFF SOURCE switch fully to the right to switch off the karaoke machine 1 Connect a 3 5mm Auxiliary Ca...

Страница 18: ...ion will be made automatically 3 At the first time of use there will be no paired Bluetooth devices Press and hold the PAIR button briefly to start the pairing process The LED will flash bt to indicat...

Страница 19: ...process using the Bluetooth settings screen of your mobile phone tablet or other Bluetooth audio source Select device RJPS200 If asked for a pairing code enter 0000 A jingle sound will be heard and t...

Страница 20: ...L T U S M A E M AN L C A E B 6 In Bluetooth mode press the PLAY PAUSE button to start and stop playback 7 Skip forward and backwards between audio tracks using the FWD REV buttons 8 In Bluetooth mode...

Страница 21: ...e machine Connect the karaoke machine to a different AC power outlet The Karaoke Machine Switches Off Unexpectedly The karaoke machine has a power save auto off function that will activate after 10 mi...

Страница 22: ...en when playing a standard CD or using Bluetooth This is normal behaviour No sound from the microphone Make sure the microphone is firmly connected to the MIC 1 or MIC 2 socket Make sure the ON OFF sw...

Страница 23: ...The symbol shown here and on the product means that the product is classed as Electrical or Electronic Equipment and should not be disposed with other household or commercial waste at the end of its w...

Страница 24: ...etres in open space less indoors MISCELLANEOUS POWER SECTION DC 5 0V 1A POWER CONSUMPTION 5 0 W DIMENSIONS H x W x D 36 x 24 x 14 cm WEIGHT 1 56 kg Specifications are subject to change without notice...

Отзывы: