


AirPick - Instruction Manual
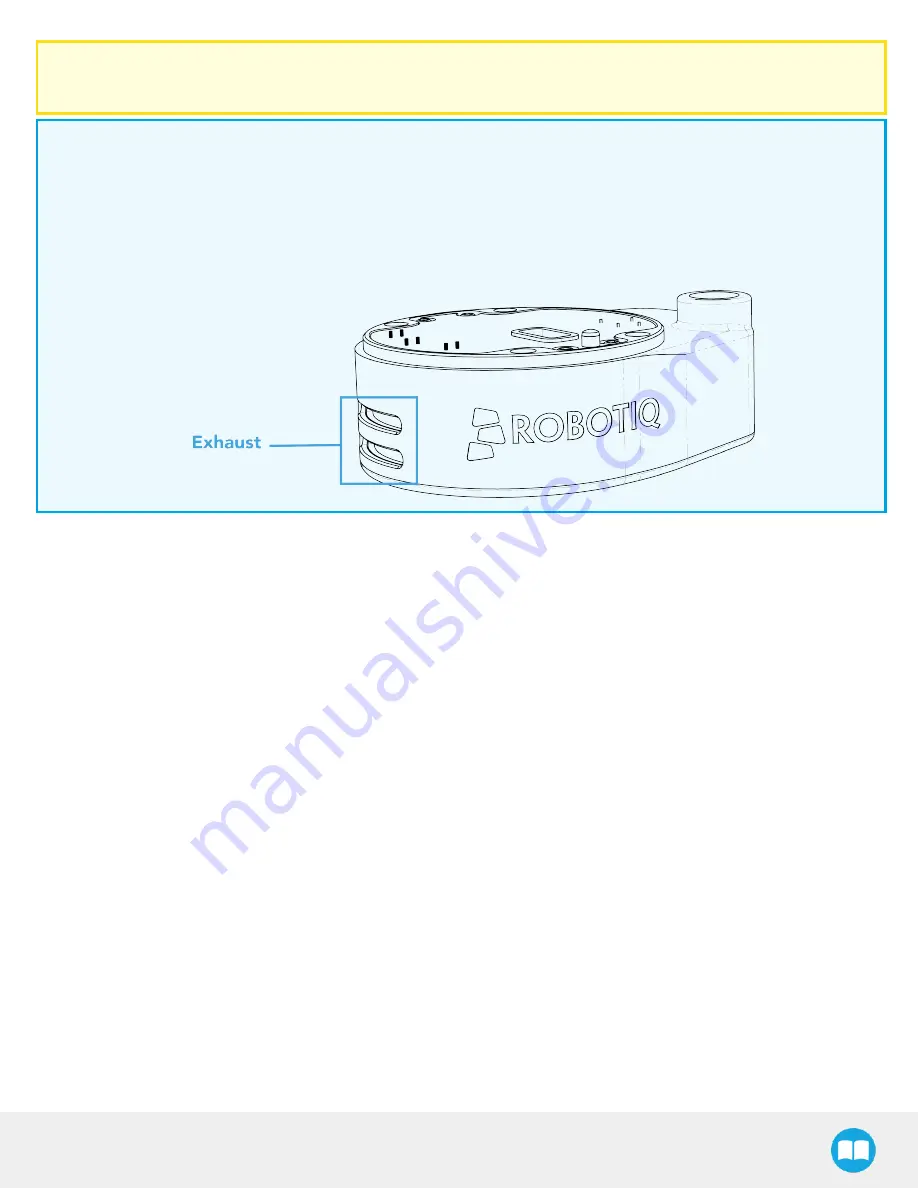
Caution
Use of the Vacuum Gripper is not recommended in presence of chemicals in the environment.
Info
The input filter prevents any dust larger than 200 µm from getting inside the pump. Dry dust will prevent the
accumulation on filters or inside the pump. The use of suction cups with integrated filter can be used to reduce dust
accumulation.
The exhaust must not be blocked.
3.3.1. Air supply
Compressed air must be supplied to the Vacuum Gripper according to the technical specifications. For maintenance and other
purposes, it is recommended to install a lockout valve before connecting to the product. The air supply tubing must be connected
and disconnected to, or from, the inlet port, only when the line is depressurized. When the line is pressurized, the safety clip must
be at all times installed on the inlet port.
To protect against whipping hazard, the air supply tubing must be securely attached to the robot arm. An air fuse should also be
installed.
3.3.2. Depressurizing the supply line
In order to safely depressurize the supply line, the air supply must first be shut off. Then, if no lockout valve is present to
depressurize the line, the gripper can be activated until the pressure is fully released.
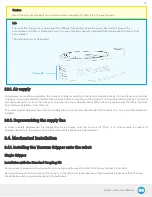
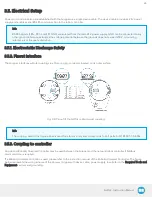
3.4. Mechanical Installation
3.4.1. Installing the Vacuum Gripper onto the robot
Single Gripper
Installation with the Standard Coupling Kit
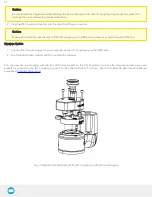
For purposes of power and communication, a coupling must be used to attach the Vacuum Gripper to the robot.
Here are the steps to follow to mount the Gripper on the robot arm (exploded view in figure below). Please note that all screws
should be secured using medium strength threadlockers.
18
Содержание AirPick
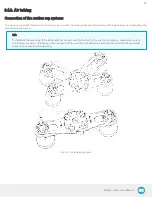
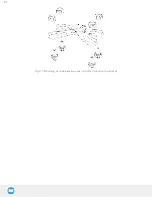
Страница 25: ...Fig 3 7 Mounting air nodes suction cups air bolts air nuts on the bracket 25...
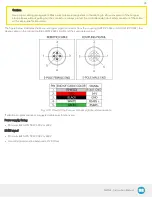
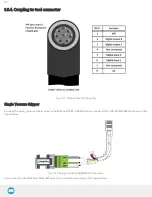
Страница 27: ...Fig 3 9 Robotiq Vacuum Gripper with pigtail cable and device cable wiring scheme 27...
Страница 35: ...Fig 4 1 Vacuum Gripper control logic overview 35...
Страница 57: ...7 Click on the New Project icon in the upper left corner of the screen 57...
Страница 58: ...AirPick Instruction Manual 8 Enter a name for your program and click on the OK button 9 58...
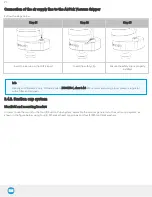
Страница 76: ...Fig 6 5 Minimum and maximum arrangement possibilities of the air nodes position 76...
Страница 77: ...AirPick Instruction Manual 6 1 3 Air nodes Fig 6 6 Air nodes dimensions 77...
Страница 103: ...AirPick Instruction Manual 12 Appendix Fig 12 1 Pneumatic schema of the AirPick Vacuum Gripper...