background image

R972

FM STEREO/AM

PLL DIGITAL

PERSONAL RADIO

ROBER

TS

Sound for Generations

Operating Instructions

Содержание R972

Страница 1: ...R972 FM STEREO AM PLL DIGITAL PERSONAL RADIO ROBERTSSound for Generations Operating Instructions ...

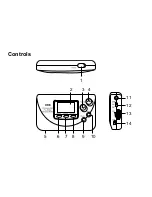
Страница 2: ...1 2 3 4 10 9 8 7 6 5 Controls 11 12 13 14 ...

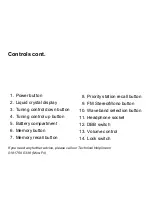
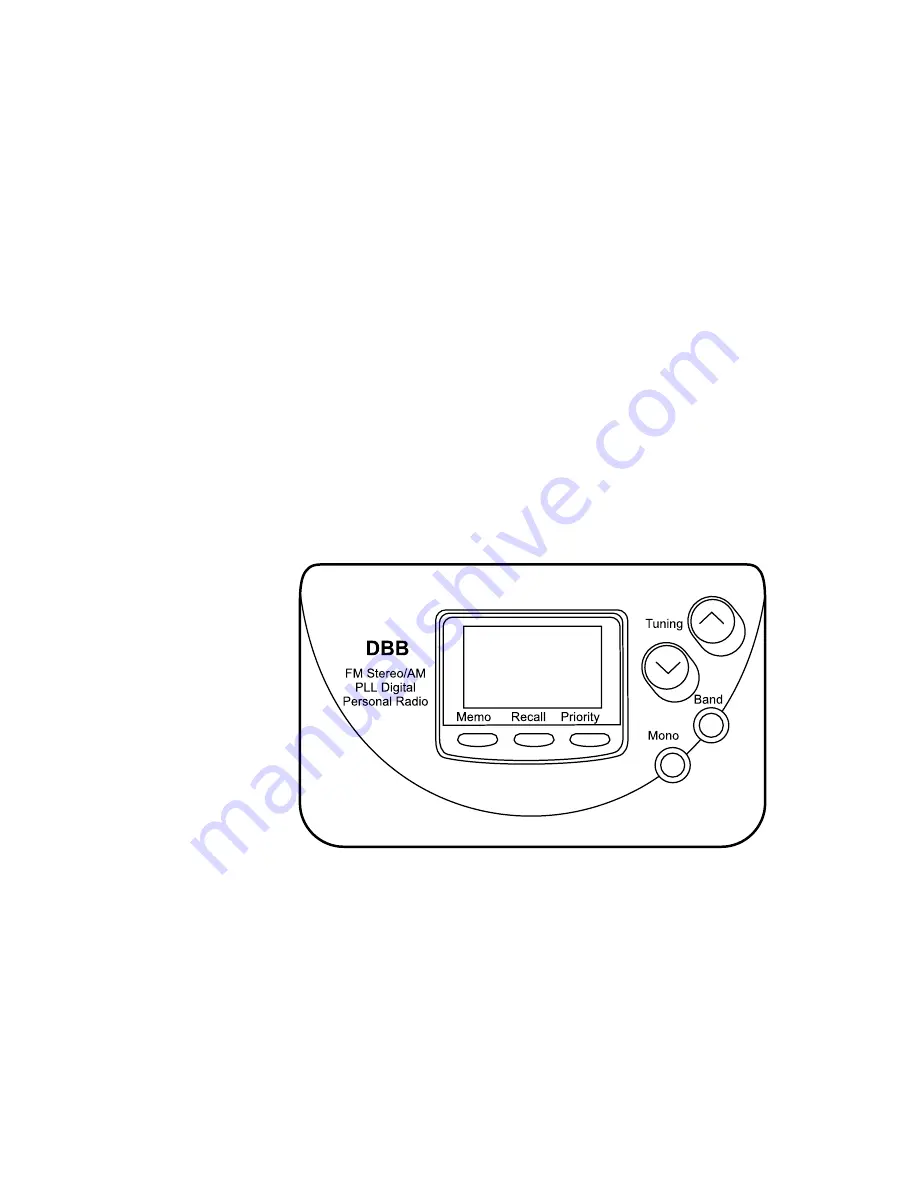
Страница 3: ...2 Liquid crystal display 3 Tuning control down button 4 Tuning control up button 5 Battery compartment 6 Memory button 7 Memory recall button 8 Priority station recall button 9 FM Stereo Mono button 10 Waveband selection button 11 Headphone socket 12 DBB switch 13 Volume control 14 Lock switch Controls cont ...

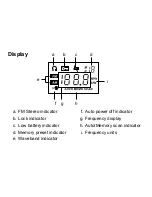
Страница 4: ...tereo indicator b Lock indicator c Low battery indicator d Memory preset indicator e Waveband indicator f Auto power off indicator g Frequency display h Auto Memory scan indicator i Frequency units a b c d e h g i f ...

Страница 5: ...longsidethebatterycompartment Note Batteries should be replaced when the low battery indicator appears in the display During battery replacement ensure that the Lock switch 14 is in the up lock position This will prevent loss of memory presets during battery replacement Battery replacement should be completed within two minutes to prevent loss of stations stored in memory presets If the radio is n...

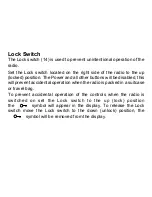
Страница 6: ... buttons will be disabled this will prevent accidental operation when the radio is packed in a suitcase or travel bag To prevent accidental operation of the controls when the radio is switched on set the Lock switch to the up lock position the symbol will appear in the display To release the Lock switch move the Lock switch to the down unlock position the symbol will be removed from the display ...

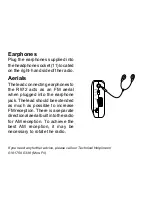
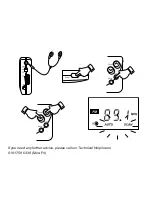
Страница 7: ...ed on the right hand side of the radio Aerials The lead connecting earphones to the R972 acts as an FM aerial when plugged into the earphone jack The lead should be extended as much as possible to increase FM reception There is a separate directionalaerialbuiltintotheradio for AM reception To achieve the best AM reception it may be necessary to rotate the radio ...

Страница 8: ...scan the selected waveband and stop automatically when a station is found Press and hold down either the Tuning up or Tuning down buttons for more than half a second to resume scan tuning Manual tuning Turn on the radio by pressing the Power button 1 select the FM or AM band by pressing the Waveband selection button 10 The desired station may be selected by repeatedly pressing the Tuning up 4 or T...

Страница 9: ...If you need any further advice please call our Technical Helpline on 0181 758 0338 Mon Fri ...

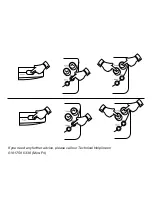
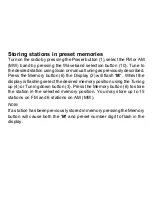
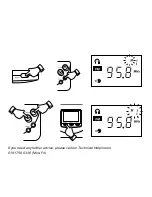
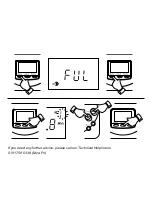
Страница 10: ...ry button 6 the Display 2 will flash M Whilst the display is flashing select the desired memory position using the Tuning up 4 or Tuning down button 3 Press the Memory button 6 to store the station in the selected memory position You may store up to 15 stations on FM and 6 stations on AM MW Note If a station has been previously stored in memory pressing the Memory button will cause both the M and ...

Страница 11: ...If you need any further advice please call our Technical Helpline on 0181 758 0338 Mon Fri ...

Страница 12: ...ion will replace the station stored memory location 15 on FM or memory location 6 on AM Recalling stations from preset memories Turn on the radio and select the FM or AM band as previously described Press the Memory recall button 7 the memory preset number will flash in the display Select the required preset memory using the Tuning up 4 or Tuning down button 3 press the Memory recall button to sel...

Страница 13: ...If you need any further advice please call our Technical Helpline on 0181 758 0338 Mon Fri ...

Страница 14: ...the earphones to the earphone socket 11 Slide the Lock switch 14 to the unlock down position Turn on the radio by pressing the Power button 1 select the required waveband by pressing the Waveband selection button 10 Press and hold down both the Tuning up 4 and Tuning down 3 buttons until the display shows AUTO SCAN The R972 will scan the selected waveband and automatically store stations in memory...

Страница 15: ...If you need any further advice please call our Technical Helpline on 0181 758 0338 Mon Fri ...

Страница 16: ...g for 3 4 seconds before selecting the next preset When the required preset is reached press the Recall button 7 twice to stop the memory scan Deleting preset memories If the preset memories are full or you would like to delete a preset station proceed as follows Recall the preset memory you wish to delete presstheMemorybuttonuntilthedisplayshows dEL releaseandthen press the Memory button the pres...

Страница 17: ...If you need any further advice please call our Technical Helpline on 0181 758 0338 Mon Fri ...

Страница 18: ...M or AM band as previously described Press the Memory recall button 7 the memory preset number will flash in the display Select preset memory 2 using the Tuning up 4 or Tuning down button 3 press the Memory button 6 select preset memory 6 using the Tuning up 4 or Tuning down button 3 press the Memory button to complete ...

Страница 19: ...If you need any further advice please call our Technical Helpline on 0181 758 0338 Mon Fri ...

Страница 20: ...y described methods Press the Memory button 6 followed by the Priority button 8 A P will flash in the display select the Priority station memory 1 2 or 3 using the Tuning up 4 or Tuning down button 3 press the Memory button 6 the P will stop flashing in the display indicating that the station has been stored in Priority memory Repeat the above procedure for the other 2 Priority memories ...

Страница 21: ...If you need any further advice please call our Technical Helpline on 0181 758 0338 Mon Fri ...

Страница 22: ...be audible to reduce the hiss press the Mono button 6 to switch to mono mode The stereo indicator will be removed from the display Recalling Priority stations Turn on the radio by pressing the Power button 1 repeatedly press the Priority 8 button to select the required Priority station ...

Страница 23: ...If you need any further advice please call our Technical Helpline on 0181 758 0338 Mon Fri ...

Страница 24: ...n off the radio using the Power button 1 Turn on the radio whilst holding down the Tuning up button 4 Release both buttons the AM tuning step size will now be 10KHz To change the AM tuning step size from 10KHz to 9KHz proceed as follows Turn off the radio using the Power button 1 Turn on the radio whilst holding down the Tuning down button 3 Release both buttons the AM tuning step size will now be...

Страница 25: ...If you need any further advice please call our Technical Helpline on 0181 758 0338 Mon Fri ...

Страница 26: ... the radio is switched on To disable the auto power off function press and hold down the power button for more than 2 seconds when turning on the radio The symbol will be removed from the display Deep Bass Boost switch Setting the DBB switch 12 to the up On position will enhance bass sounds Return the switch to the down Off position to restore normal operation ...

Страница 27: ...If you need any further advice please call our Technical Helpline on 0181 758 0338 Mon Fri ...

Страница 28: ... AAA LR03 Battery Life Approx 22hrs using alkaline batteries Frequency coverage MW 520 1710kHz FM 87 5 108MHz Output Power 5mW Earphone Jack 3 5mm dia Stereo The company reserves the right to amend the specification without notice ...

Страница 29: ...If you need any further advice please call our Technical Helpline on 0181 758 0338 Mon Fri Notes ...

Страница 30: ...Imported by ROBERTS RADIO LIMITED PO BOX 130 MEXBOROUGH SOUTH YORKSHIRE S64 8YT ...

Страница 31: ...mbers Procedure Any claim under this guarantee should be made through the dealer from whom the instrument was purchased It is likely that your Roberts dealer will be able to attend to any defect quickly and efficiently but should it be necessary the dealer will return the instrument to the company s service department for attention In the event that it is not possible to return the instrument to t...

Страница 32: ...ROBERTS RADIO TECHNICAL SERVICES DEPARTMENT 97 99 WORTON ROAD ISLEWORTH MIDDLESEX TW7 6EG Issue2 ...

Отзывы: