Please read this manual before use
ROBER
TS
Sound for Generations
®
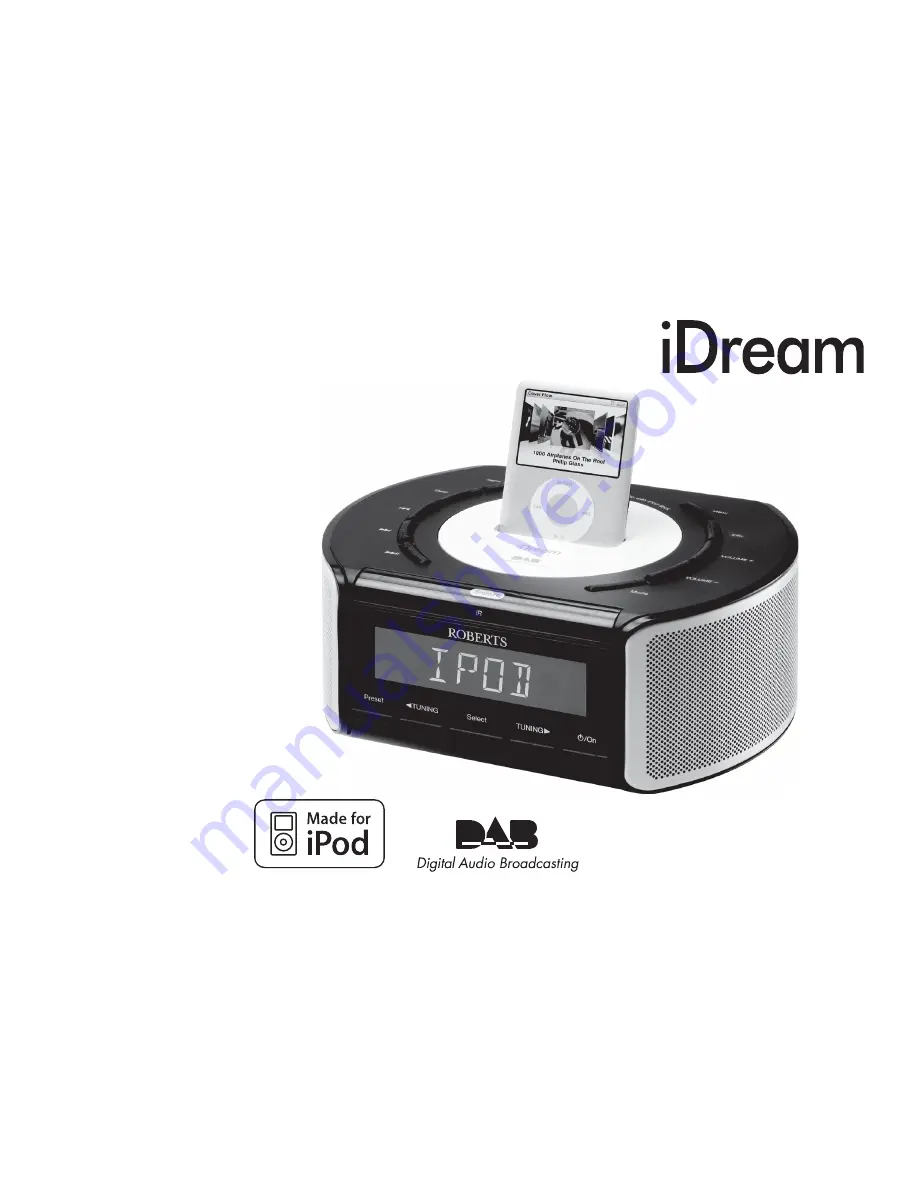
DAB / FM RDS digital clock radio
with dock for iPod
model CRD-42
Страница 1: ...Please read this manual before use ROBERTSSound for Generations DAB FM RDS digital clock radio with dock for iPod model CRD 42...
Страница 2: ...15 Display modes FM 16 Presetting stations 17 Recalling a preset station 18 iPod docking 19 Navigating your iPod 20 Playing a le on your iPod 20 Search function 20 Contents Setting the alarm times 21...
Страница 3: ...1 6 Alarm button 7 Menu button 8 Info button 9 Dock for iPod 10 Volume Up button 2 3 4 5 6 7 8 10 11 12 9 13 11 Volume Down button 12 Mode button 13 Infra red sensor hidden Note For the sake of clari...
Страница 4: ...n 17 Select button 18 Tuning Up button 19 On Standby button Controls front Controls rear 20 Dimmer switch 21 Wire DAB FM aerial 22 Headphone socket 23 Line in auxiliary input socket 24 DC in socket 25...
Страница 5: ...button 9 Tuning Down button 10 Info button 11 Snooze button 12 Menu button 13 Volume Down button 14 Volume Up button 15 Fast forward button 16 Mode button 1 Controls remote control 2 3 4 5 6 7 8 9 10...
Страница 6: ...s shown on the reverse side of the battery cover 3 Close the battery cover by re applying the cover to the control in the position marked OPEN and then use a coin to rotate the cover clockwise so that...
Страница 7: ...w SET CLOCK During this time the radio is scanning to nd out which DAB radio stations are available After a short time the current time will appear on the display 4 If no stations are found NO CLOCK w...
Страница 8: ...s found during scanning will be played The display will show the station name on the display 4 If no signals are found then OFF AIR will be displayed and it may be necessary to relocate your clock rad...
Страница 9: ...of the radio station currently selected 3 Press the Tuning up or down buttons to step through the list of available stations 4 When the desired station name appears on the display press the Select bu...
Страница 10: ...ostsecondaryservicesdonotbroadcastcontinuallyandiftheselected service is not available the radio will re tune to the associated primary service Display modes DAB Your radio has a range of display opti...
Страница 11: ...ngs e Time and day Displays the current time 24 hour clock and day of the week f Date Displays the current date g Frequency and channel Displays frequency and channel number for the currently tuned DA...
Страница 12: ...tation counter on the right hand side of the display will increase and stations will be added to the list In countries other than the UK in order that the radio may nd the available stations it is rec...
Страница 13: ...ress and release the Select button to tune to the chosen frequency 3 If a signal is present this will be indicated on a signal strength display The minimum signal marker shows the minimum signal stren...
Страница 14: ...he DAB band 3 Press and release the Menu button until the display shows MANUAL 4 Press the Tuning Up or Down buttons until DRC VAL appears on the display Then press the Select button The display will...
Страница 15: ...tomatically when it nds a station of suf cient strength 5 After a few seconds the display will update The display will show the frequency of the signal found If the signal is strong enough and there i...
Страница 16: ...to select the FM band 4 Press the Tuning Up or Down button to tune to a station The frequency will change in steps of 50kHz If the radio is tuned to a station of suf cient signal strength with RDS in...
Страница 17: ...utton to cycle through the various modes a Station name Displaysthenameoftheradiostationbeing listened to b Scrolling text Displays scrolling text messages such as artist track name phone in number et...
Страница 18: ...e Mode button to select the desired waveband 3 Tune to the required station as previously described 4 Press and release the Preset button The display will show for example Empty 1 if no station has be...
Страница 19: ...d release the Preset button The display will show for example Empty 1 if no station has been stored to that preset If a preset has been stored then the display will show either the station name for DA...
Страница 20: ...amagetoyouriPod donotuseyouriPod with the product without the correct adapter tted to the radio Docking your iPod 1 Place the iPod Universal Dock Adapter into the iPod docking recess so that it is sec...
Страница 21: ...with your iPod 3 Adjust the volume to the required setting using the Volume Up and Down buttons on your clock radio 4 TopauseplaybackpressthePlay Pausebutton Toresumeplayback press the Play Pause but...
Страница 22: ...elease the Mode button to put the radio into DAB or FM mode 2 Press and release the Alarm button The display will show SET ALM 3 Press the Select button to enter the alarm setup Alarm 1 ashes 4 Press...
Страница 23: ...the desired alarm day option Once Will sound at one time only Daily Will sound everyday Weekdays Will sound only on weekdays Weekends Will sound only on weekends Ifsettingthealarmtoonceonly continuew...
Страница 24: ...rms are indicated by the symbol and the corresponding alarm number When your clock radio is set to wake by the radio alarm your clock radio will switch to the last used DAB or FM radio station Importa...
Страница 25: ...clock radio If neces sary press and release the Mode button to put the radio into DAB or FM mode 2 Press the Alarm button to enter the alarm setup 3 Press the Select button then press the Tuning Up or...
Страница 26: ...To set the snooze time 1 PresstheOn Standbybuttontoswitchontheclockradio Ifnecessary press and release the Mode button to put the radio into DAB or FM mode 2 To set the snooze to the desired snooze ti...
Страница 27: ...ired sleep time The sleep setting will increase in 5 minute increments from 5 minutes up to 90 minutes A further press will cause the sleep timer to be set to OFF which will cancel the sleep function...
Страница 28: ...ter the setup menu MANUAL will appear on the display 3 Press the Tuning Up or Down button until CLOCK appears on the display Press and release the Select button 4 Press the Tuning Up or Down button un...
Страница 29: ...s needed 11 Press the Select button to enter the year setting The month will then ash on the display 12 Press the Tuning Up or Down buttons to select the current month 13 Press the Select button to en...
Страница 30: ...ess the Tuning Up or Down button until AUTO CLK appears on the display Press and release the Select button 5 The radio will immediately set its time according to the information received with the DAB...
Страница 31: ...s in standby mode the time and day will be displayed The time is always shown using a 24 hour clock format Display backlight dimmer 1 In order to adapt the intensity of the display to suit the ambient...
Страница 32: ...sure your clock radio is switched on and in DAB or FM mode 1 Press and release the Menu button 2 Press the Tuning Up or Down buttons until the display shows your clock radios software information 3 Af...
Страница 33: ...illbe performed Thestation listandpresetswill beerased Alarms will be cancelled and snooze and sleep timer settings will be set to their default values The display will show ROBERTS and after a few se...
Страница 34: ...t located on the rear of your clock radio is provided for use with either headphones or an earpiece Inserting a plug automatically mutes the internal loudspeaker IMPORTANT Excessivesoundpressurefromea...
Страница 35: ...al to be fed into the unit from an external audio device such as iPod MP3 or CD player 1 Press the Mode button until AUX IN is selected on the display 2 Connect a stereo or mono audio source for examp...
Страница 36: ...lled with liquids such as vases shall be placed on the clock radio It is recommended to operate the product such that there is a minimum distance 10cm recommended to adjacent objects in order to ensur...
Страница 37: ...ght to amend the speci cation without notice Circuit Features Output Power 2 x 2 4 Watt Headphone socket 3 5mm dia Auxiliary Input socket 3 5mm dia Aerial System FM Wire aerial DAB Wire aerial Speci c...
Страница 38: ...e for iPod means that an electrical accessory has been designed to connect speci cally to iPod and has been certi ed by the developer to meet Apple performance standards Apple is not responsible for t...
Страница 39: ...2 Consequential damage 3 Receivers with removed or defaced serial numbers Procedure Any claim under this guarantee should be made through the dealer from whom the instrument was purchased It is likely...
Страница 40: ...TS RADIO TECHNICAL SERVICES 97 99 Worton Road Isleworth Middlesex TW7 6EG Technical Helpline 020 8758 0338 Mon Fri during of ce hours Website http www robertsradio co uk 2008 Roberts Radio Limited Iss...