Please read this manual before use
ROBER
TS
Enjoy Listening
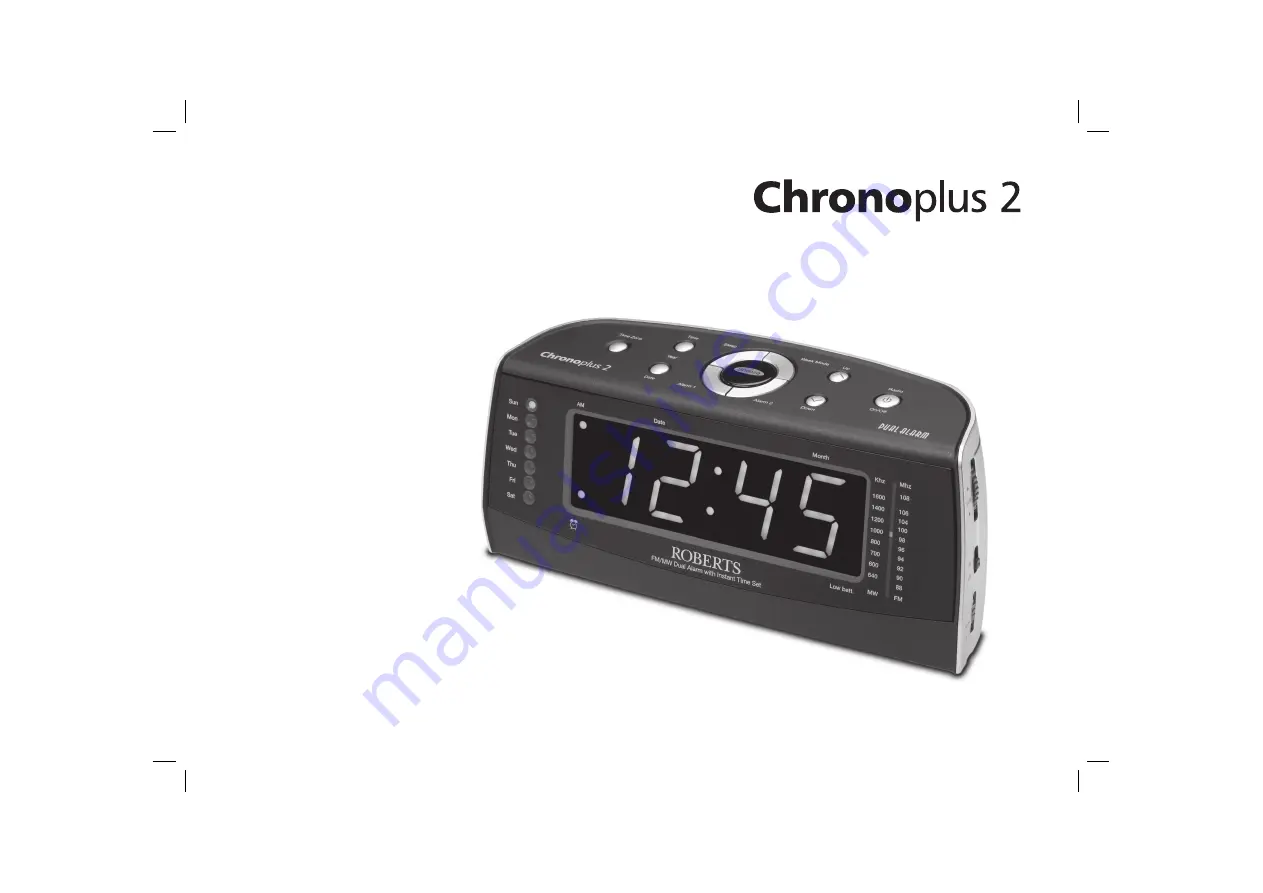
FM / MW dual alarm clock radio with instant time set
Страница 1: ...Please read this manual before use ROBERTSEnjoy Listening FM MW dual alarm clock radio with instant time set...
Страница 2: ...times 8 Setting alarm day 9 Weekday alarm 9 Weekend alarm 10 Everyday alarm 10 Checking alarm times 11 Snooze control 11 Sleep timer 12 Listening to the radio 13 Dimmer 13 Back up battery 14 Changing...
Страница 3: ...l Helpline on 020 8758 0338 Mon Fri Controls Top 1 9 8 2 1 Time Zone button 2 Time button 3 Sleep button 4 Snooze button 5 Week Mode button 6 Up button 7 Radio On Off button 8 Down button 9 Alarm 2 bu...
Страница 4: ...Controls Front 12 LED display 13 Alarm indicator 14 Day of week indicators 15 AM indicator 16 Dial scale 17 Low battery indicator 12 3 16 14 15 13 17...
Страница 5: ...advice please call our Technical Helpline on 020 8758 0338 Mon Fri Controls Left and right side 18 Alarm 1 switch 19 Alarm 2 switch 20 Dimmer switch 18 4 21 Tuning control 22 Waveband switch 23 Volume...
Страница 6: ...Rear Controls 25 24 Wire FM aerial 25 Back up Battery compartment 26 Headphone socket 5 24 26...
Страница 7: ...T The mains plug is used as the means of connecting the clock radio to the mains supply The mains socket used for the clock radio must remain accessible during normal use In order to disconnect the cl...
Страница 8: ...or Down buttons 7 Setting the year manually 1 TosettheyearholddownboththeTimeandDatebuttons Thedisplay will change to show the year 2 Whilst holding down the Time and Date buttons set the correct yea...
Страница 9: ...splay with a AM indicator Ensure that the correct 12 hour cycle is selected 3 Set the Alarm 1 switch to the Buzz or Radio position The alarm indicator will light up Switch to Off if you wish to perman...
Страница 10: ...ay alarm 1 Press and hold down the Alarm 1 or Alarm 2 buttons depending on which alarm you wish to set 2 Whilst holding down Alarm 1 or Alarm 2 buttons repeatedly press and release the Week Mode butto...
Страница 11: ...o switch off the alarm until the next day press the On Off button 4 To switch off the alarms permanently set Alarm 1 or 2 switch to Off Everyday alarm 1 Press and hold down the Alarm 1 or Alarm 2 butt...
Страница 12: ...ime to alarm time and the Day indicator will light up to show the alarm day set 3 Release the button to return to normal time Snooze control 1 The radio or buzzer alarm can be silenced for approximate...
Страница 13: ...adjusted between 2 and 90 minutes in 1 minute increments 1 When using the radio press and hold down the Sleep button The display will show the sleep time 2 Whilst holding down the Sleep button press t...
Страница 14: ...radio is for FM reception Thewireshouldbefullyextendedandpositionedforoptimum reception For MW reception there is a built in ferrite aerial Rotate your clock radio to the position giving best recepti...
Страница 15: ...er memory A fresh backup battery can supply power to your clock radio s computer memory for 3 years even if it is never connected to a mains supply If your clock radio was connected to the AC mains su...
Страница 16: ...ement This will provide power whilst the original battery is removed 4 Open the battery cover located on the rear of the clock radio by unscrewing the screw in an anti clockwise direction 5 Remove the...
Страница 17: ...e display will show the time zone currently selected e g 12 2 Whilst holding down the Time Zone button adjust the time zone using the Up or Down buttons See following table for details of time zones a...
Страница 18: ...t located on the rear of your clock radio is provided for use with either headphones or an earpiece Inserting a plug automatically mutes the internal loudspeaker IMPORTANT Excessivesoundpressurefromea...
Страница 19: ...uirements Mains AC 230 volts 50Hz only Back up Battery 1 x CR2032 Lithium 3 5 year life Frequency Coverage FM 87 5 108MHz MW 515 1635 kHz Circuit features Loudspeaker 76 mm Output power 1W Aerial Syst...
Страница 20: ...lug which is tted with a fuse of the appropriate rating If the plug supplied is not suitable for your socket outlet it should be removed by unscrewing the plug top the terminal screws and removing the...
Страница 21: ...name plate is located on the underside of the unit Your clock radio should not be exposed to dripping or splashing and that no objects lled with liquids such as vases shall be placed on the clock rad...
Страница 22: ...ic discharge it may be necessary to reset the product to resume normal operation This may generally be performed by turning the unit off and on In some cases a more complete reset may be needed by rem...
Страница 23: ...2 Consequential damage 3 Receivers with removed or defaced serial numbers Procedure Any claim under this guarantee should be made through the dealer from whom the instrument was purchased It is likely...
Страница 24: ...TS RADIO TECHNICAL SERVICES 97 99 Worton Road Isleworth Middlesex TW7 6EG Technical Helpline 020 8758 0338 Mon Fri during of ce hours Website http www robertsradio co uk 2009 Roberts Radio Limited Iss...