SteelCentral™ Enterprise NetProfiler Appliance Installation Guide
39
Adding Expansion Modules
Gateway: 10.38.128.1
NOTE: Setup will conclude with a reboot of this SteelCentral device. After
all modules have rebooted, setup can be completed by logging into the UI at
https://10.38.129.68/
Login as admin/admin.
NOTICE: All existing settings and logs will be lost.
Finish Setup and Reboot? (yes/no):
yes
Working.....
When the Expansion Module reboots, it communicates with the other Enterprise NetProfiler modules as necessary to
install the software and be added to the system. The Expansion Module can reboot several times during the installation
process, and it may take up to two hours for the module to be fully integrated and functioning as part of the system.
Before proceeding with any additional modules, log in to the web user interface of the NetProfiler, navigate to the
System, Information page, and verify that the module just added appears under NetProfiler Status with the status of
OK.
Configure the new Dispatcher Module
If the configuration will include more than six Expansion Modules, install a Dispatcher Module before you install the
seventh Expansion Module.
Follow these steps
:
1.
Verify that the Dispatcher Module is connected to line power and to the same switch on the management network
as the Base Module.
2.
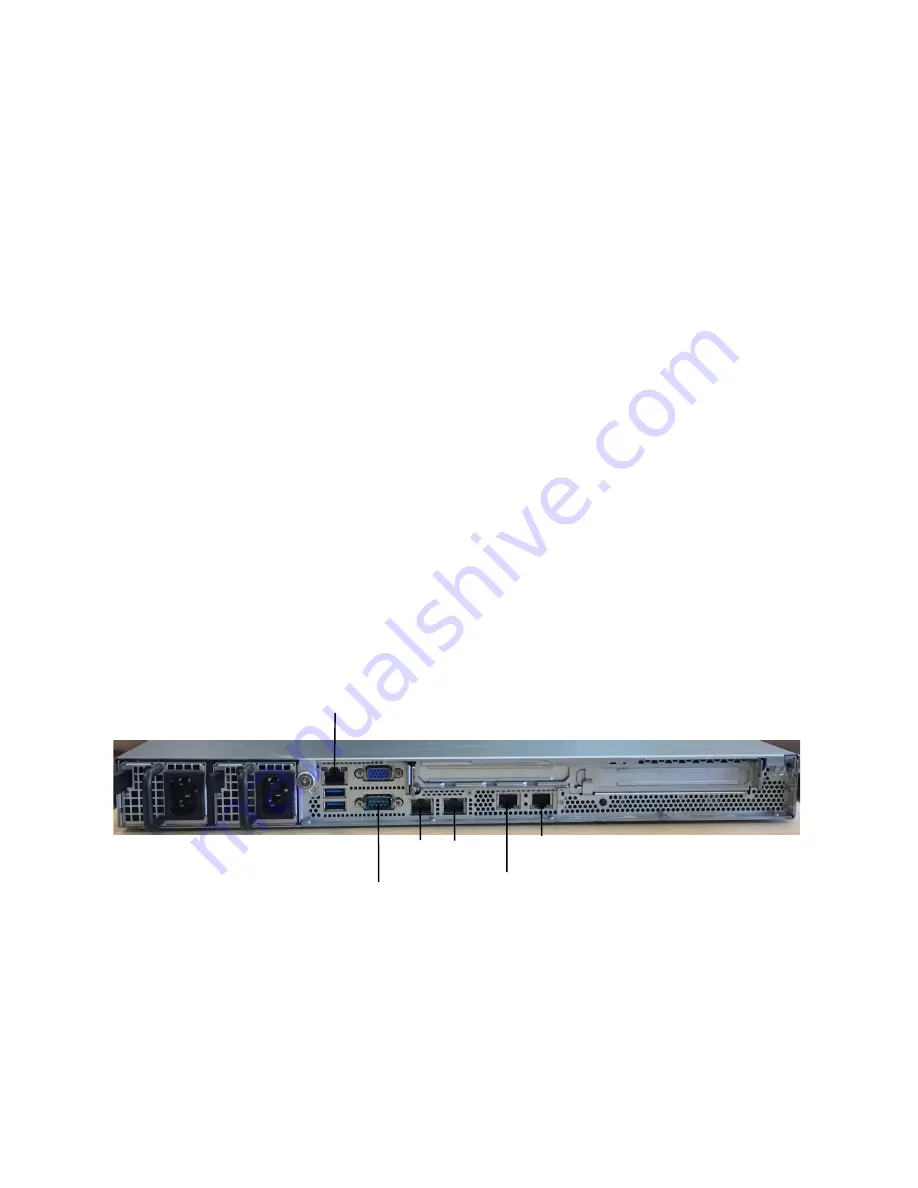
Connect straight-through cables from the Dispatcher Module to your switch, as described in
3.
Using a console cable, connect a laptop or other device to the Console connector of the Dispatcher (DP) Module.
4.
Log in at the login prompt using the “admin” user name and password.
5.
When the configuration wizard starts, it displays the product model and serial number. To activate the licenses
manually, record this information to use during license activation.
6.
Enter the required information at the following prompts. For example:
Welcome to SteelCentral Setup!
BMC
Console
PRI AUX
ETH0_0
ETH0_1


